Skip to content
  • There are no suggestions because the search field is empty.

Can I Preview My Cards Before I Send Them?

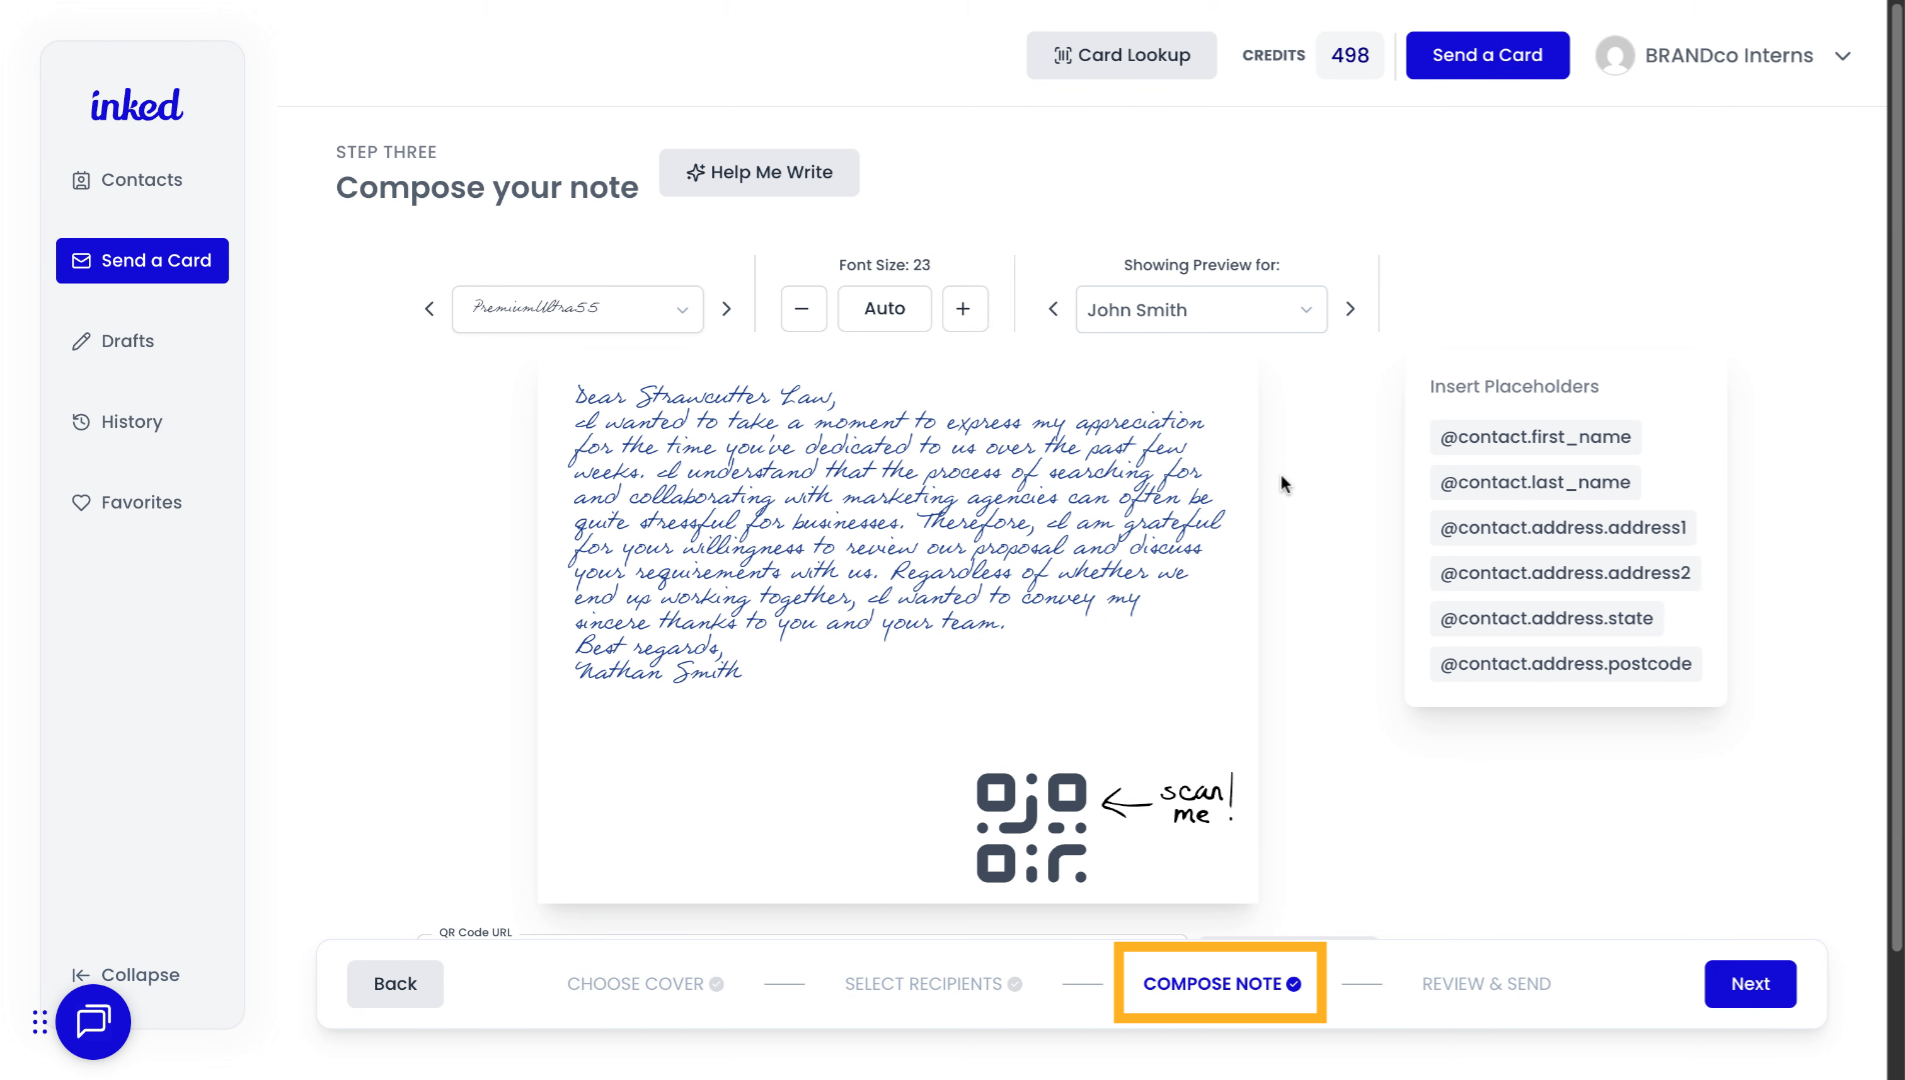
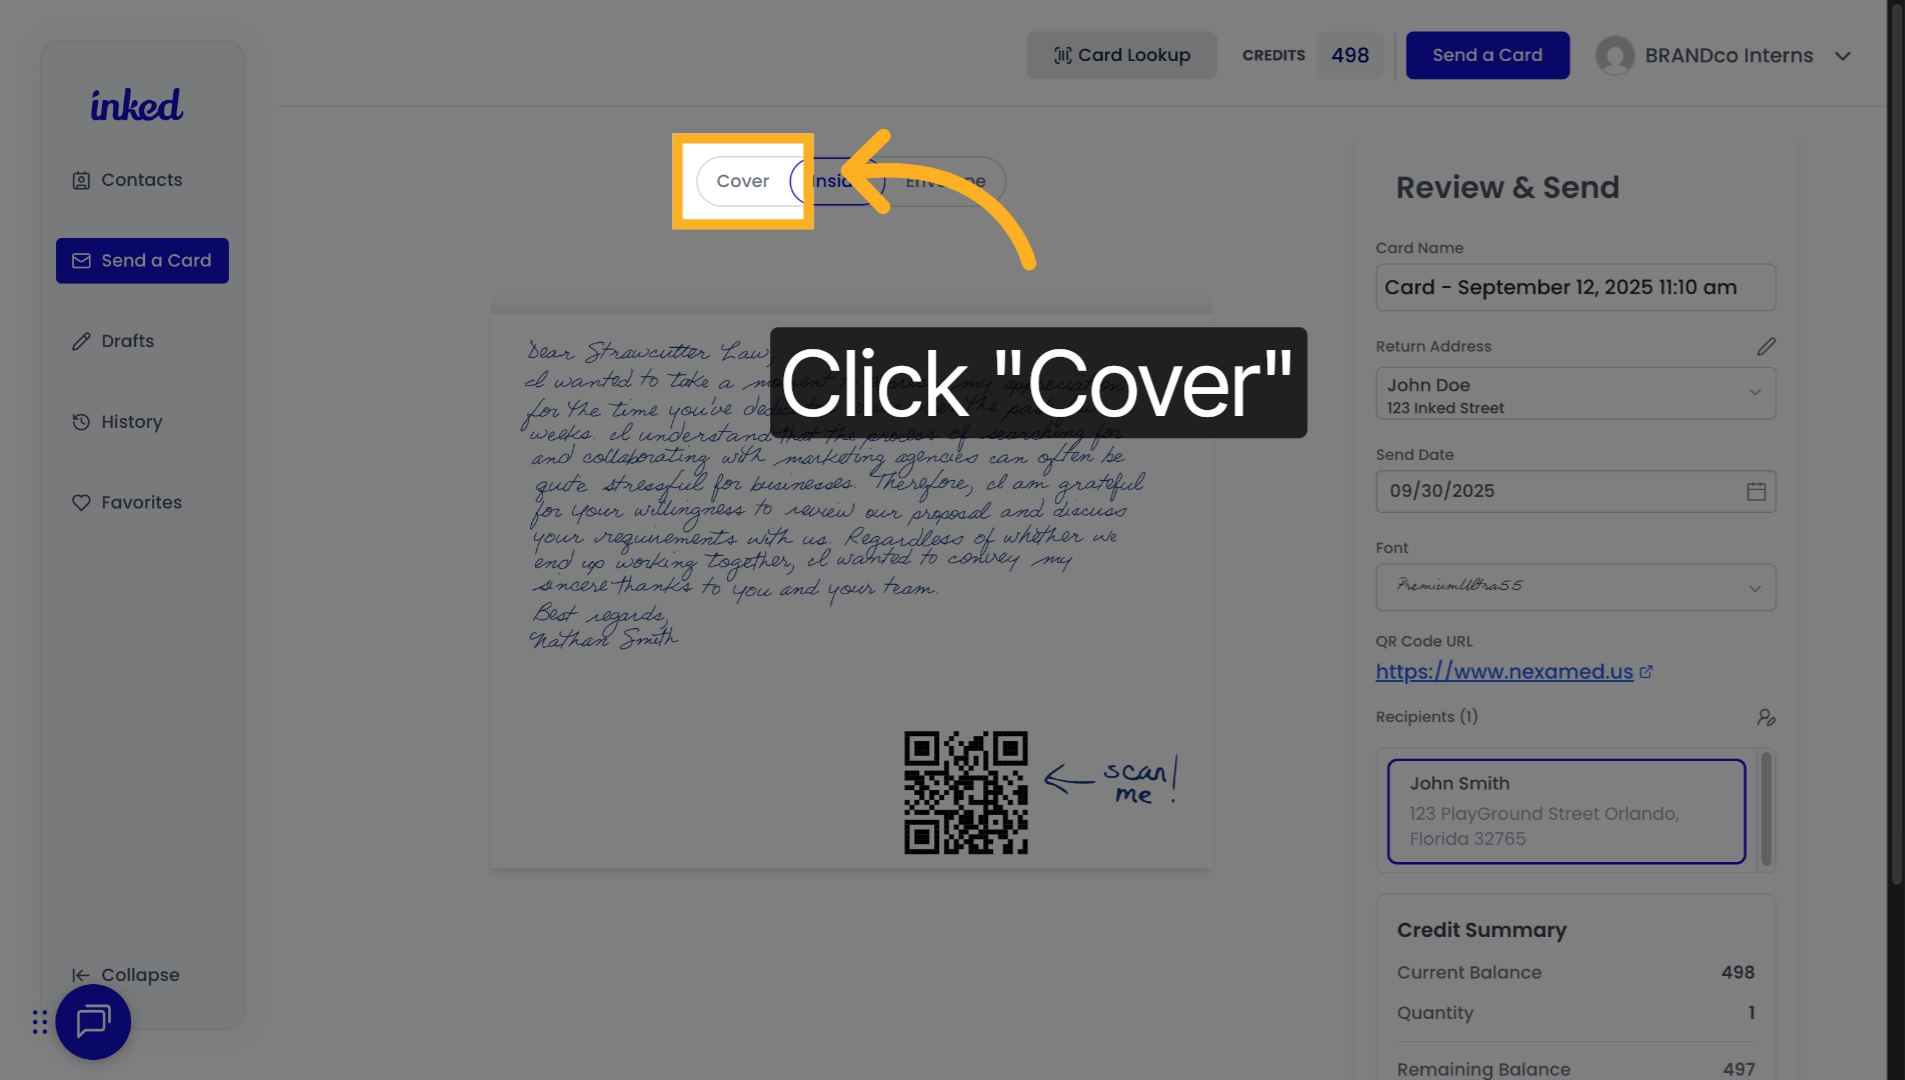
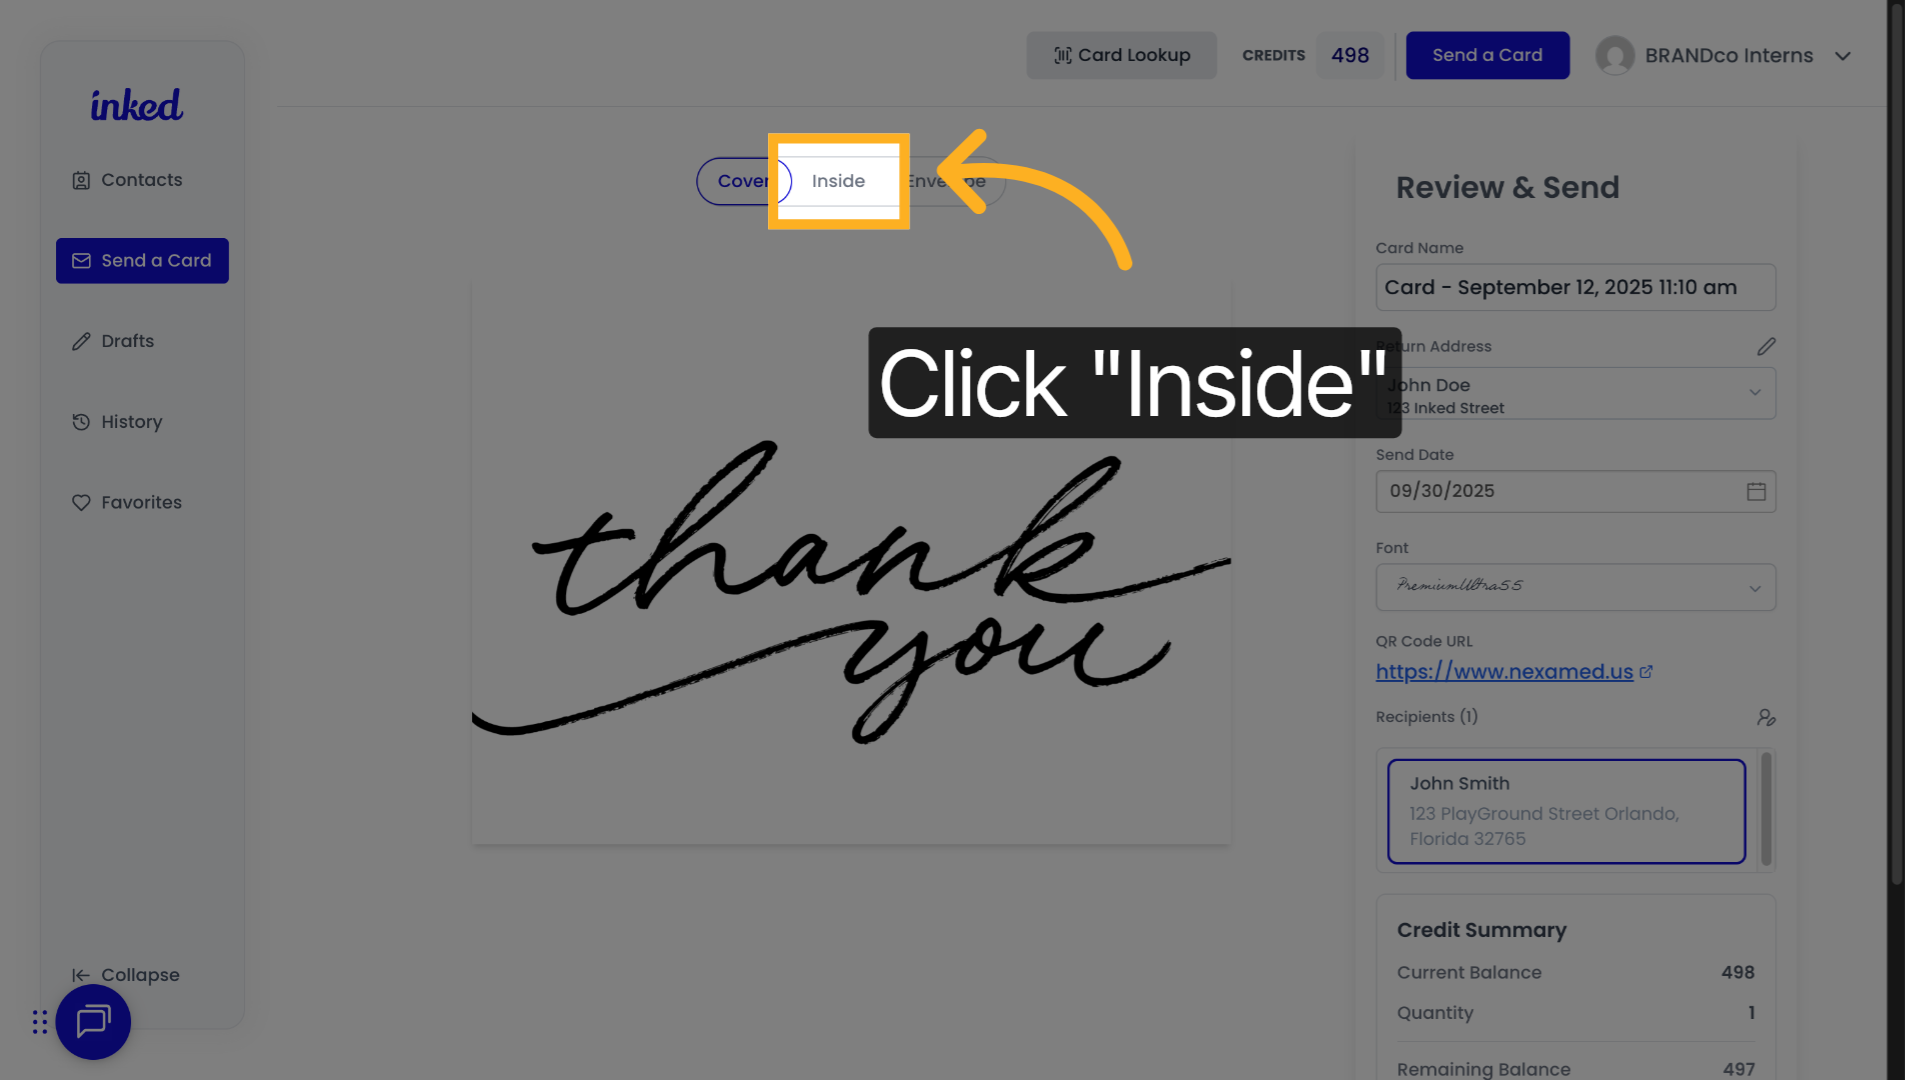
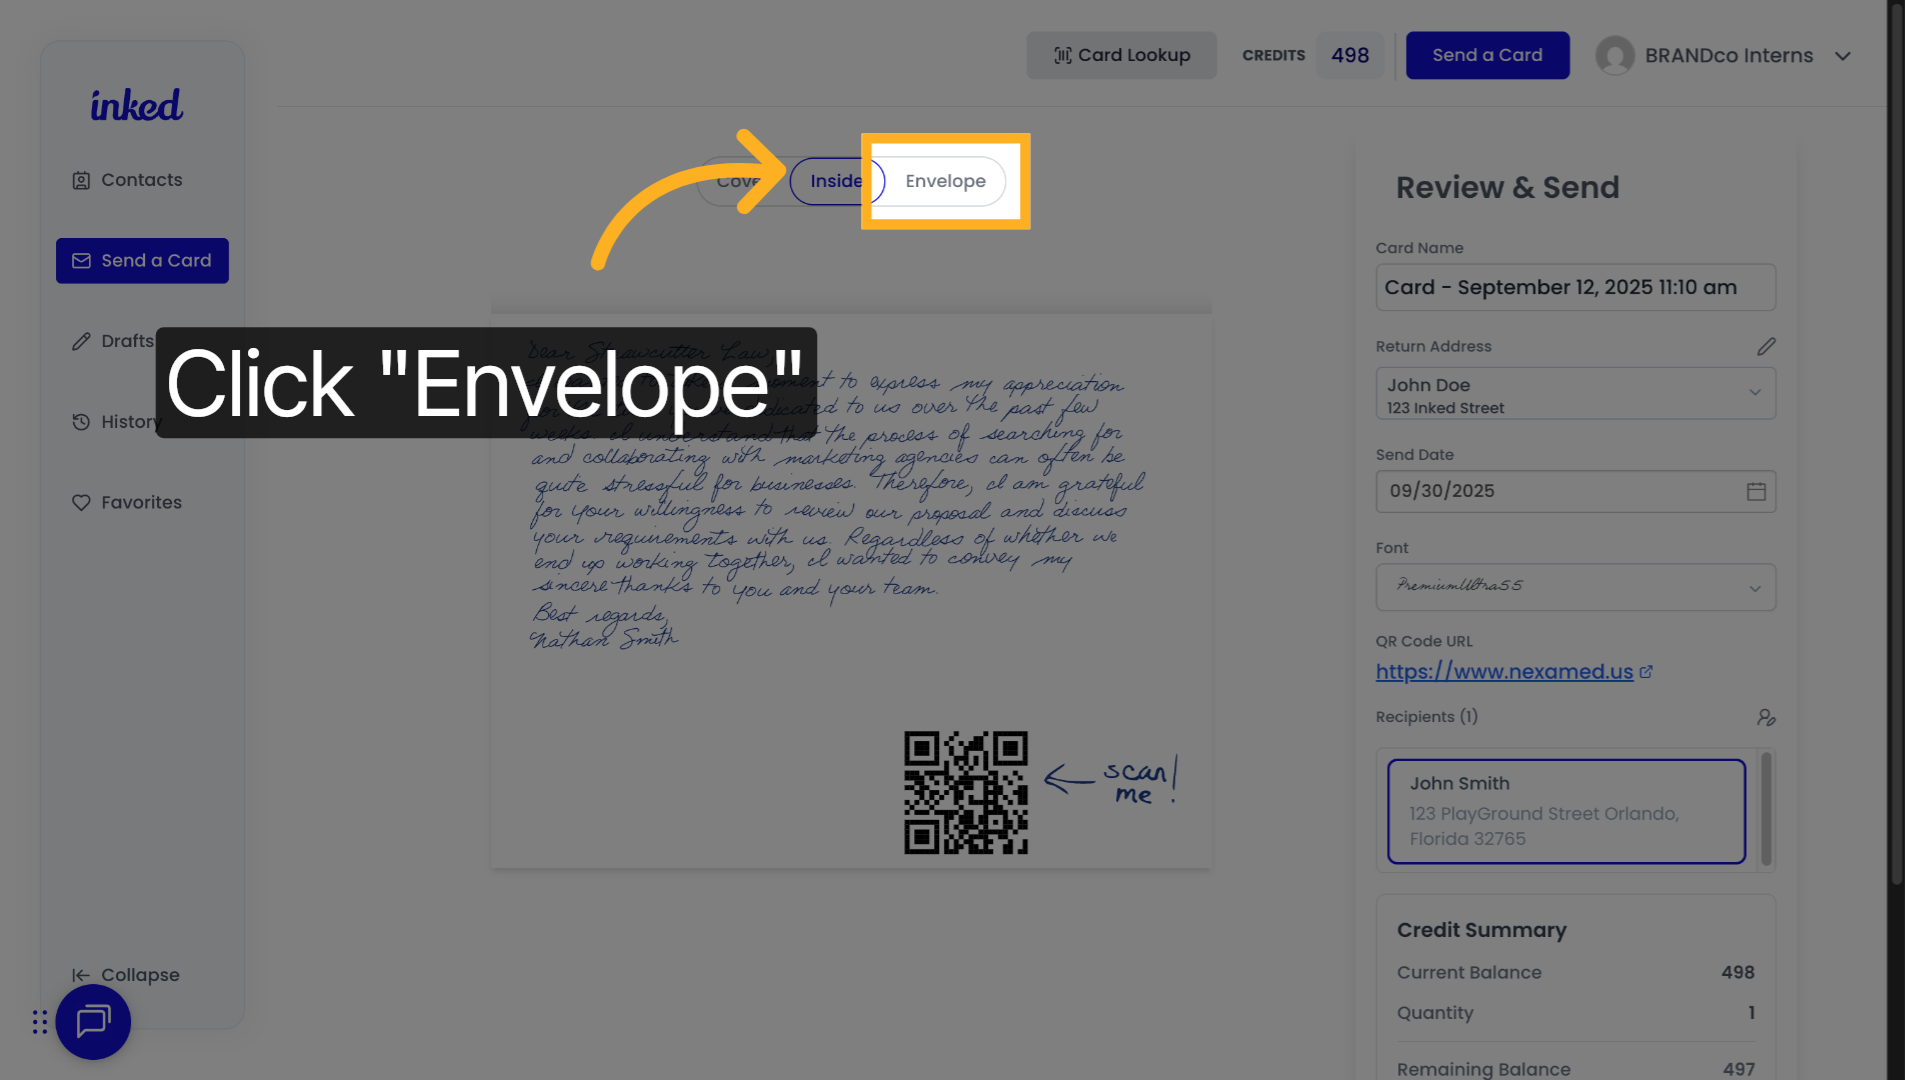
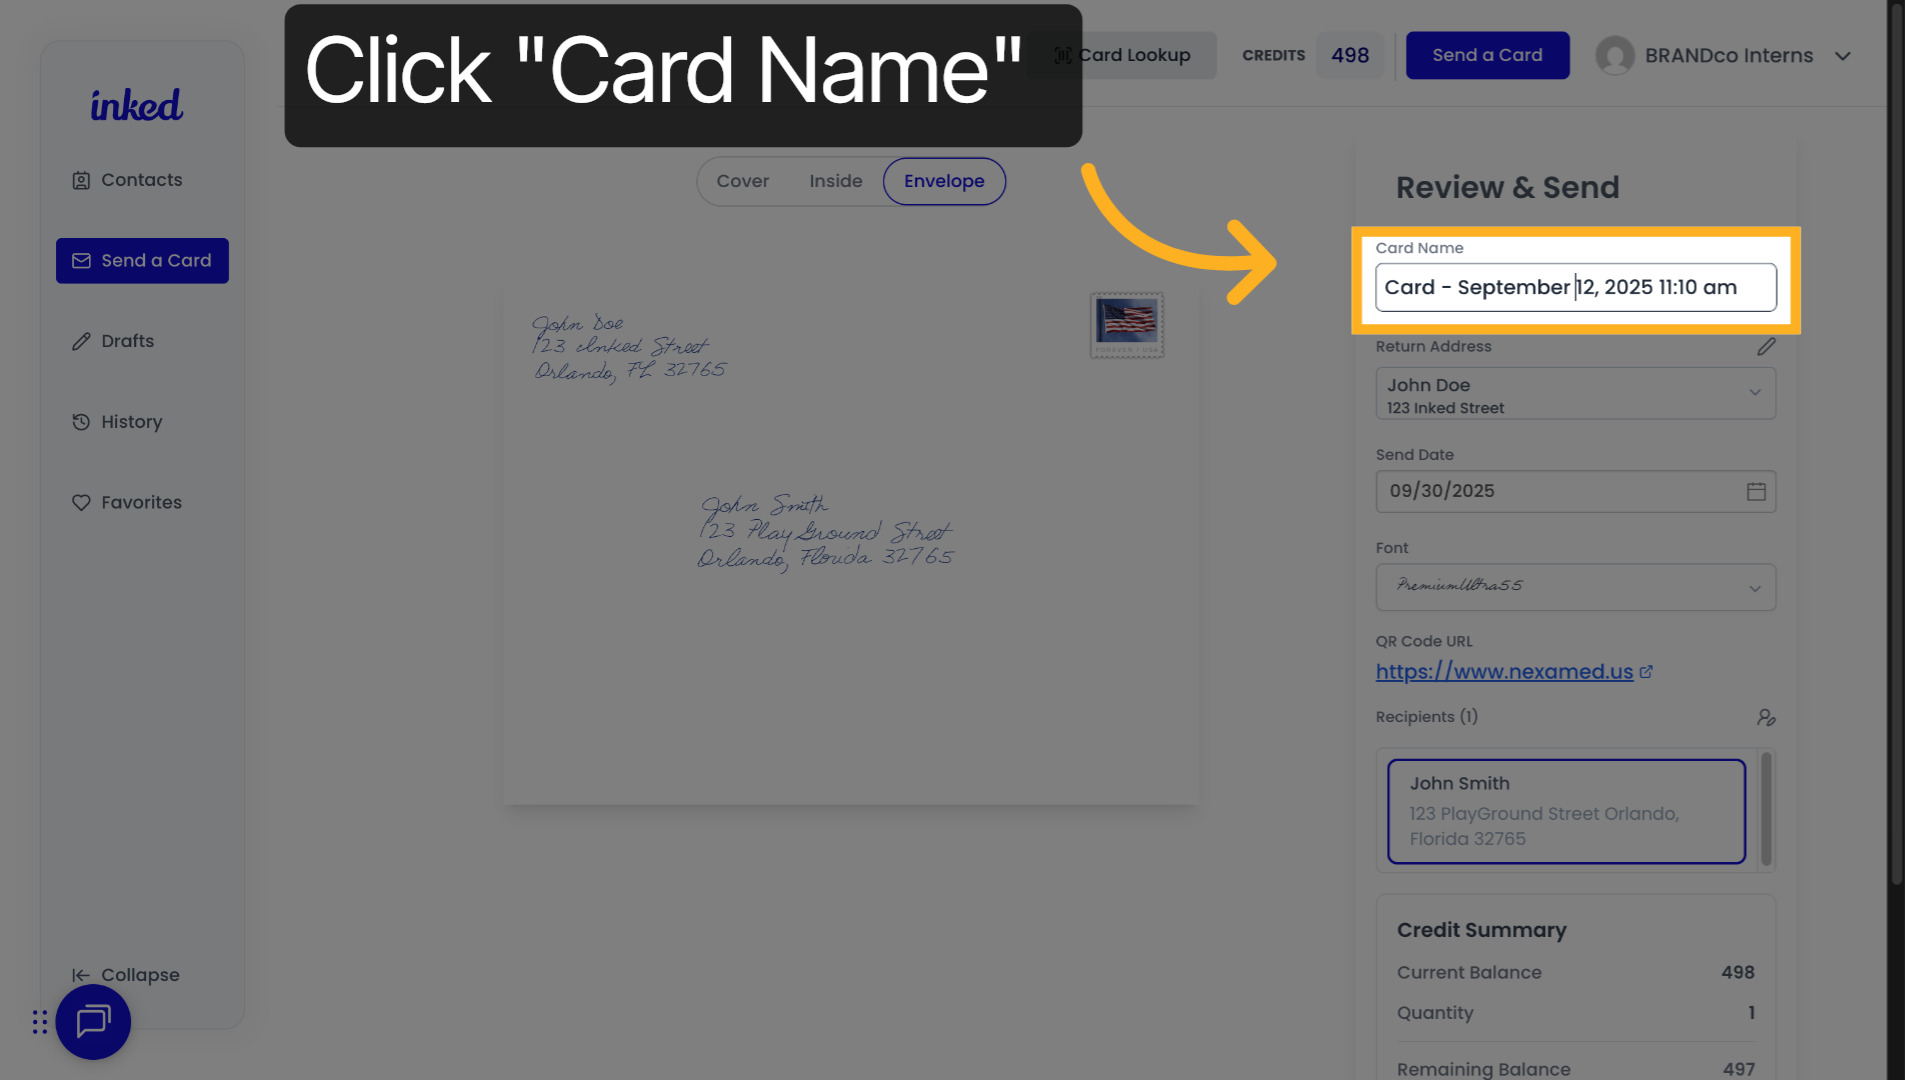
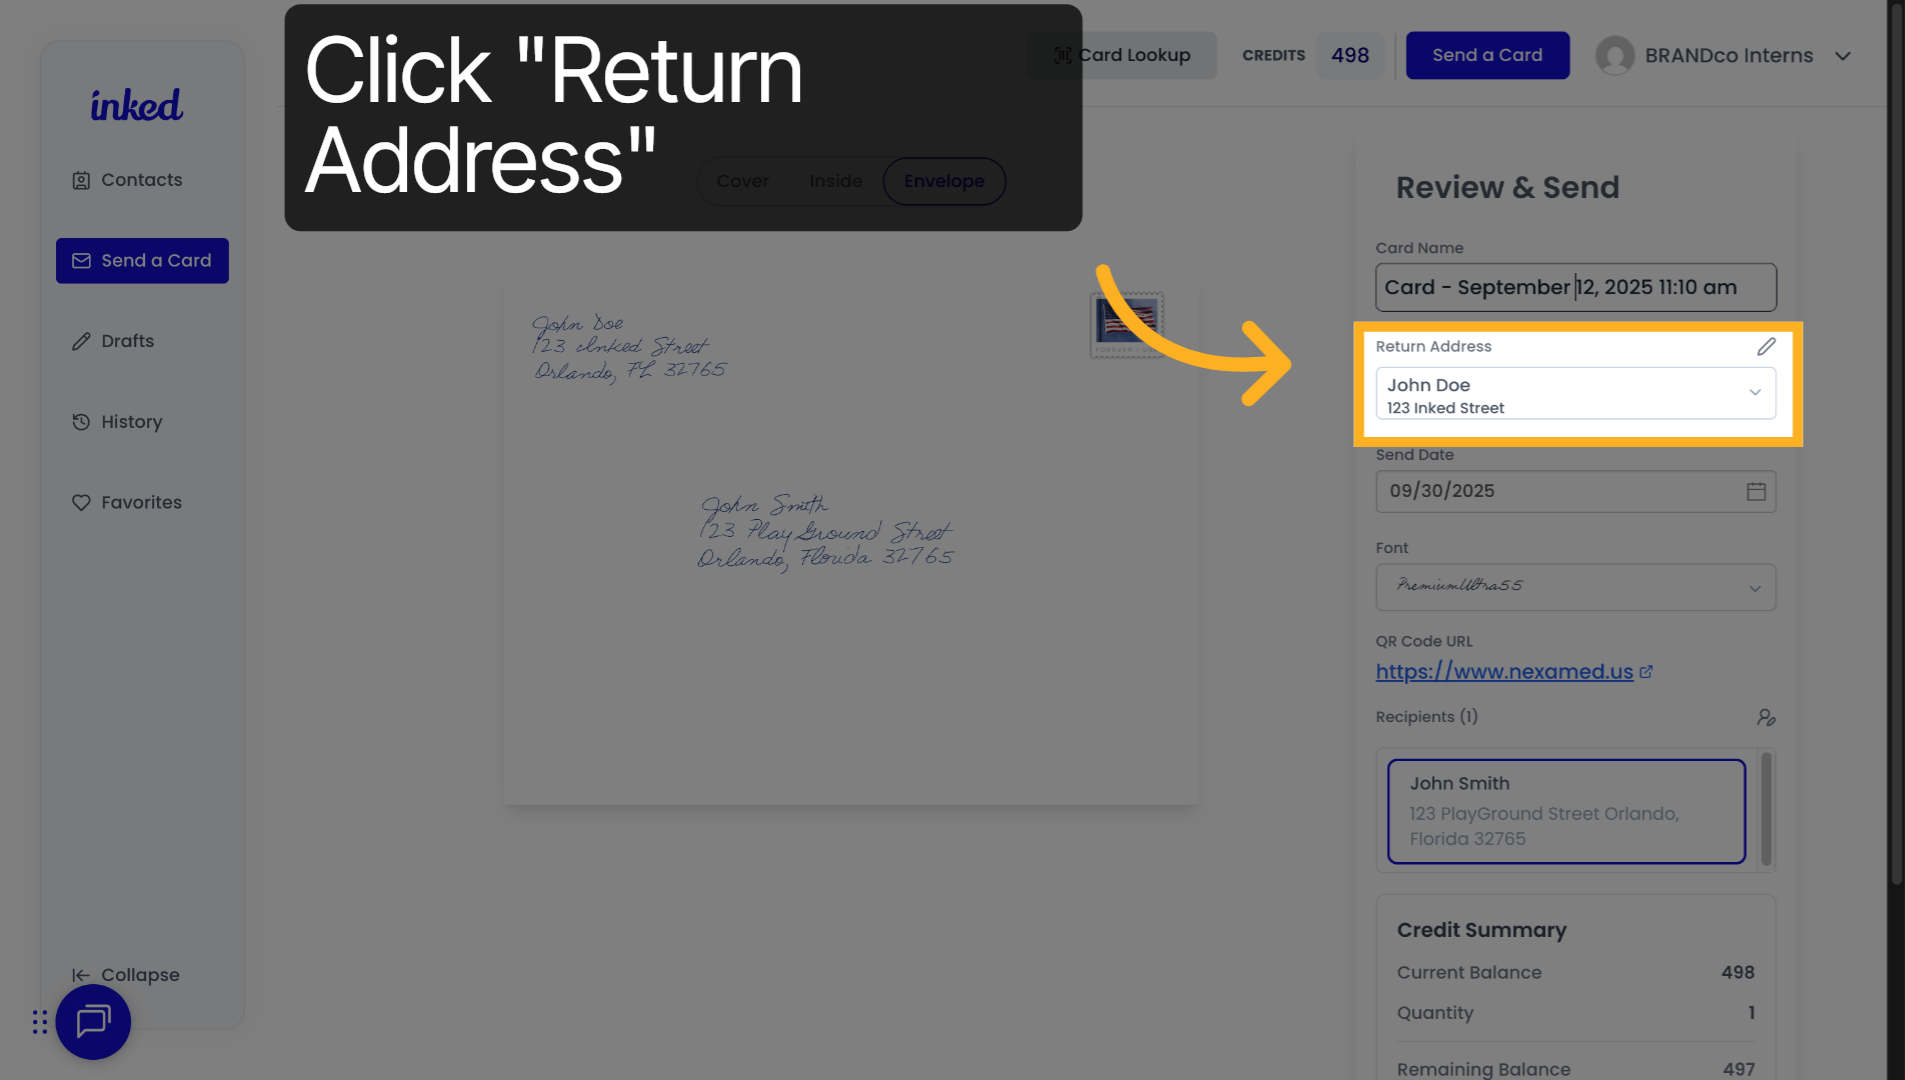
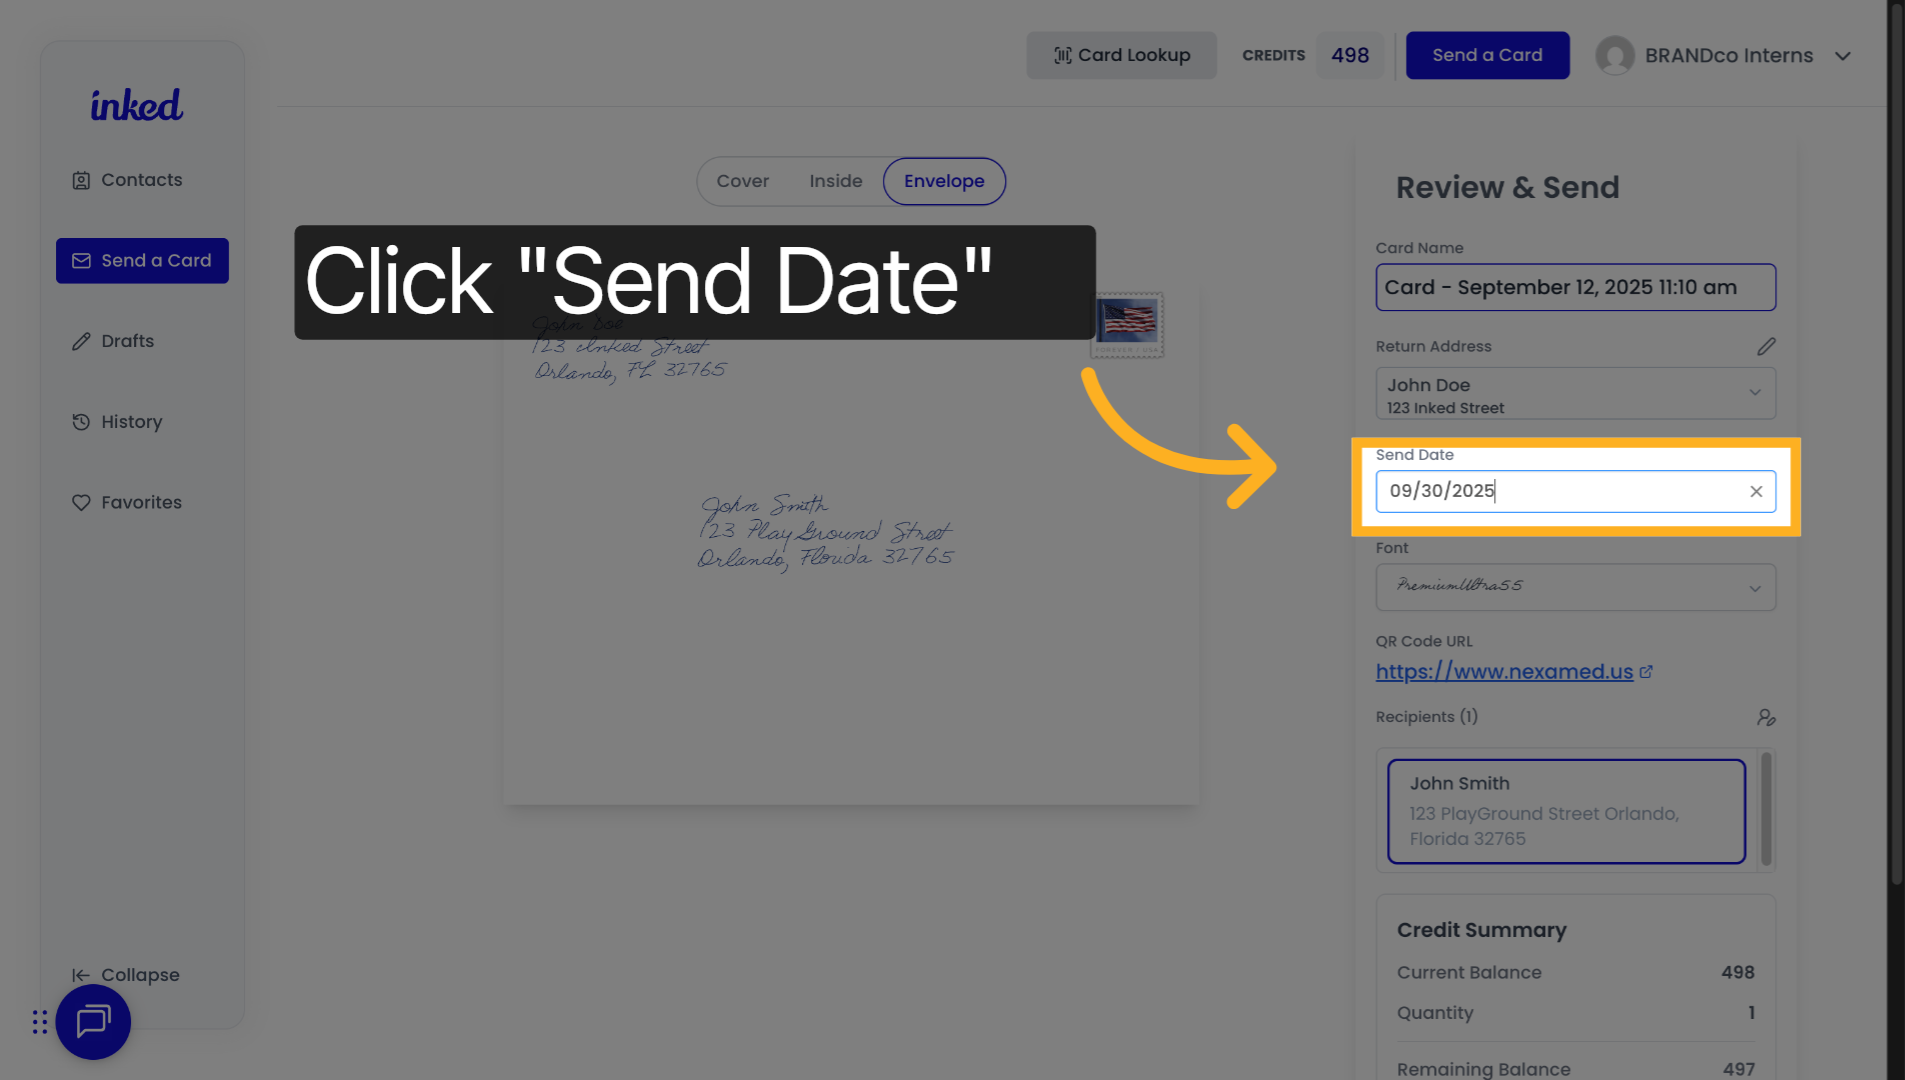
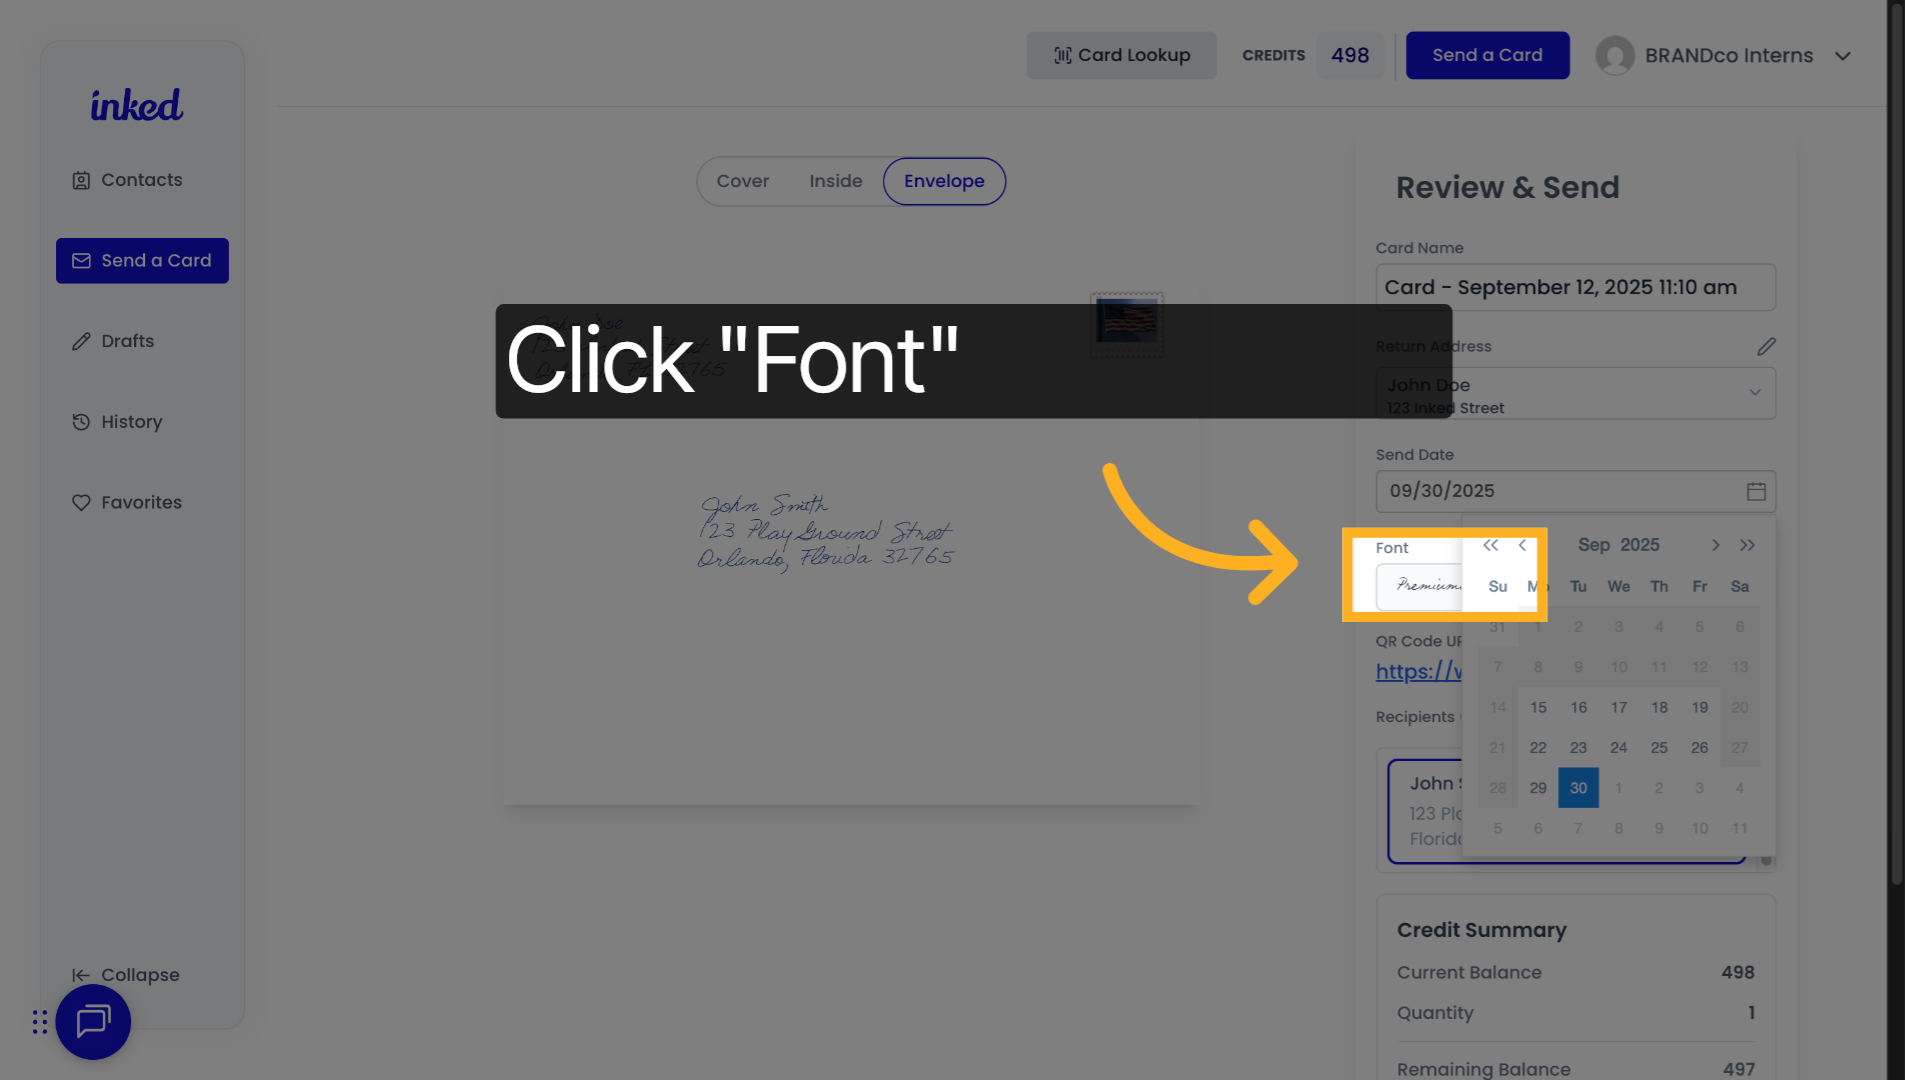
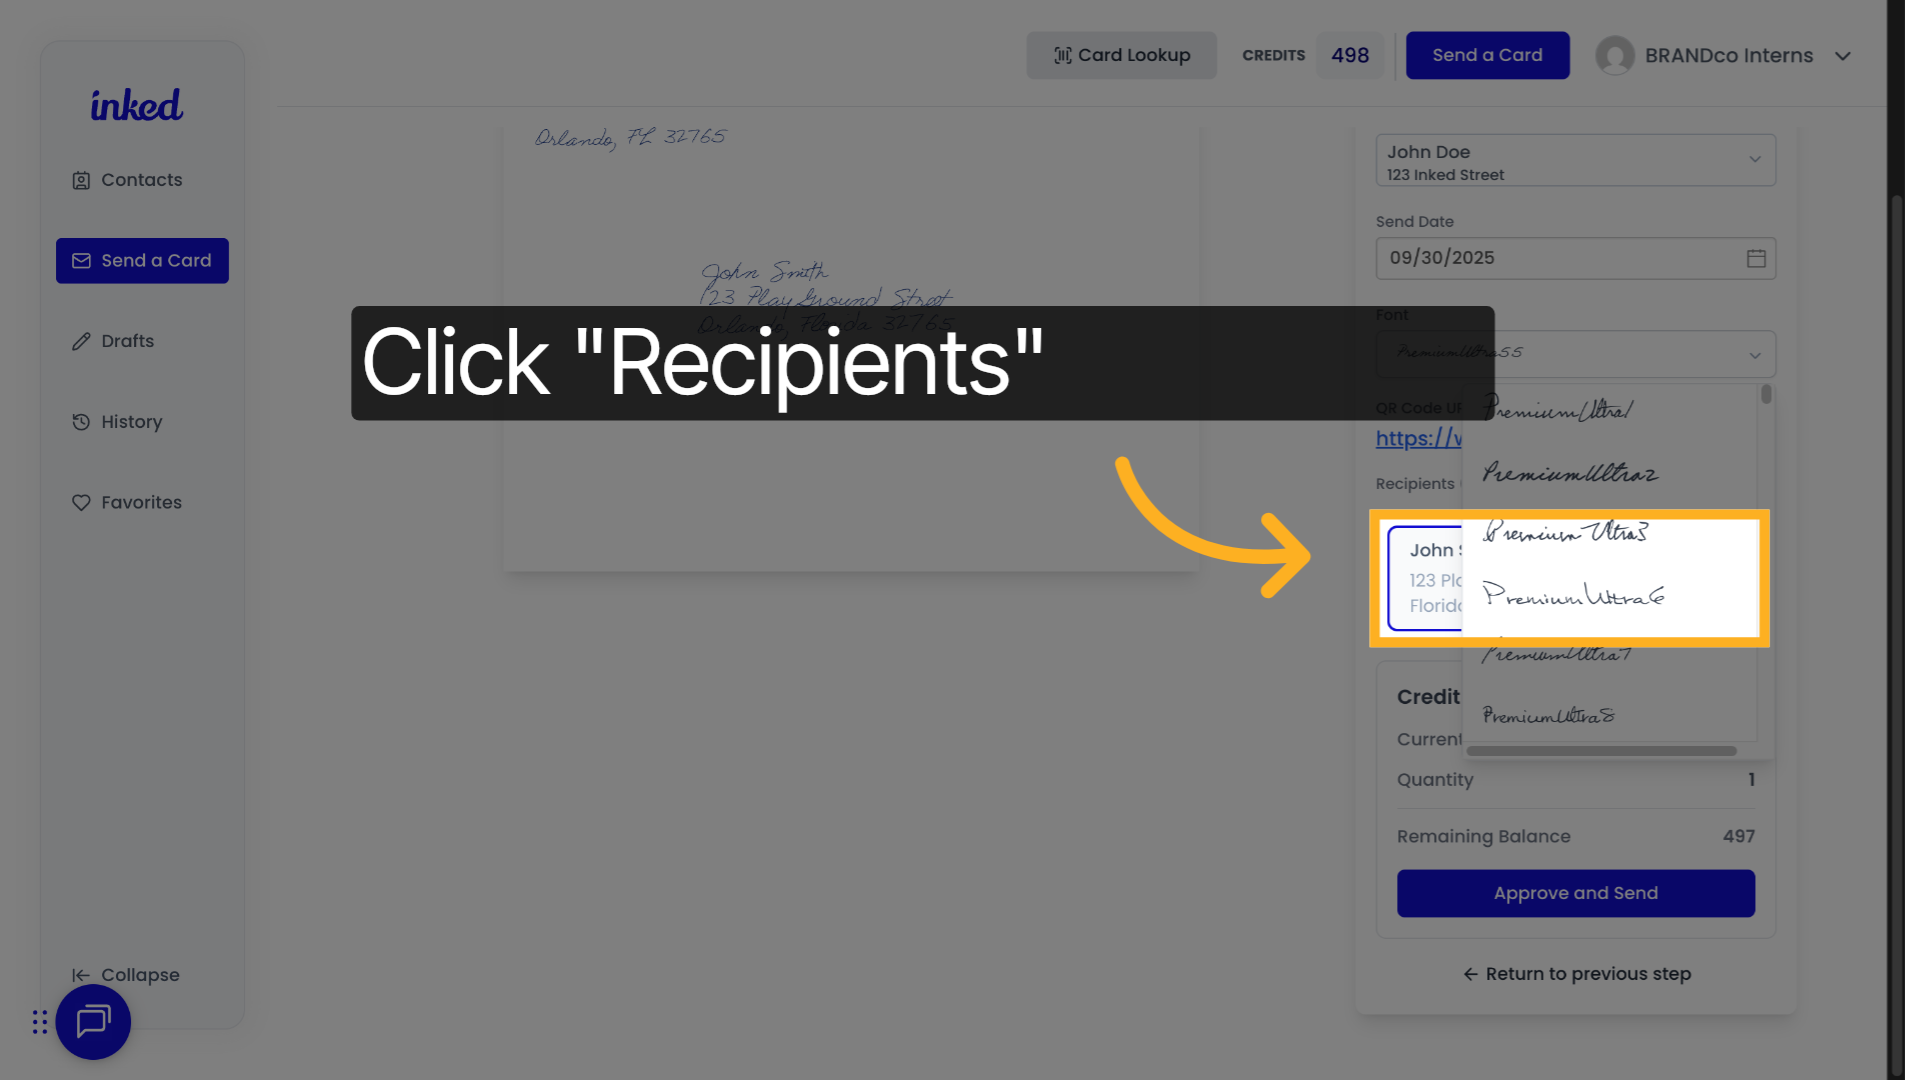
Inked provides a full preview of your card and envelope before it is sent, ensuring that every detail appears exactly as you intend. After selecting your contacts, choosing a cover design, and composing your handwritten note, you will be directed to a "Review & Send" tab. This preview displays both the card and the envelope layout as they will appear when printed and mailed.
 
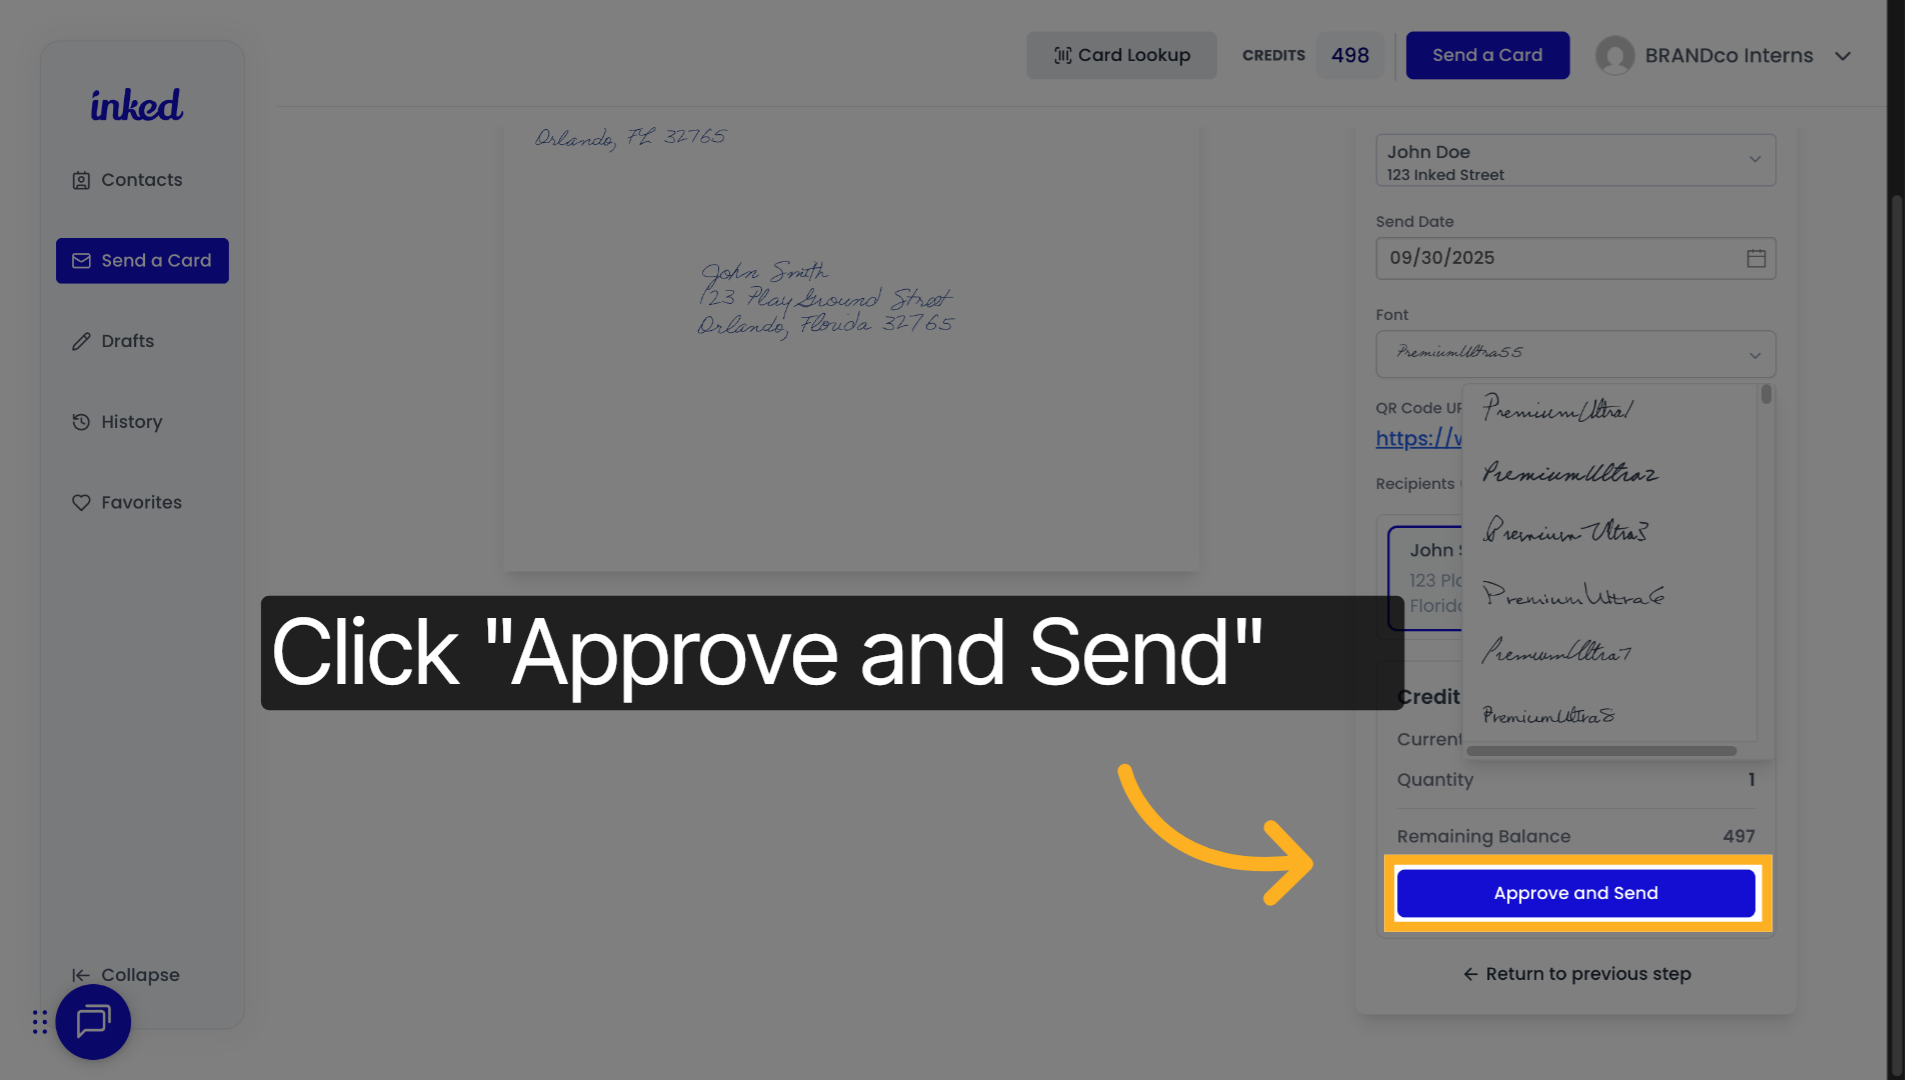
This step allows you to carefully review your message for any errors, confirm that your custom design is properly aligned, and verify that the correct recipients and return address are in place. Once you approve the preview and submit your order, changes can no longer be made, as the card will move immediately into production.
 
If you notice issues during the preview, such as formatting errors or low-quality images, you can return to the previous steps to make adjustments before finalizing your order. For automated or scheduled campaigns, it is recommended to review each send to ensure that all details remain accurate and relevant. If a mistake is discovered after submission, contact support immediately. While edits cannot be guaranteed, there may be a brief window before production begins during which adjustments are possible.

How to Preview Your Card Before It's Sent in Inked

Previewing your card in Inked is simple. Here's how.

Go to app.inked.com

1. Introduction

Start in the Compose Note section of the card creation process. If you're unsure where that is, it's highlighted in yellow in the screenshot.
Compose Note section

2. Click "Next"

Write your message. If it looks good, click Next (bottom right) to go to Review & Send.
Click Next to continue

3. Click "Cover"

In Review & Send, use the preview bar (Cover / Inside / Envelope). Click Cover to preview the front.
Preview card cover

4. Click "Inside"

Click Inside to preview your message, QR code, and any doodles you added.
Preview inside message

5. Click "Envelope"

Click Envelope to see how recipients will receive it. Confirm the return and recipient addresses are correct.
Preview envelope details

6. Click "Card Name"

On the right, under Review & Send, you can name your card (this is only visible to you).
Set card name

7. Click "Return Address"

Update your return address if needed. If you change it, re-check the Envelope preview to confirm it updated.
Edit return address

8. Click "Send Date"

Optionally schedule for a future date via Send Date. If you don't need scheduling, skip this step.
Set send date

9. Click "Font"

Optionally change the Font. If you do, re-check the Inside and Envelope previews.
Change font if desired

10. Click "Recipients"

Click Recipients to review who will receive the card. Select a recipient, then re-check the Envelope preview for that person. Add/remove recipients via the icon in the yellow box (top-right).
Review recipients

11. Click "Approve and Send"

Final check: ensure all details are correct. Click Approve and Send to finalize. Note: after sending, you can't make changes.
Approve and send
That's it—you've previewed your card and confirmed all details in Inked.


Inked Logo

Address

7100 TPC DR STE 700
ORLANDO, FL 32822

Contact

407-499-3000

hello@inked.com

More Info

Privacy Policy

Terms of Service

© BRANDco., LLC 2025. All Rights Reserved Worldwide