How do I schedule cards to be sent on future dates?
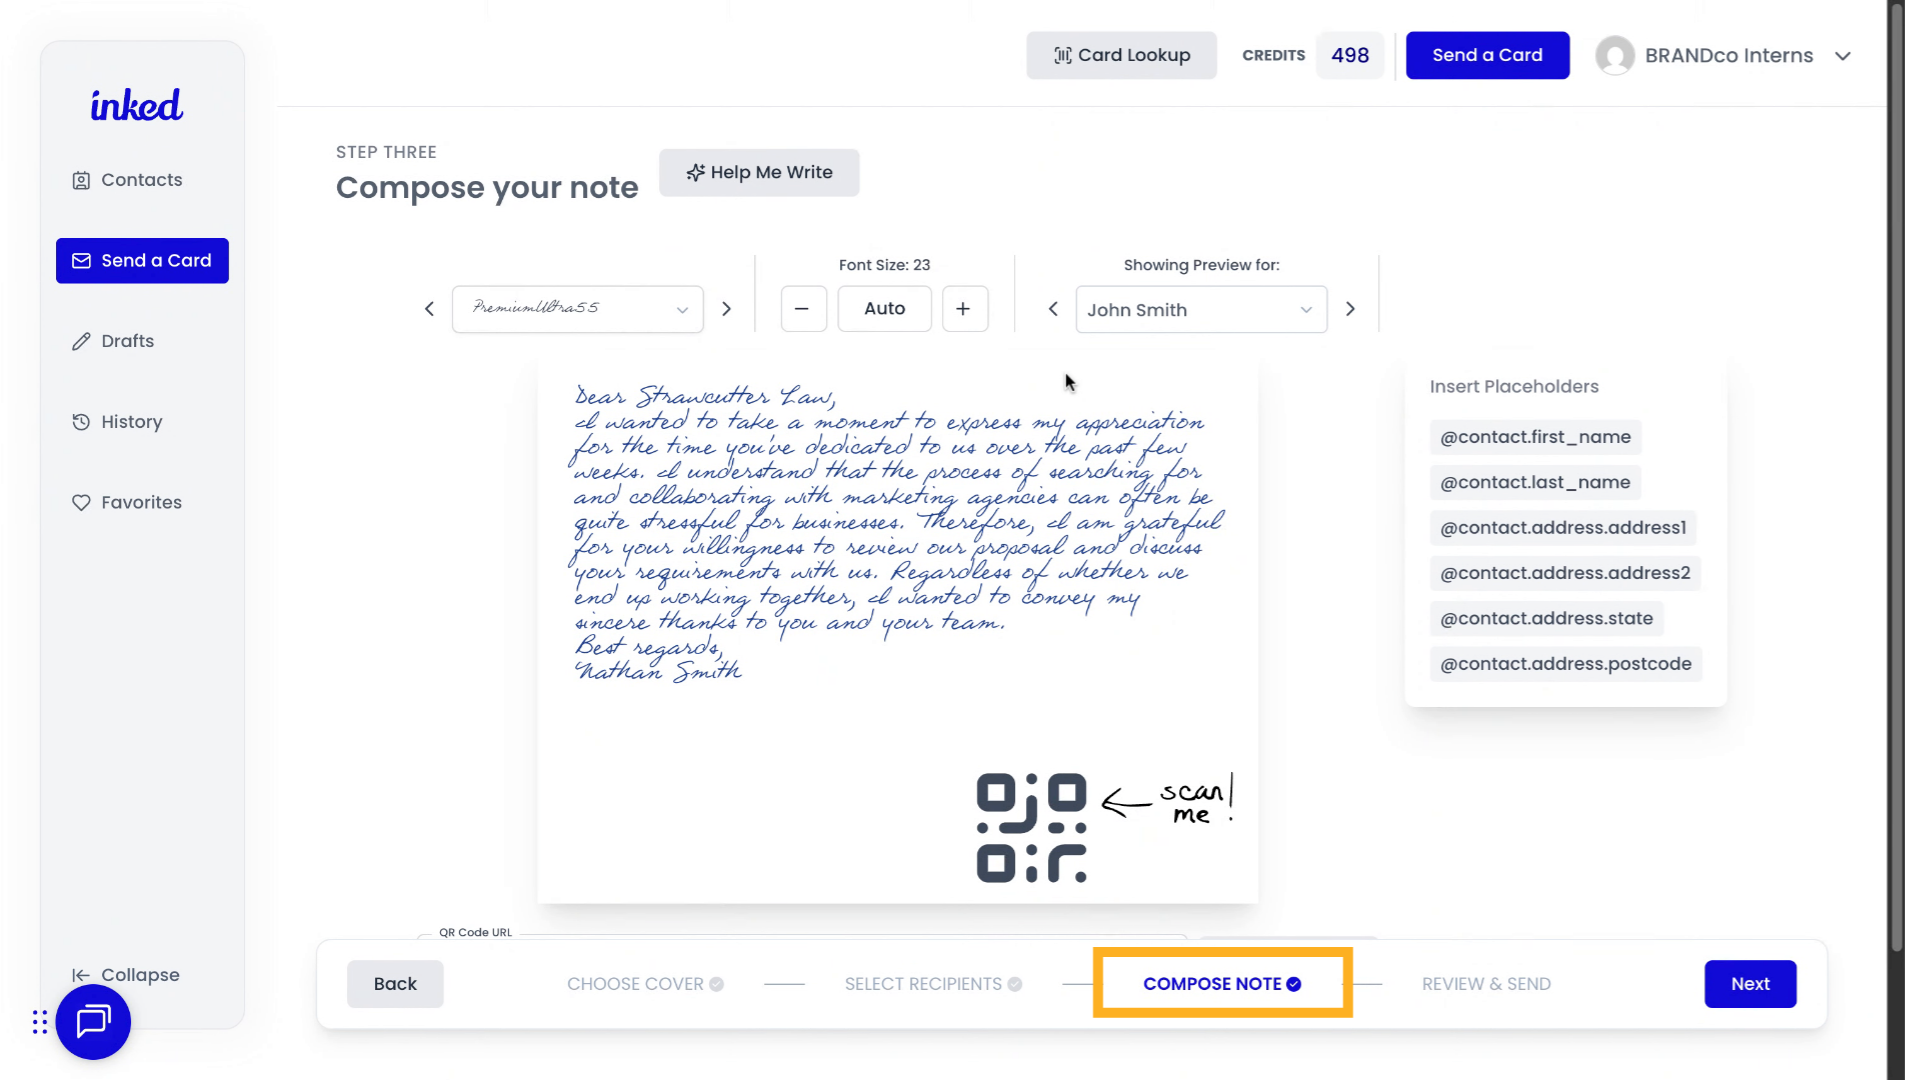
Step 1: Click “Send a Card”
Begin by selecting “Send a Card” from your Inked dashboard. There are two locations from which to do this. One is on the top right of your screen, next to your total credits. The second location is on the left-hand navigation bar, in between the "Contacts" button and the "Drafts" button.
How to Schedule a Card for a Later Date
Scheduling a card in Inked is easy. Here's how to do it in five quick steps.
Go to app.inked.com
1. Introduction
Start in the Compose Note section. Review your card to make sure everything is accurate.
2. Click "Next"
If everything looks good, click Next (bottom right).
3. Click "Send Date"
In the Review & Send step (right side), click the Send Date tab.
4. Click Your Specific Date
Use the dropdown to choose the year (double arrows), month (single arrows), and day on the calendar.
5. Click "Approve and Send"
Review your envelope, message, and send date. Click Approve and Send to finalize.
Note: sending finalizes the card—no further edits can be made.
That's it—you've scheduled your card for a future date in Inked.