Add And Customize Signatures In Inked Application
In this video, I'll be showing you how to add and customize your signature and Inked.
Go to app.inked.com
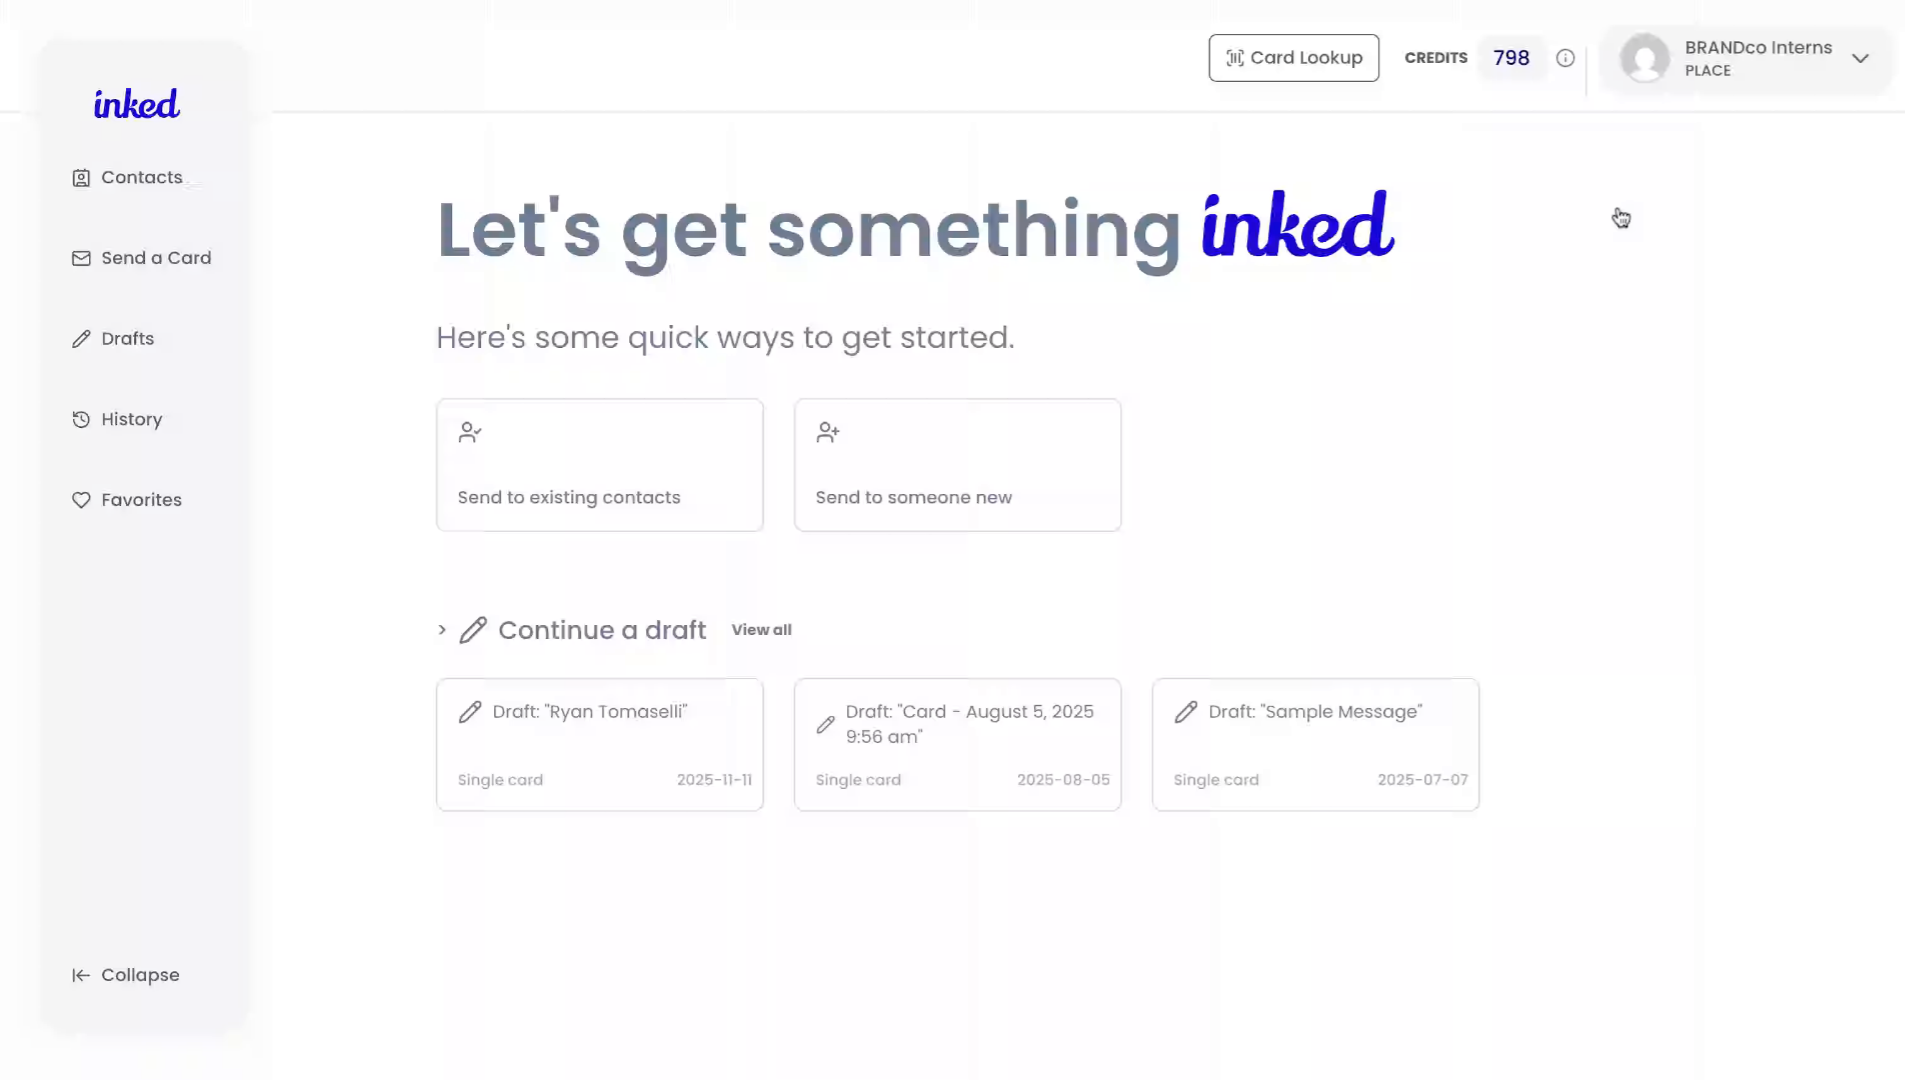
1. Introduction
To begin, make sure you're on the main dashboard of ink.com. It should look a little something like this.
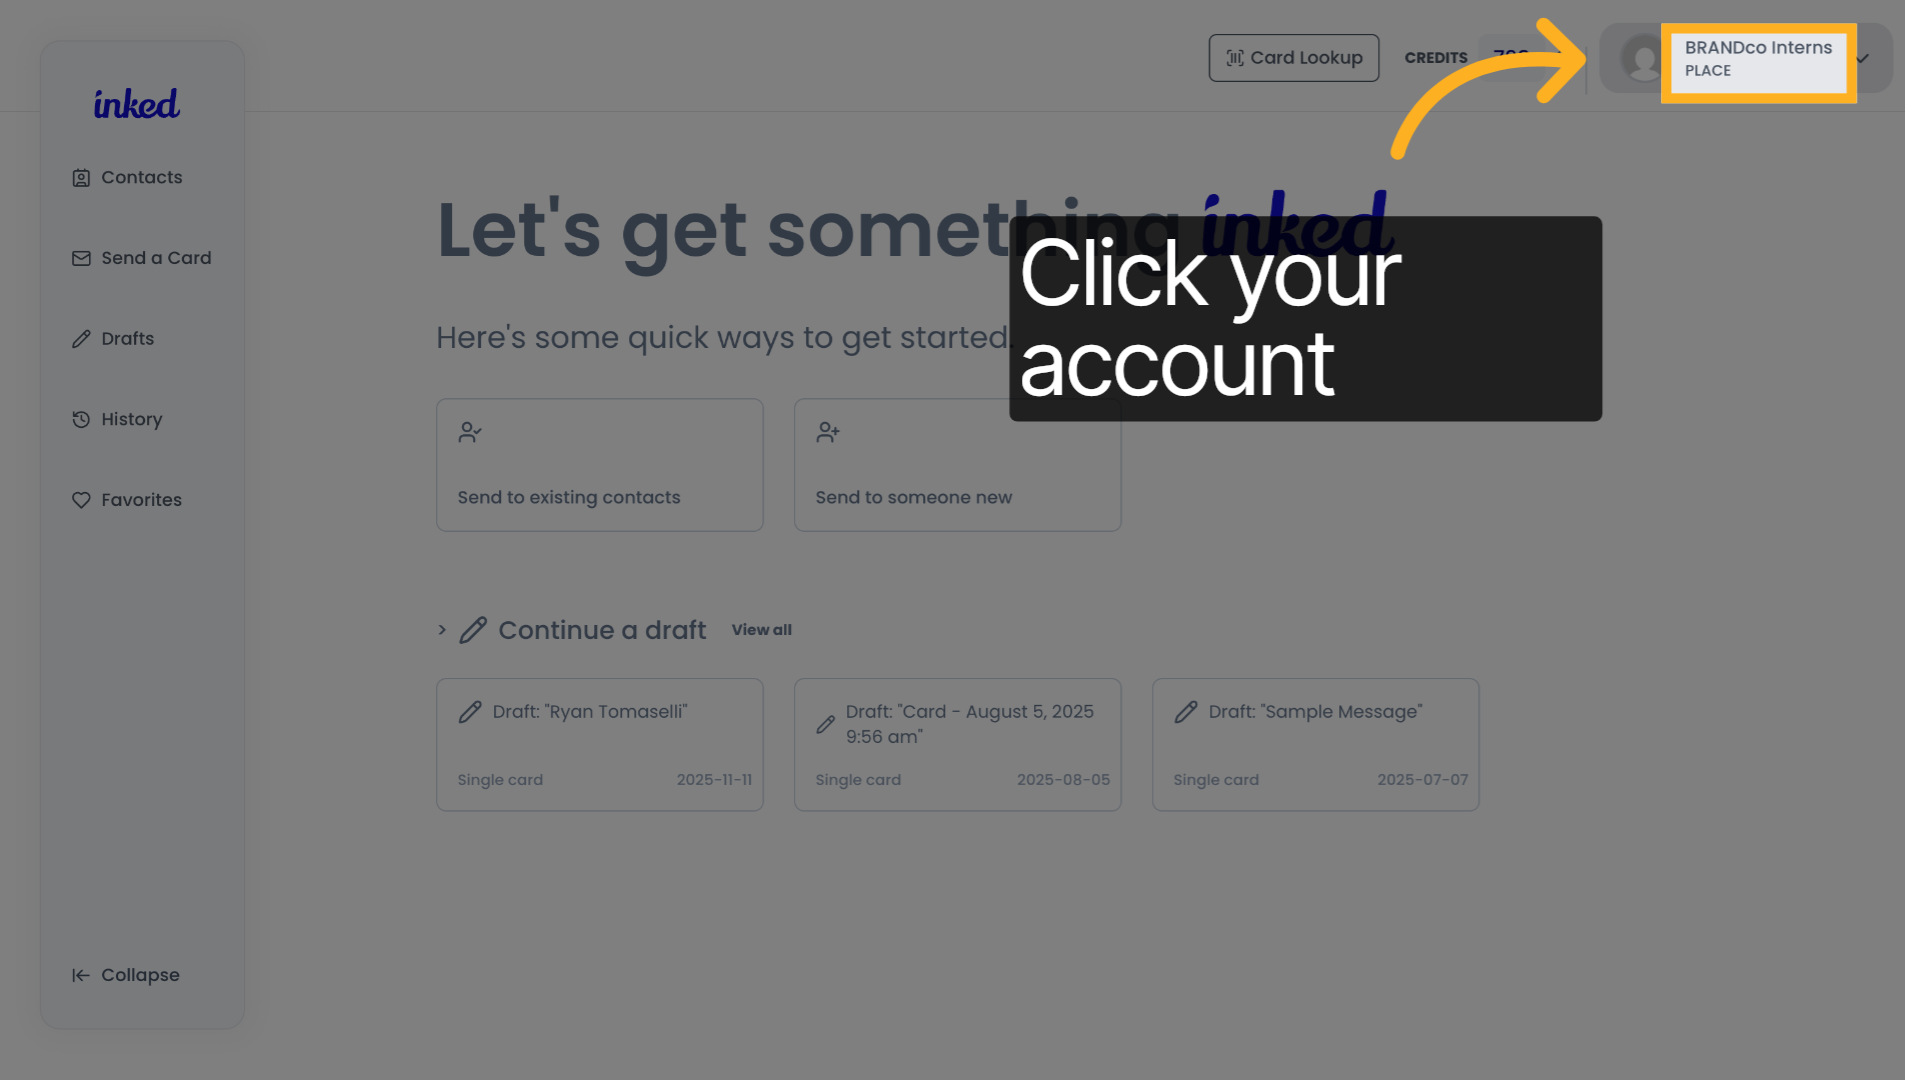
2. Open User Menu
To start click your user drop down in the top right hand corner of your screen.
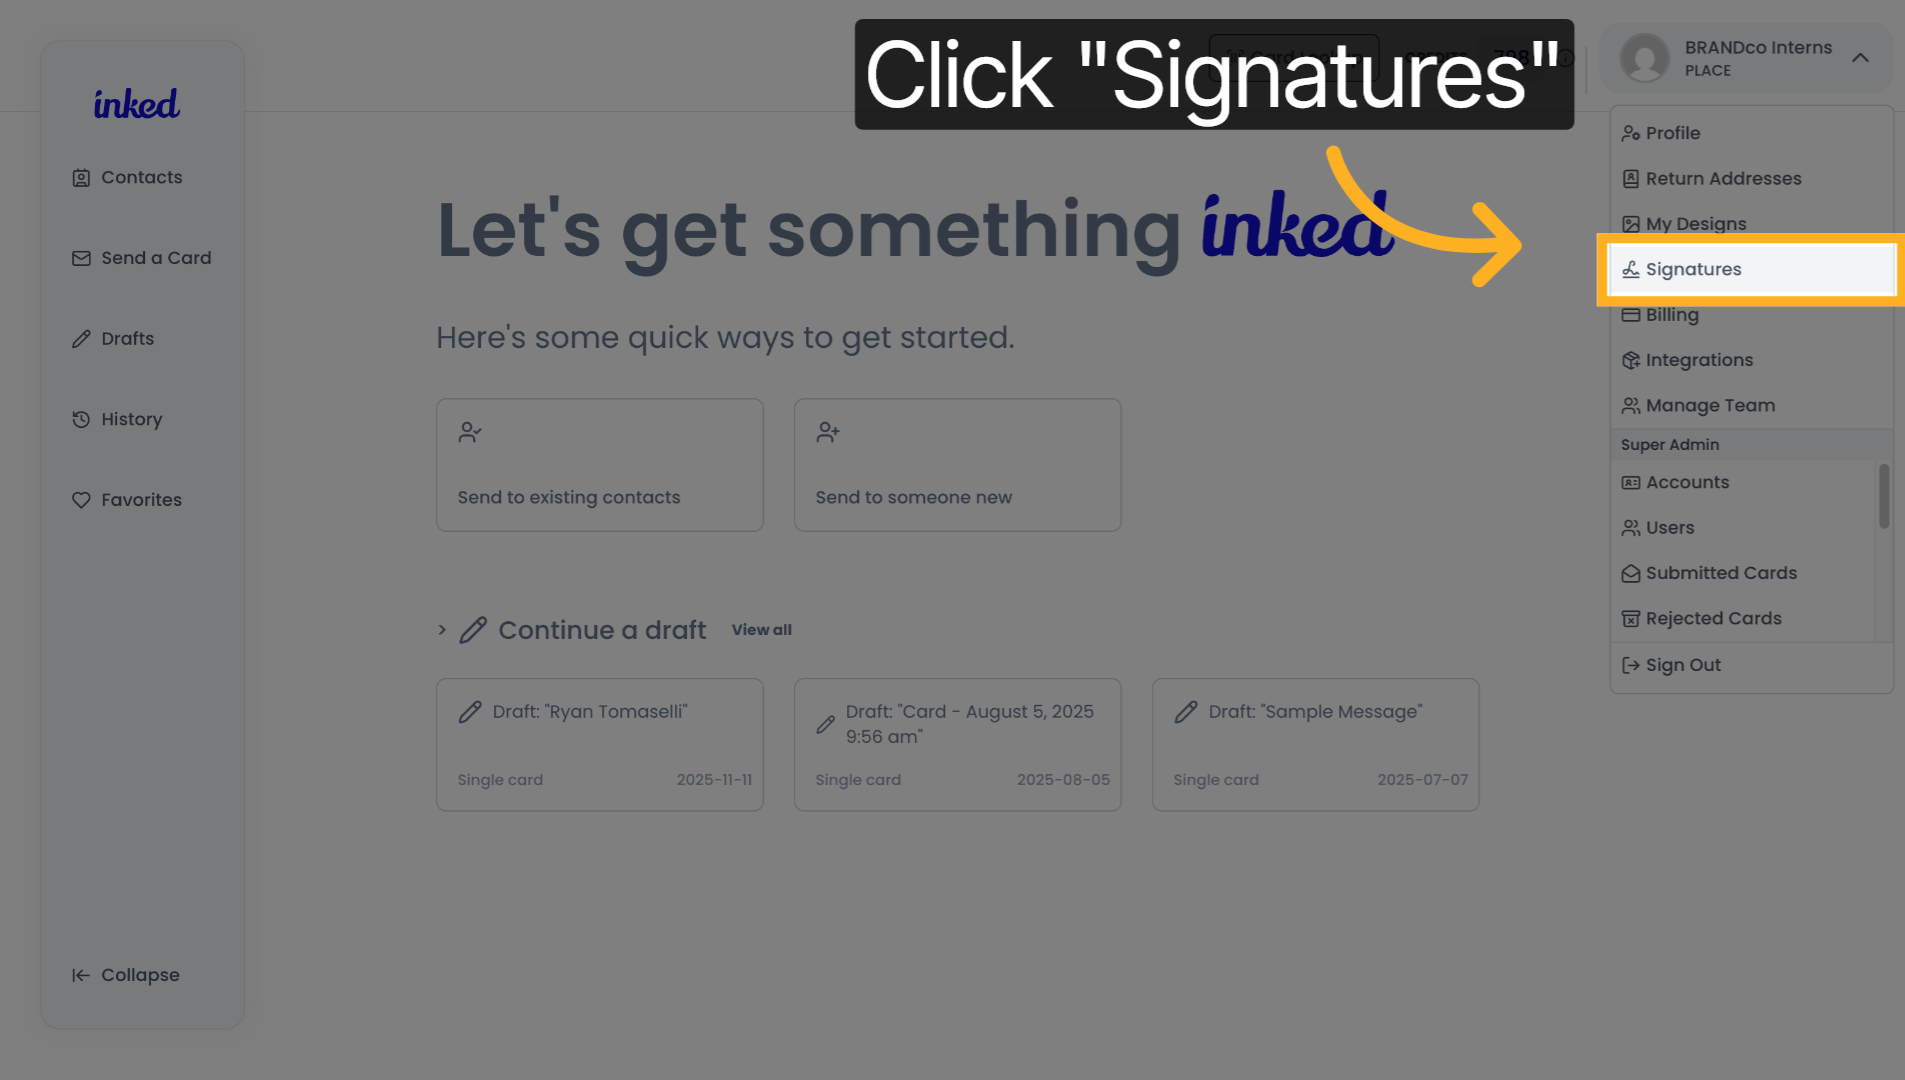
3. Access Signatures Section
Once you see the drop-down, you'll want to click the signatures table.
4. Add New Signature
Here from here. You will want to click add a signature. Once you have done this, you'll see a QR code appear on your screen, scan, the QR code with your phone and follow the on-screen directions.

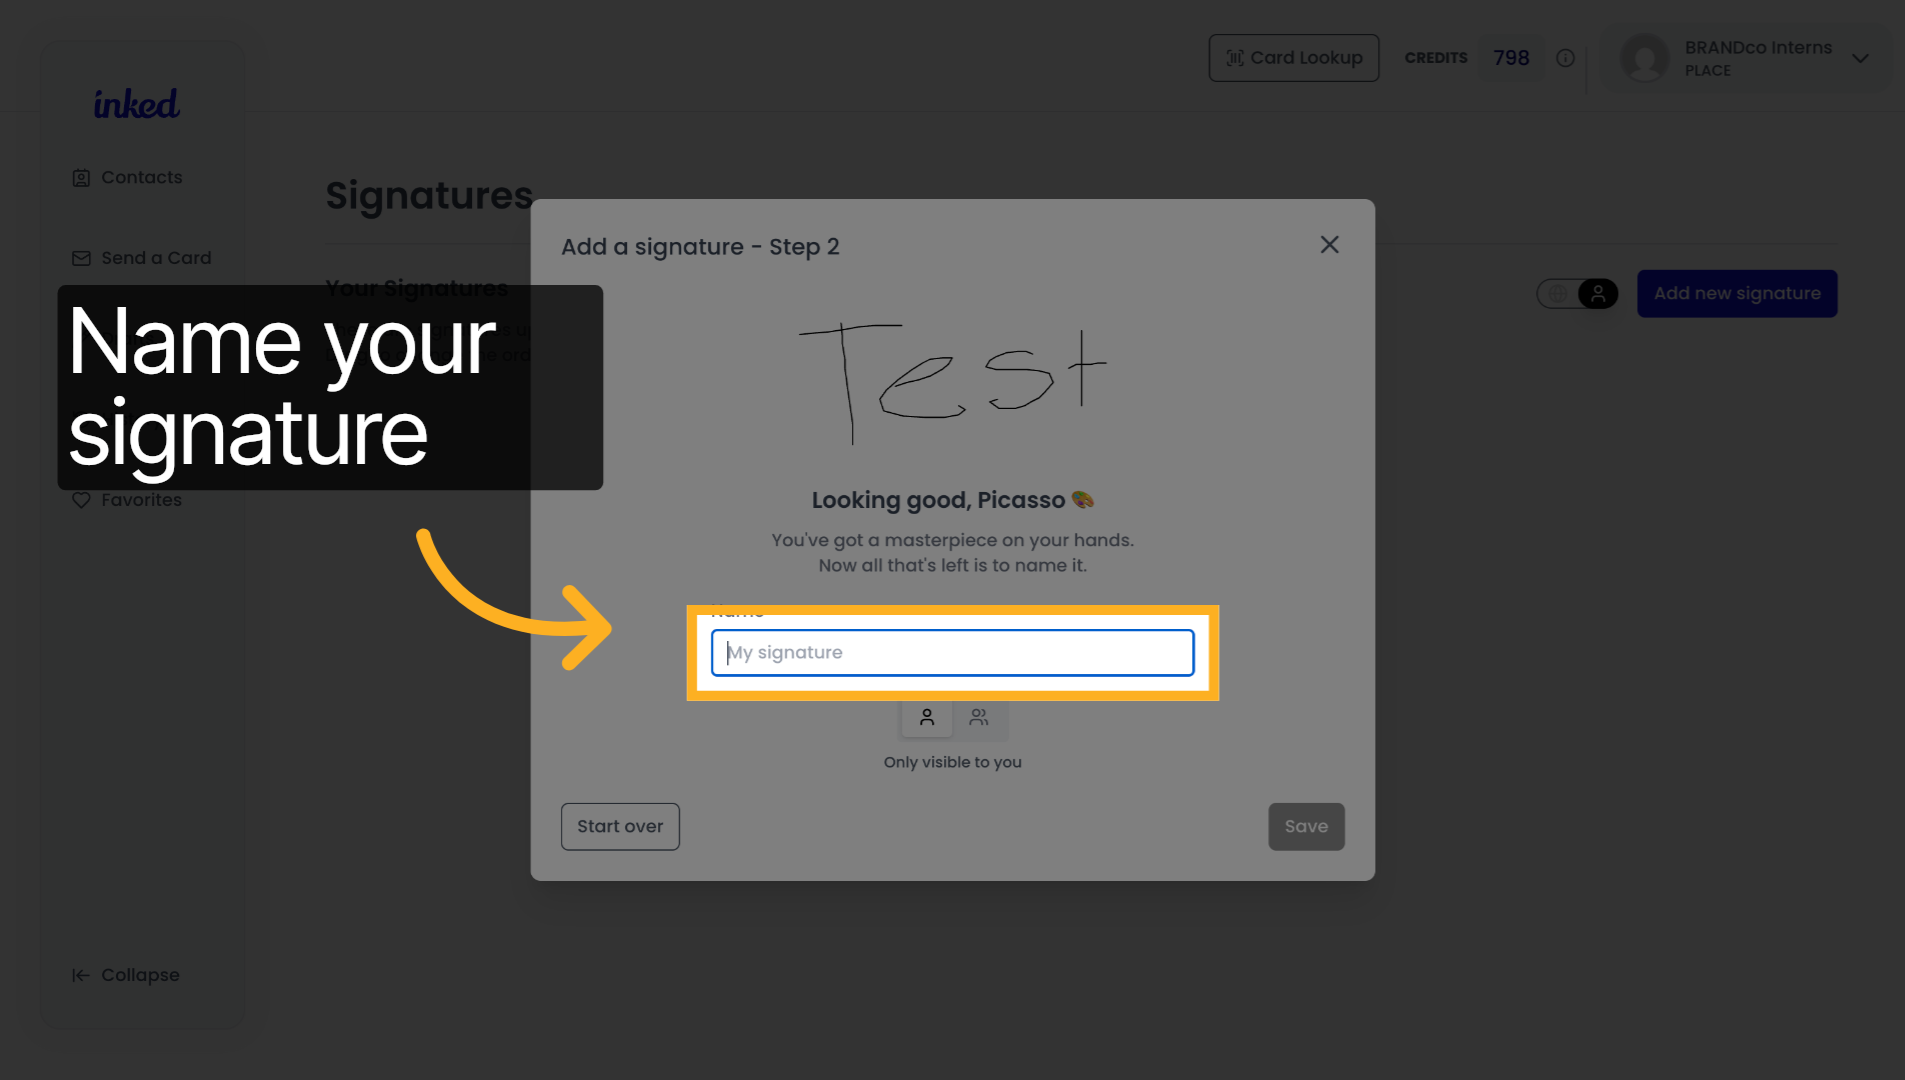
5. Name your signature
You will know you've done all of the previous steps correctly. If you are now asked to name your signature, if you see this, you may do so now,
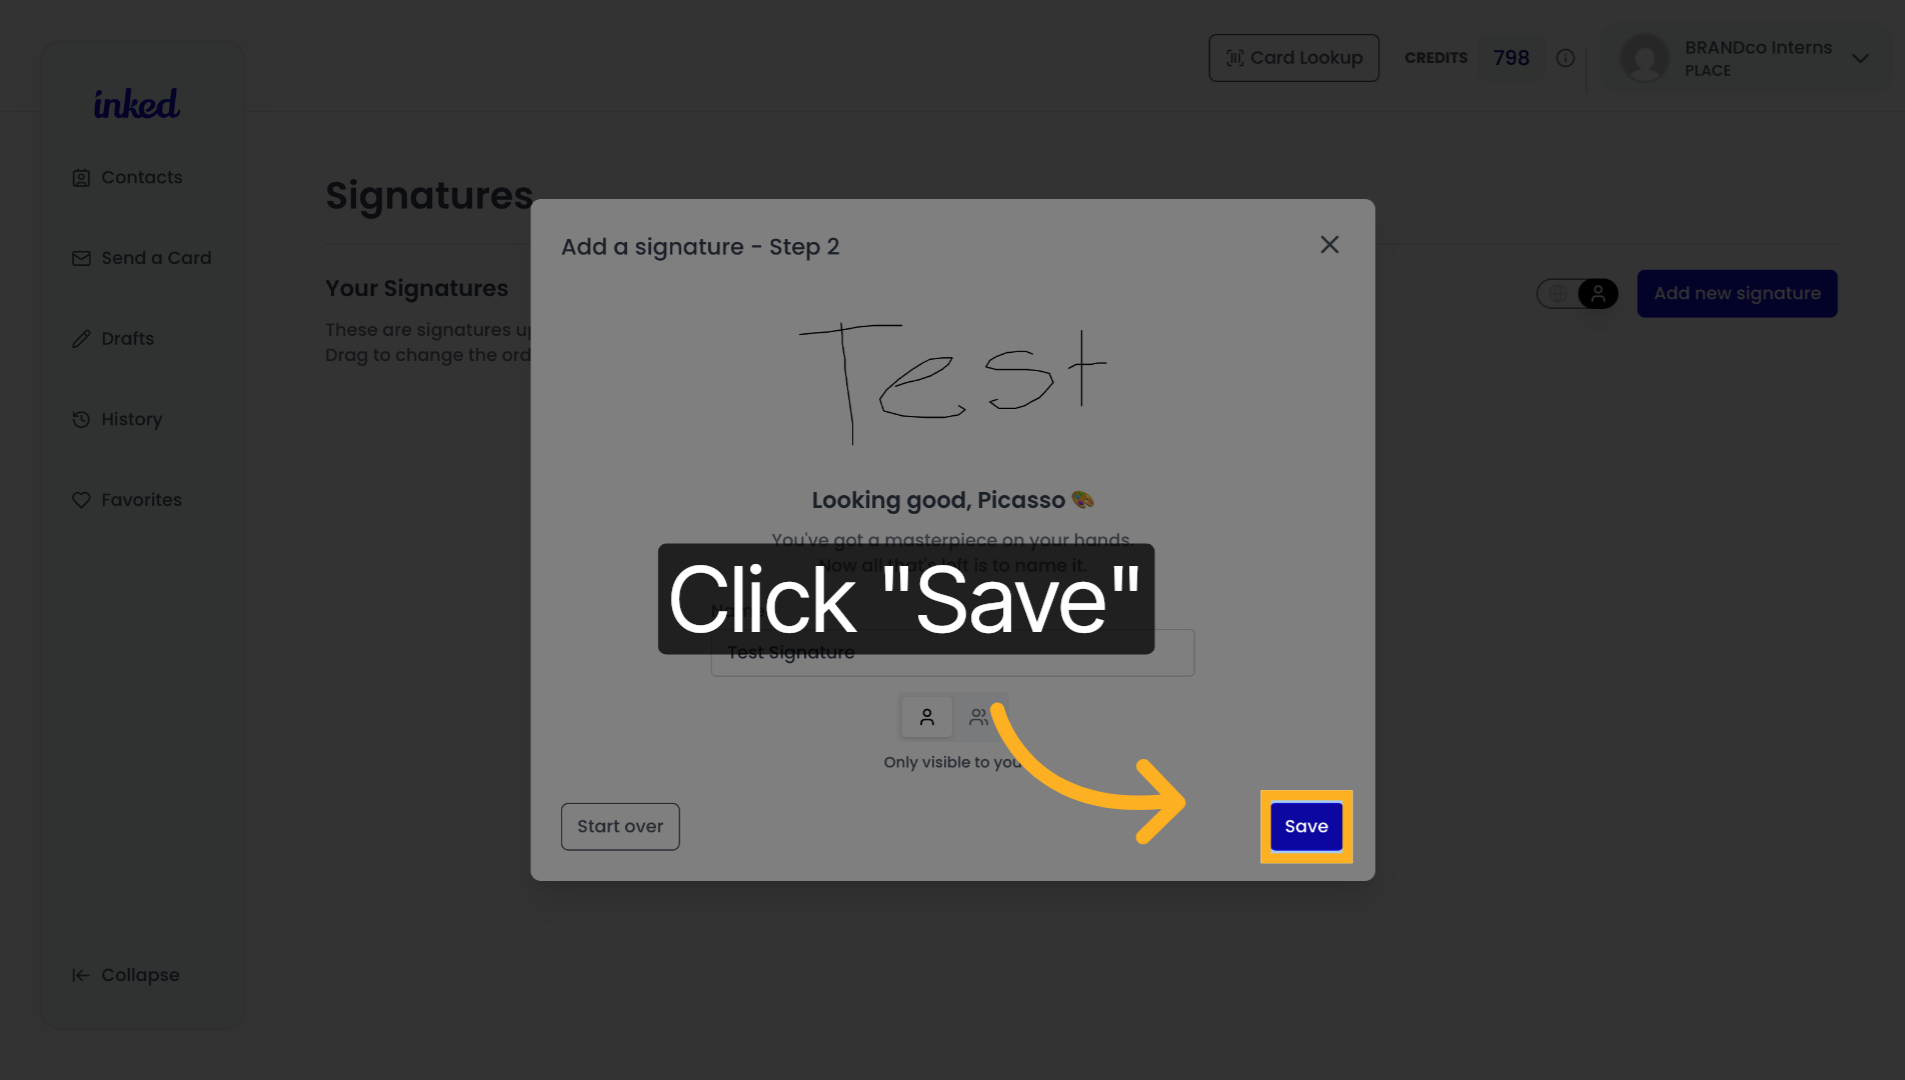
6. Save New Signature
Once you have named your signature, click save at the bottom right hand corner of your screen.
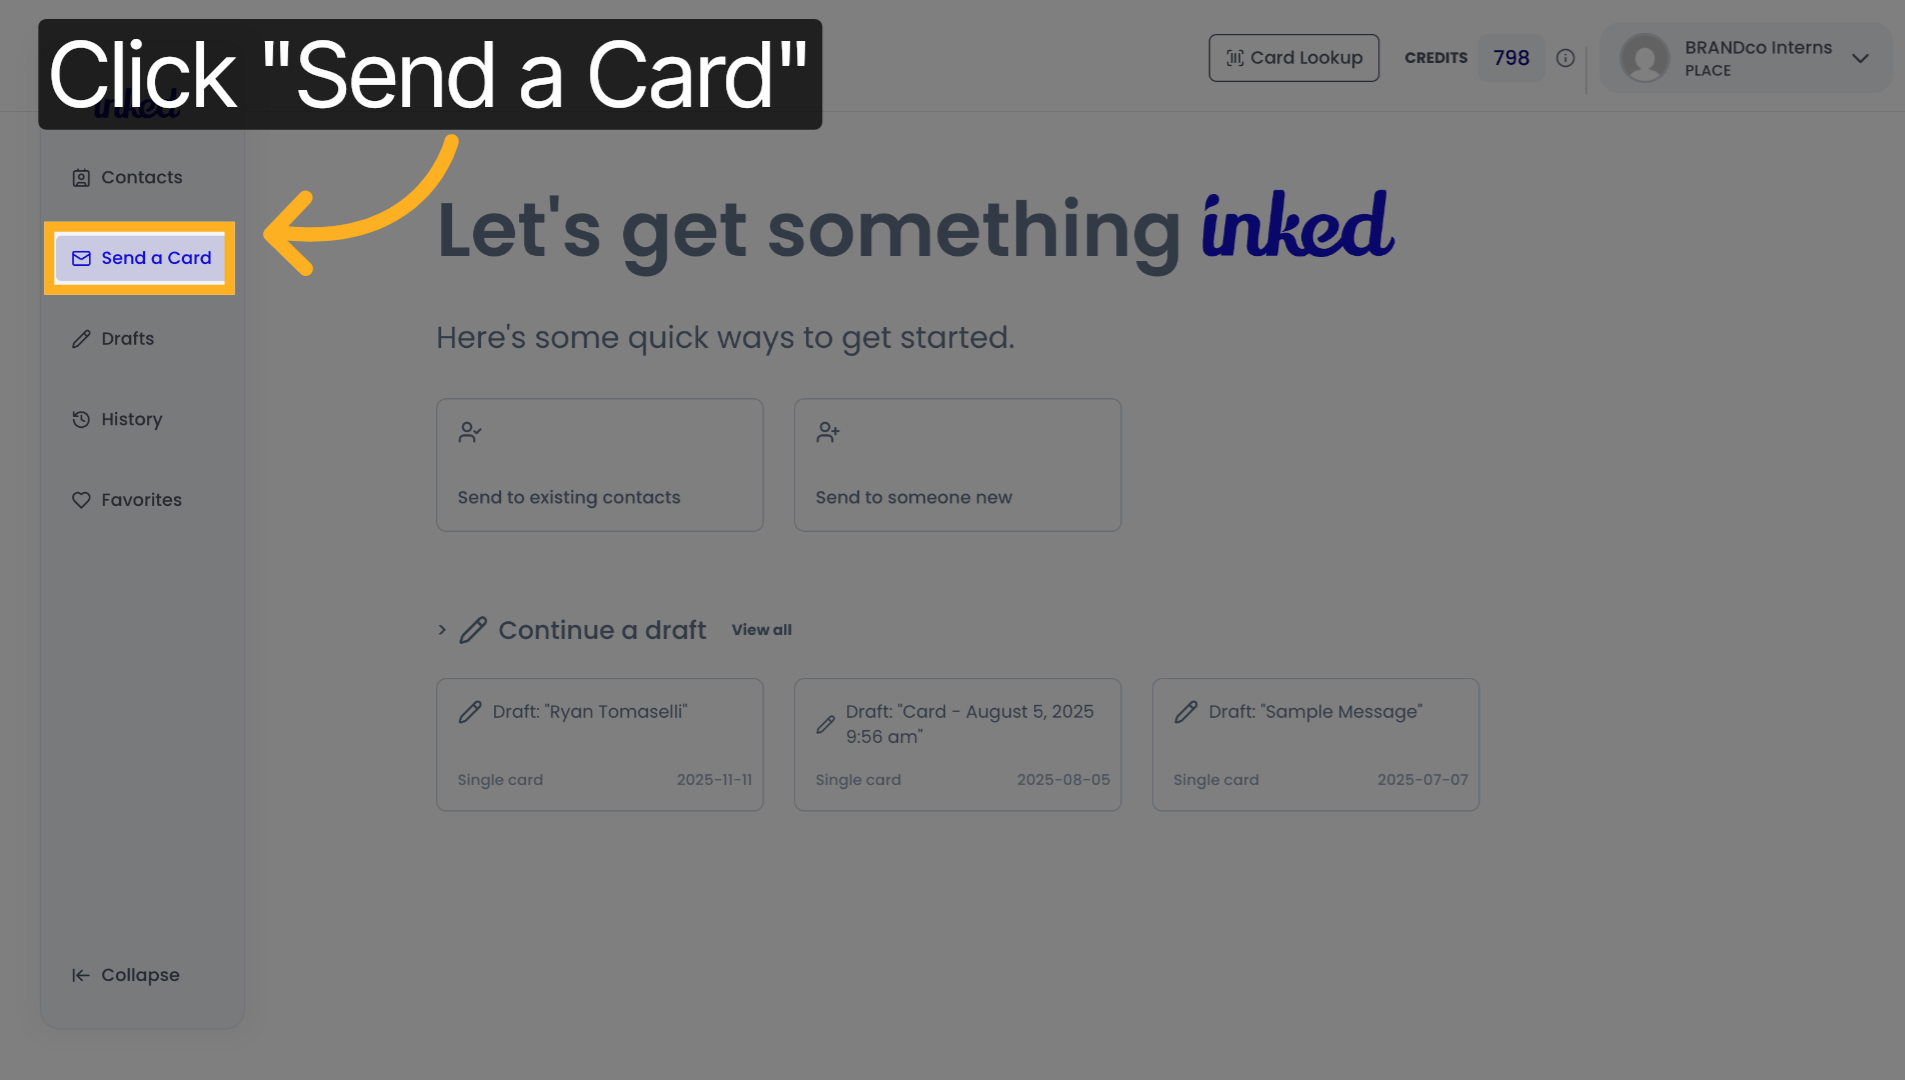
7. Choose Send a Card
It to customize your signature on your card, you'll want to go through the steps of creating a card like usual. This includes,
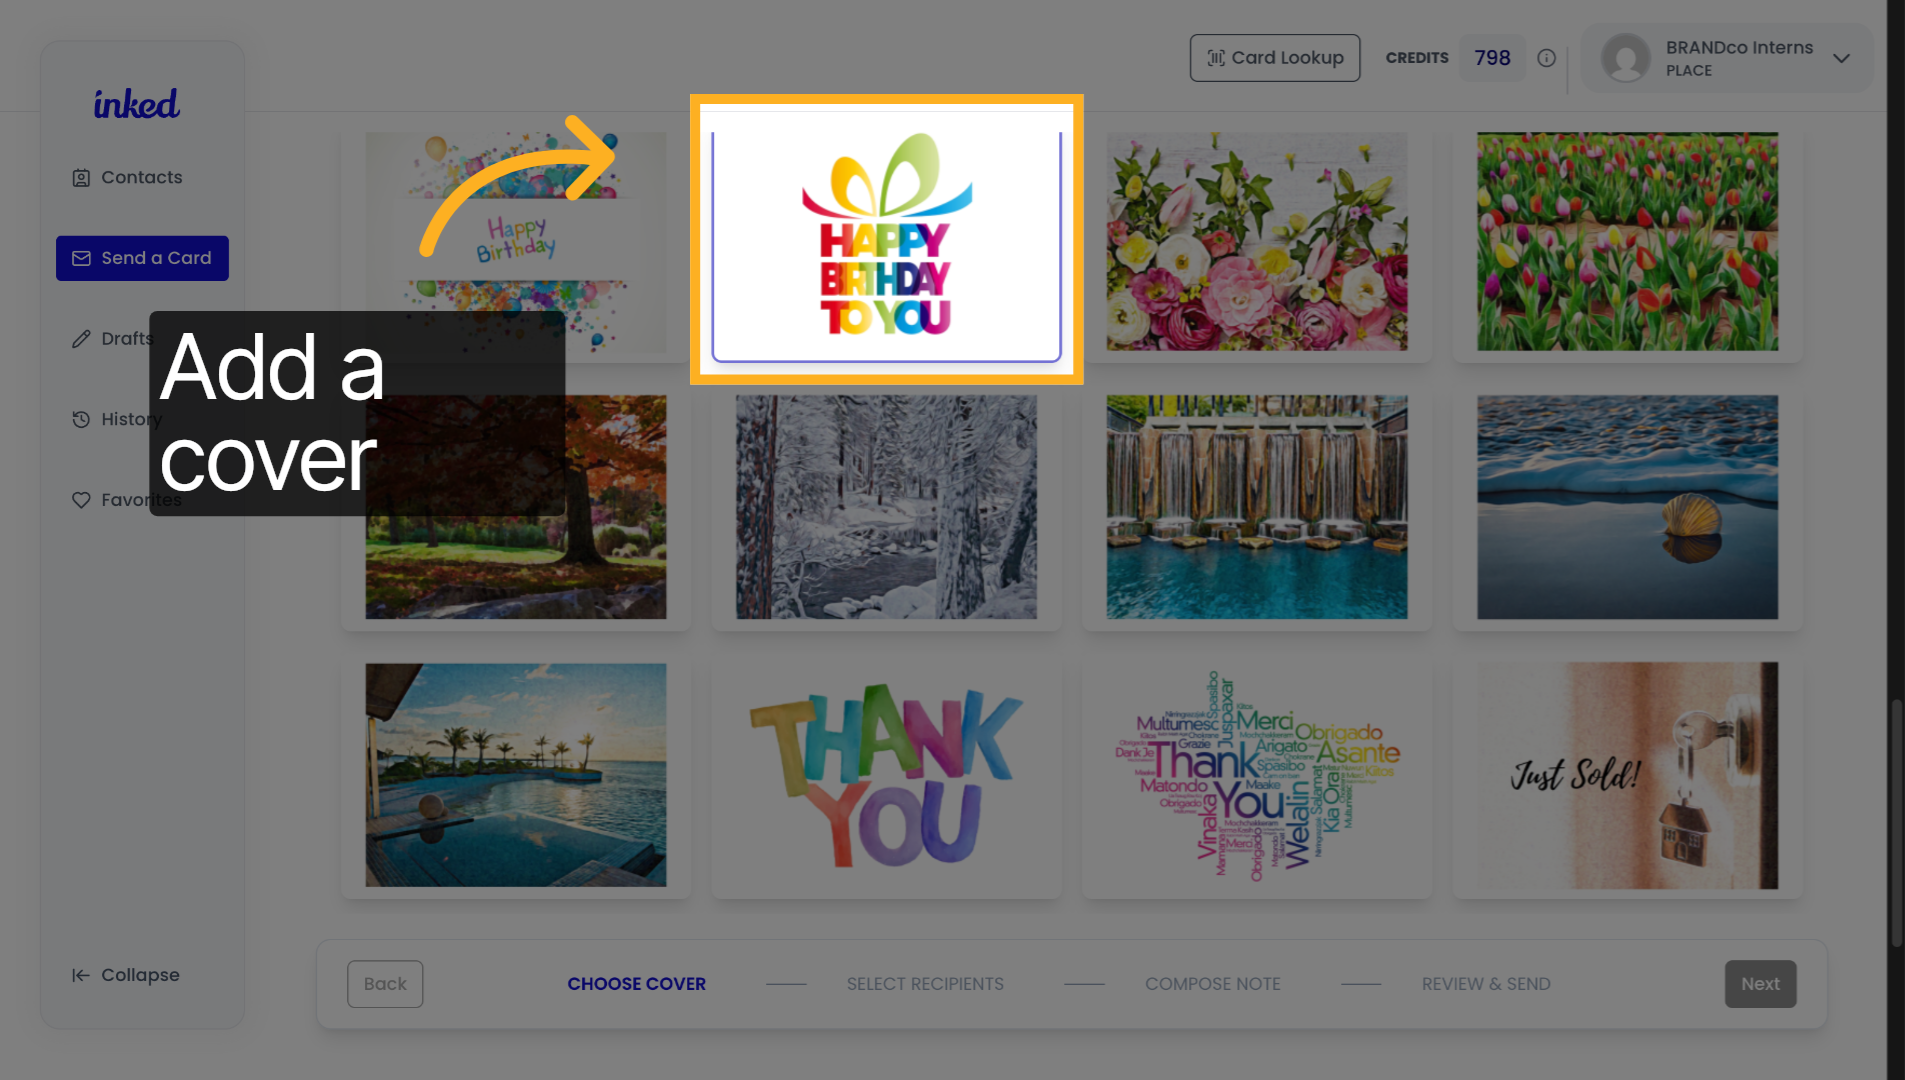
8. Access Next Options
Adding a cover.
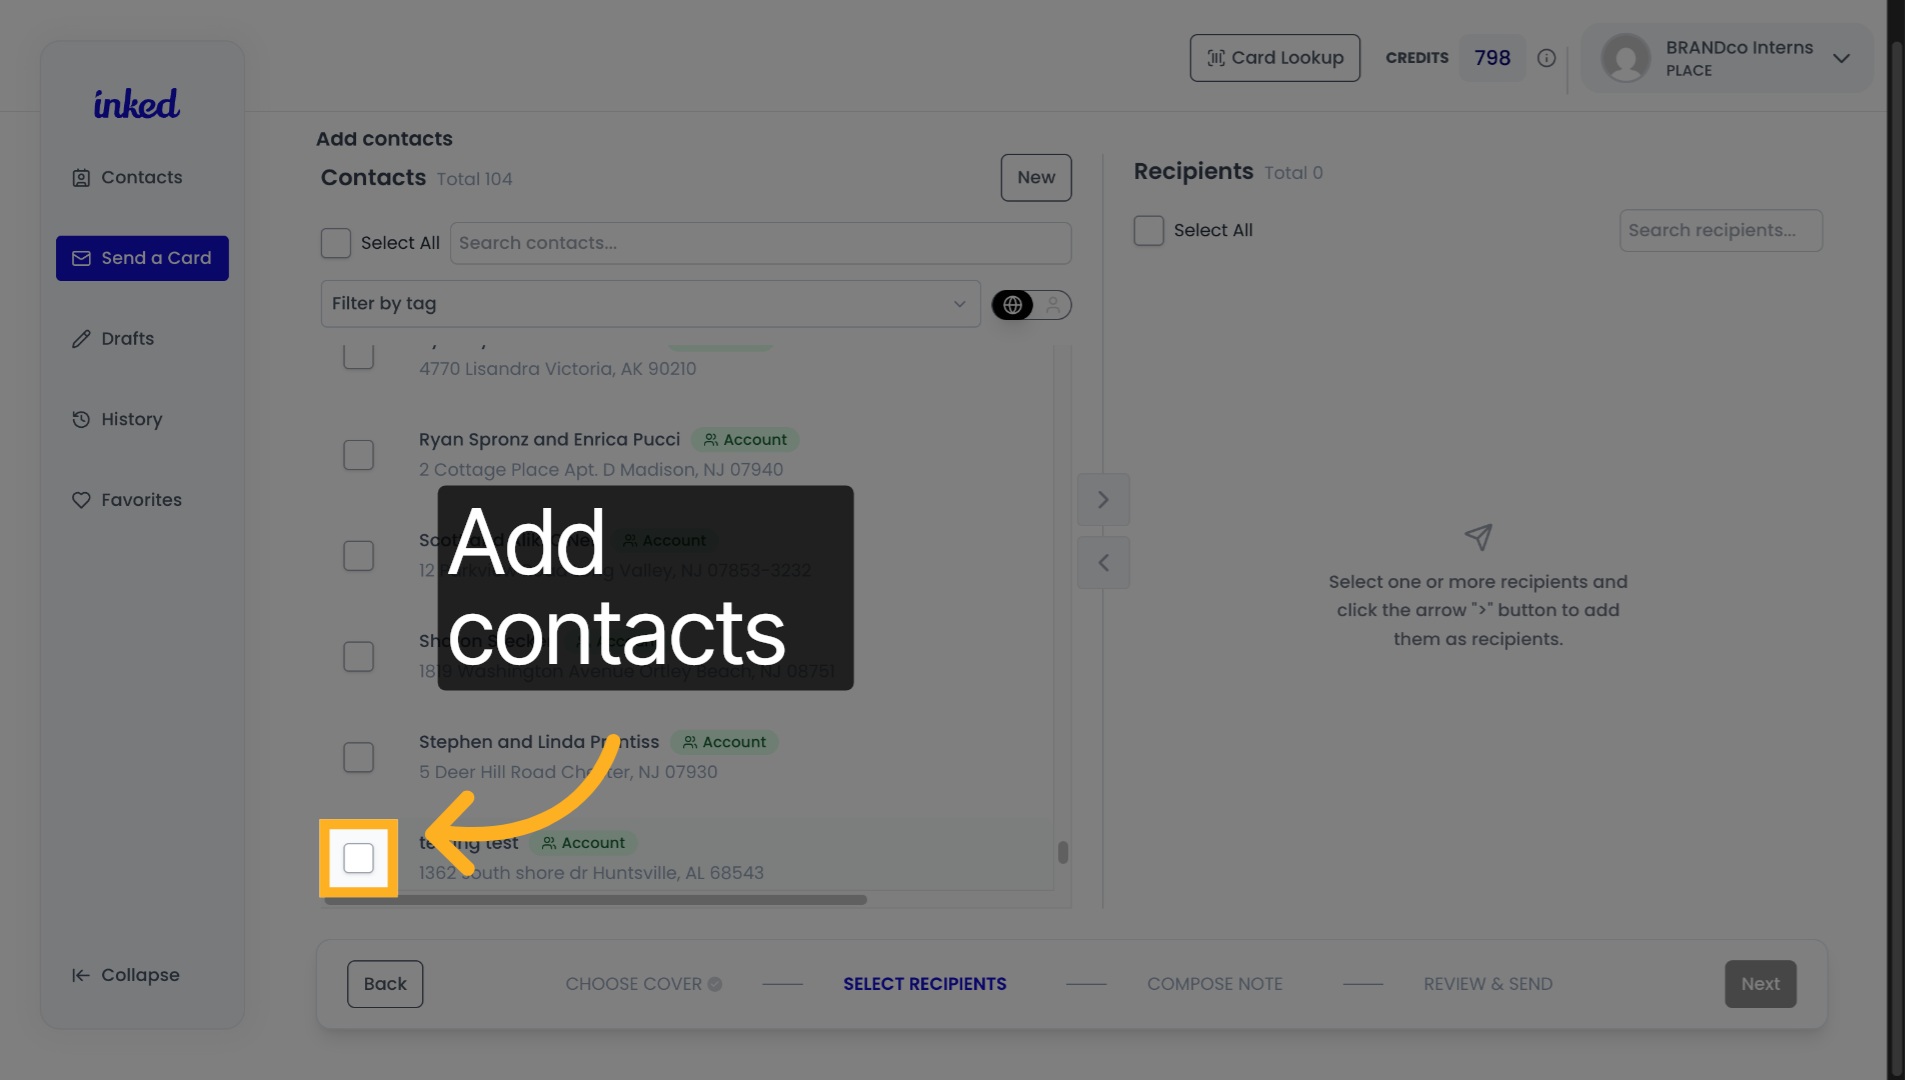
9. Open Further Settings
Are adding your desired contacts?
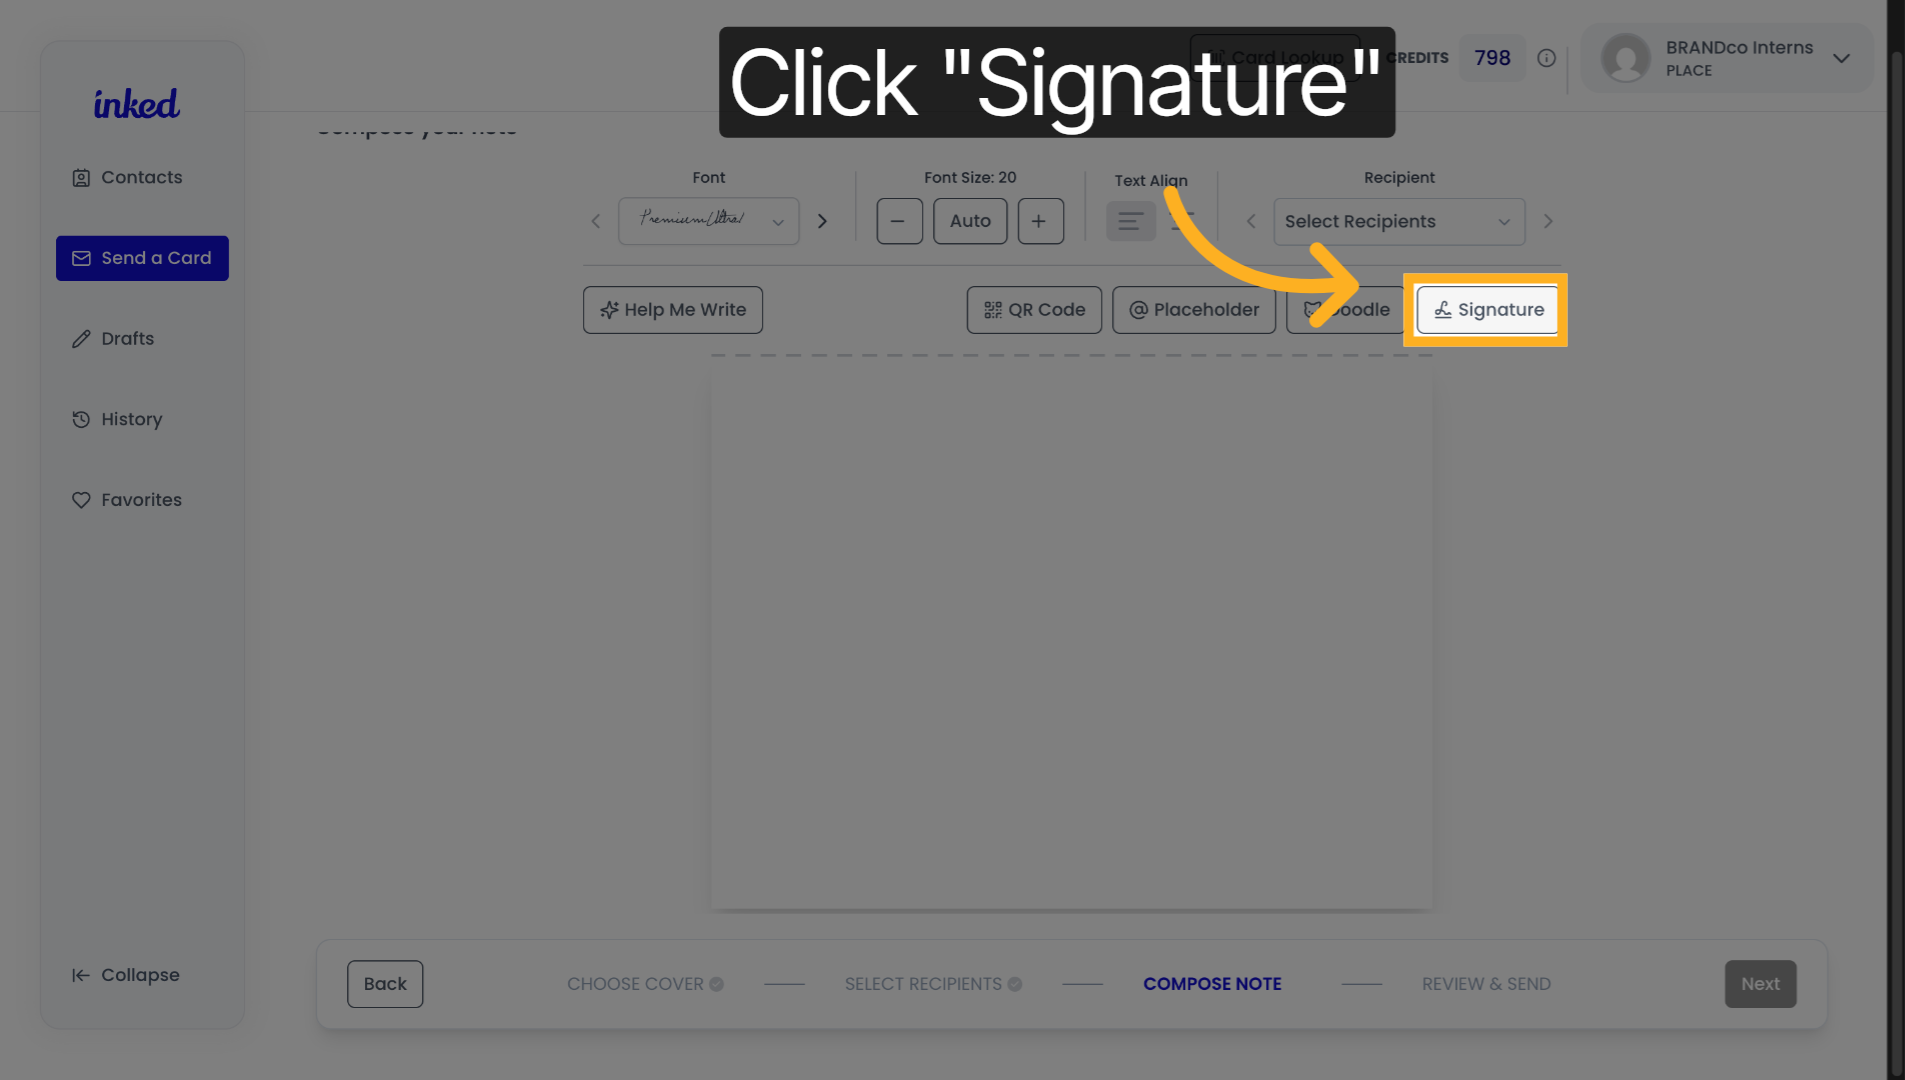
10. Select Signature Tab
And finally, customizing your card to begin using your signature, click the signature button in the upper right-hand corner of the screen.
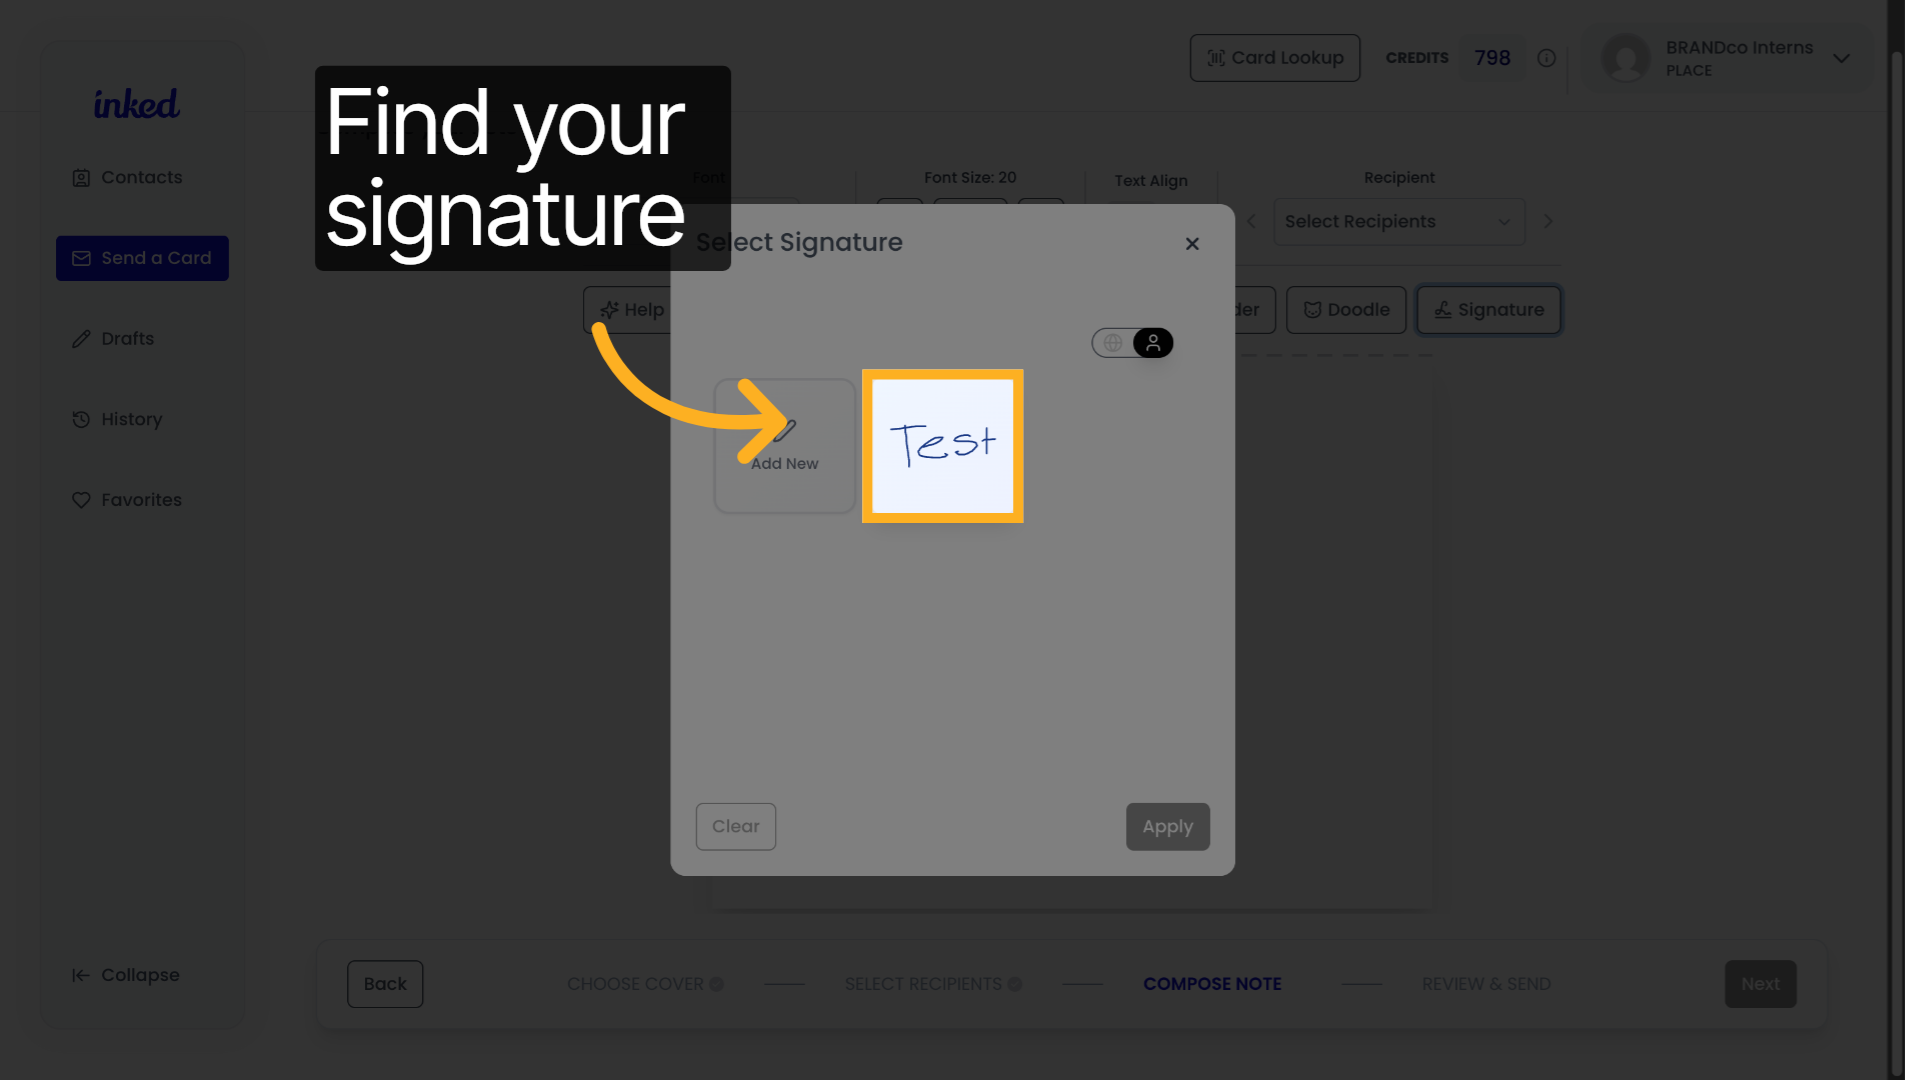
11. Open Signature Selection
On this screen, you should see add a signature and the signature you've already created, click the signature that you've already created.
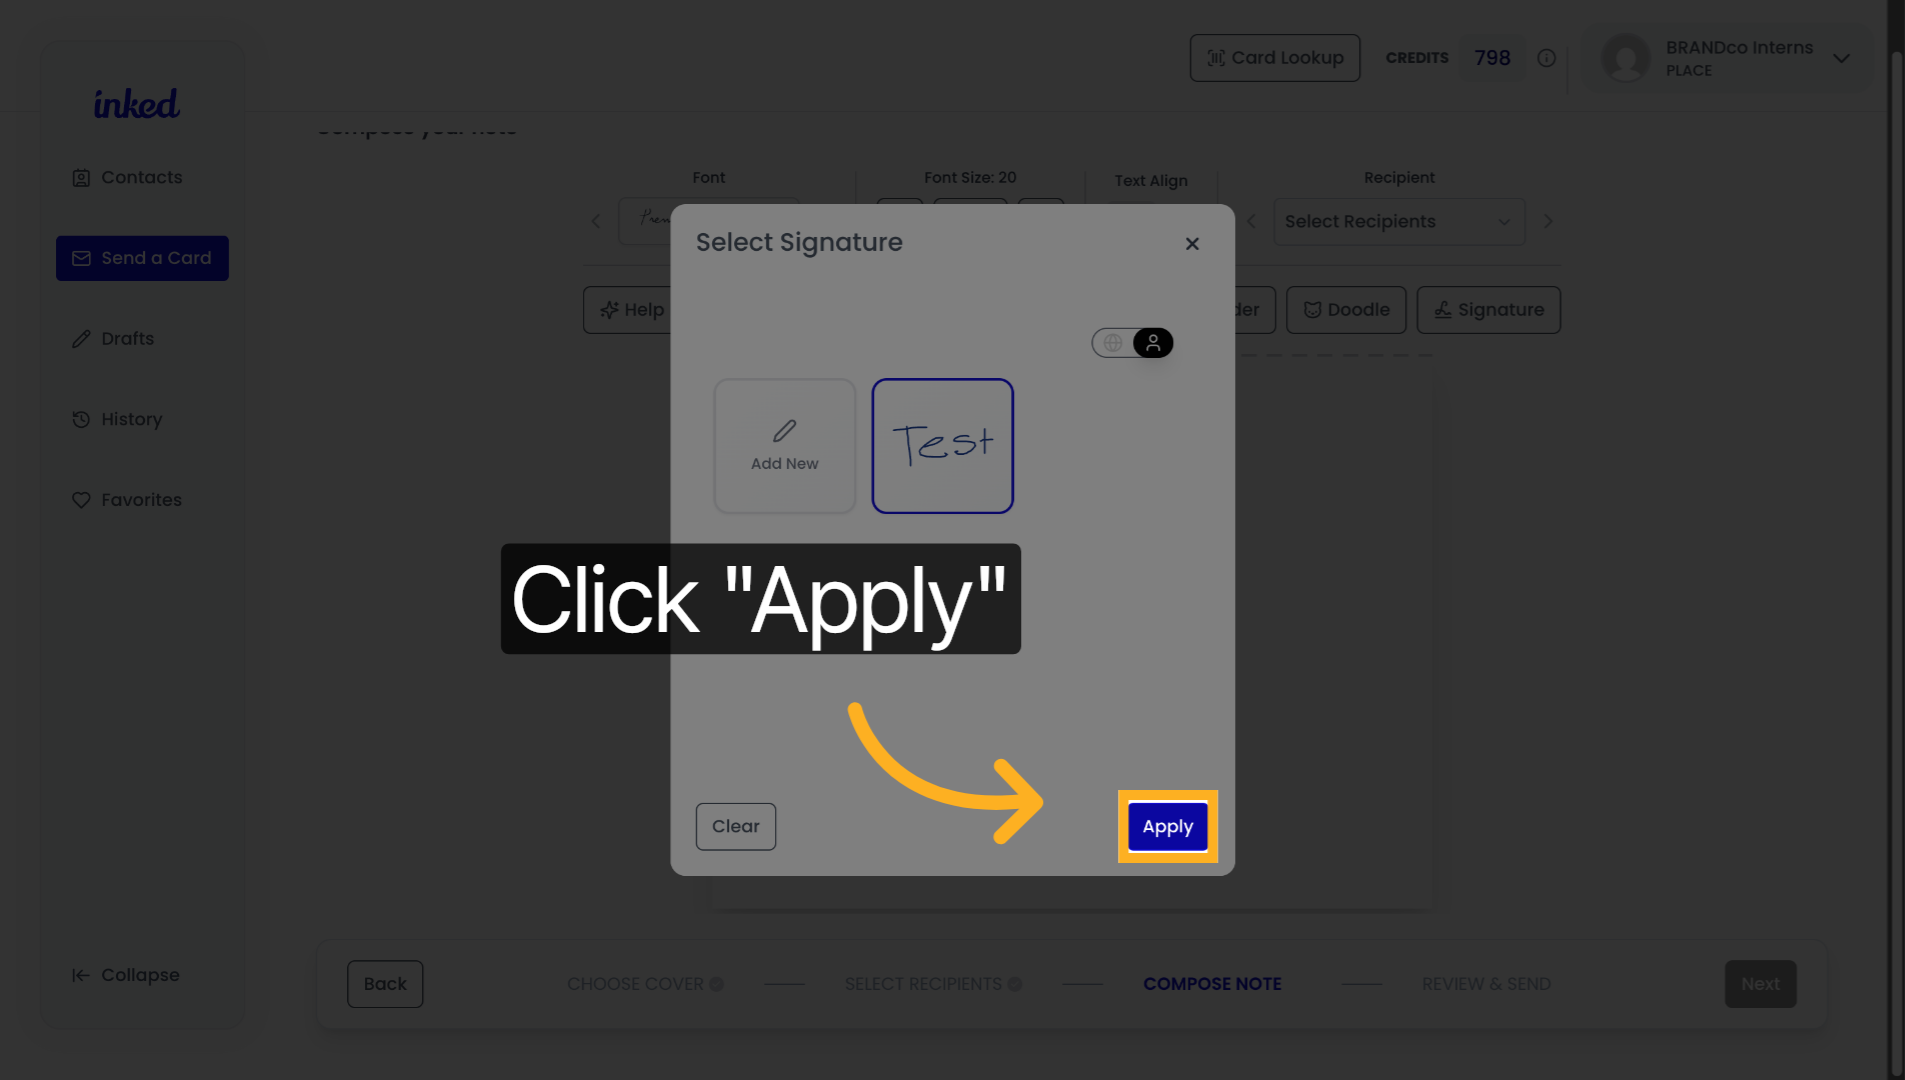
12. Apply Selected Signature
Once you see the signature that you have created, it is highlighted in blue, click apply.
13. Access Additional Options
To begin customizing your signature, make sure to click the signature while it's on the card. You have done this correctly. If you see a dotted line form around it,

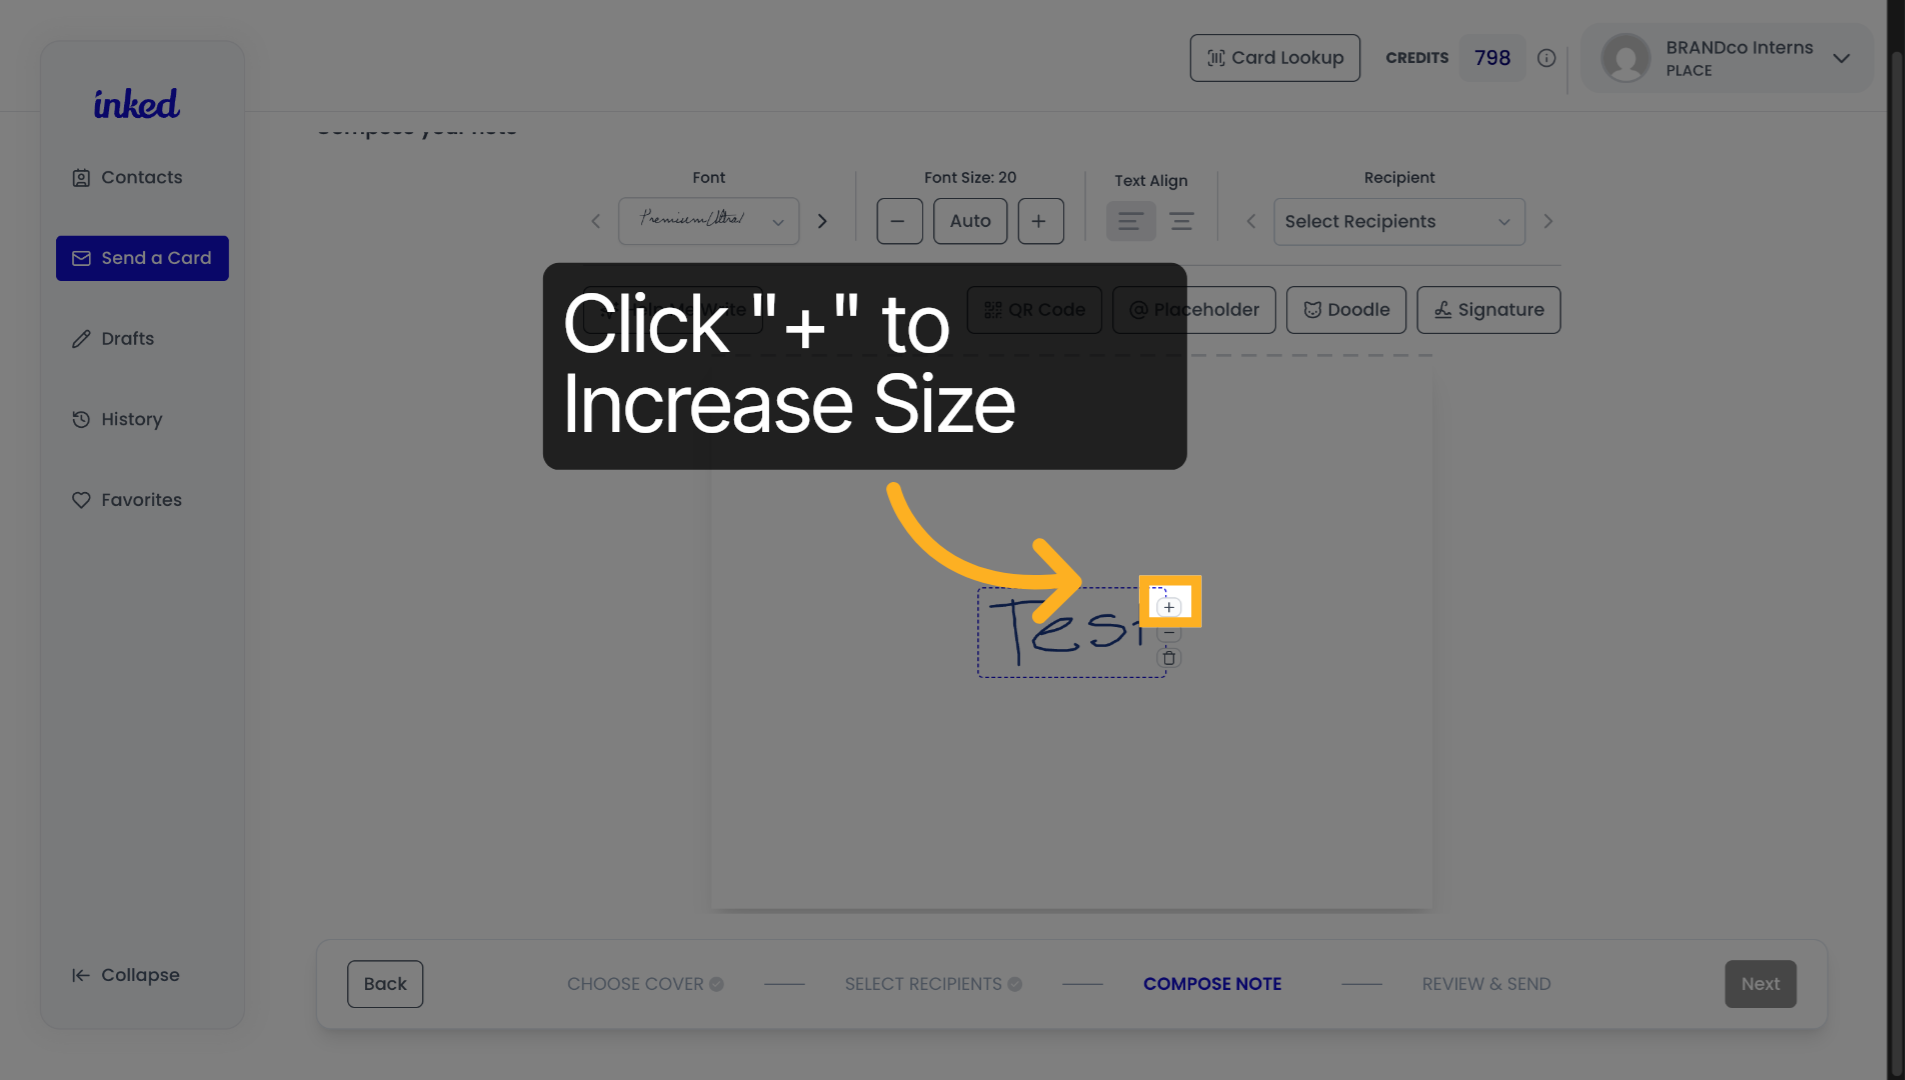
14. Open Next Configuration
To increase the size of your signature, click the plus button.
15. Access Further Options
To decrease the size of your signature, click the minus button.

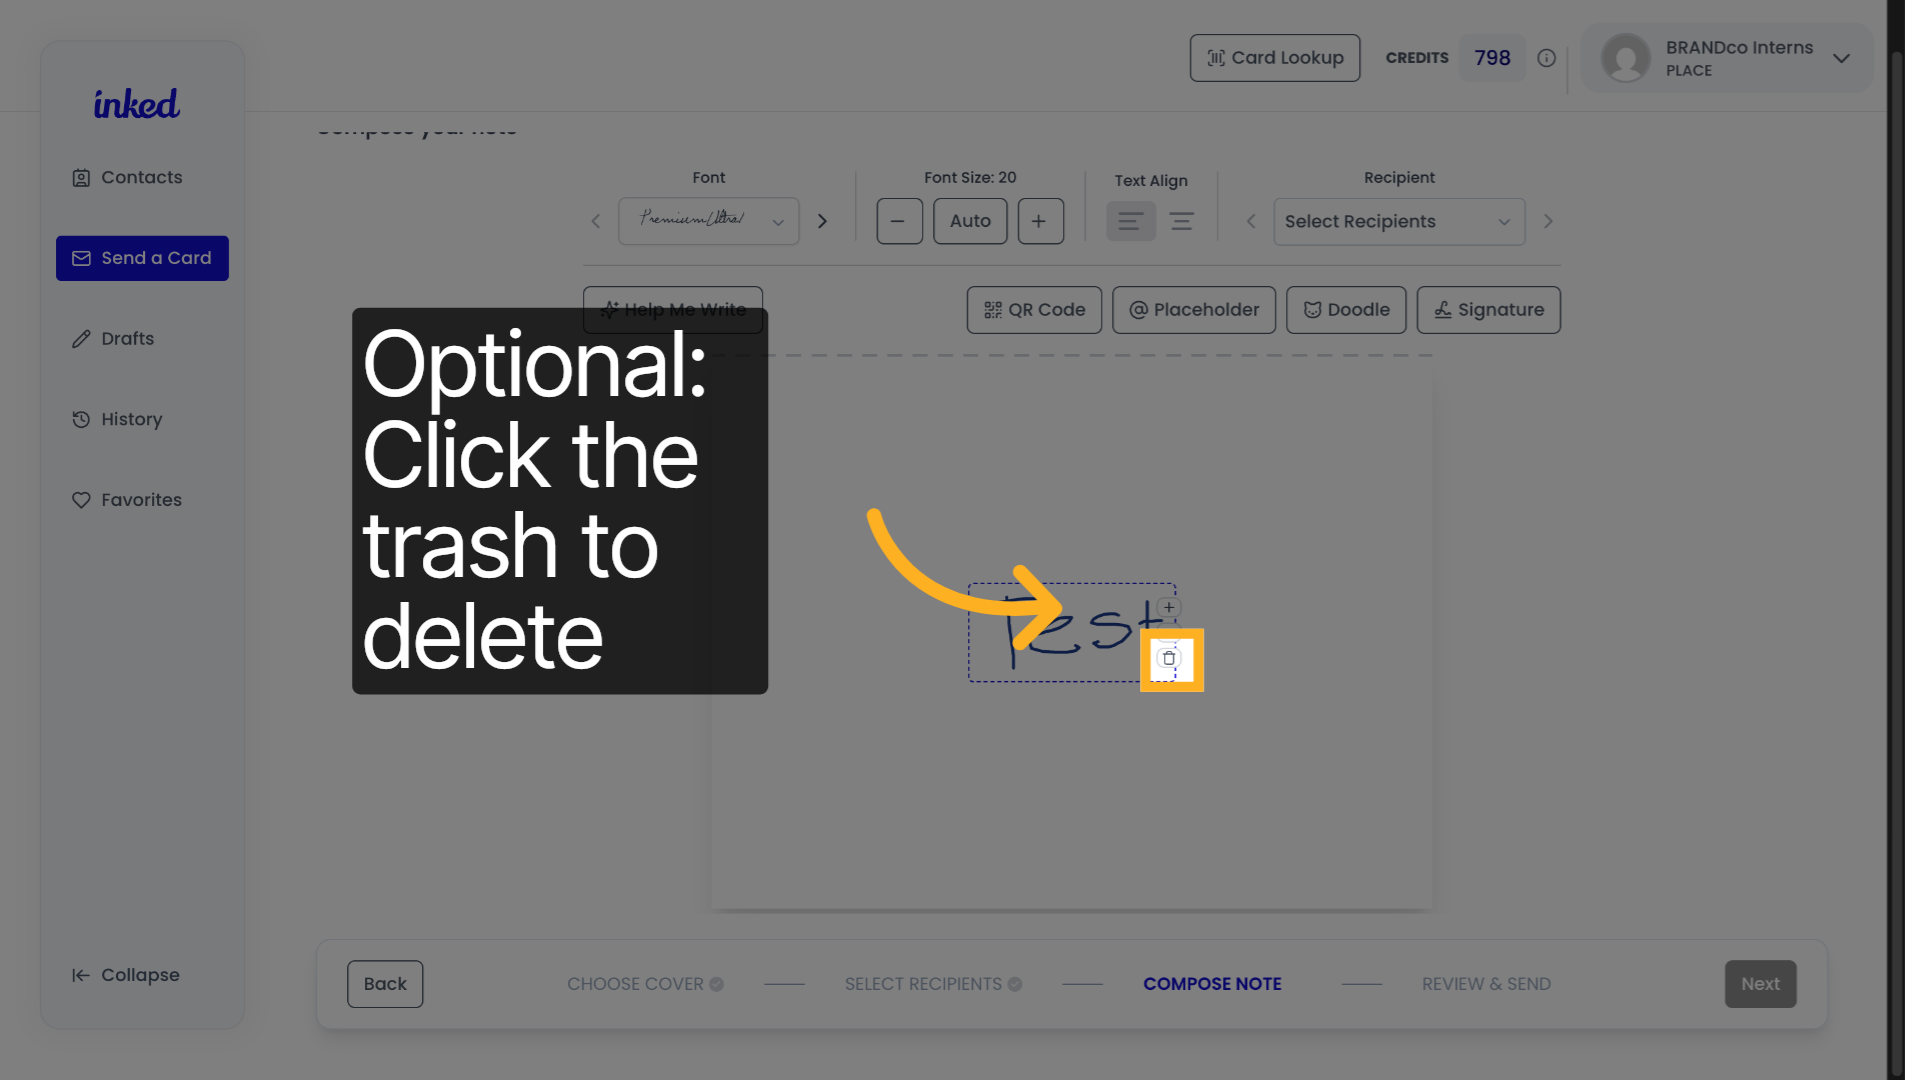
16. Delete Your Signature
If you would like to delete your signature click, the trash can icon.
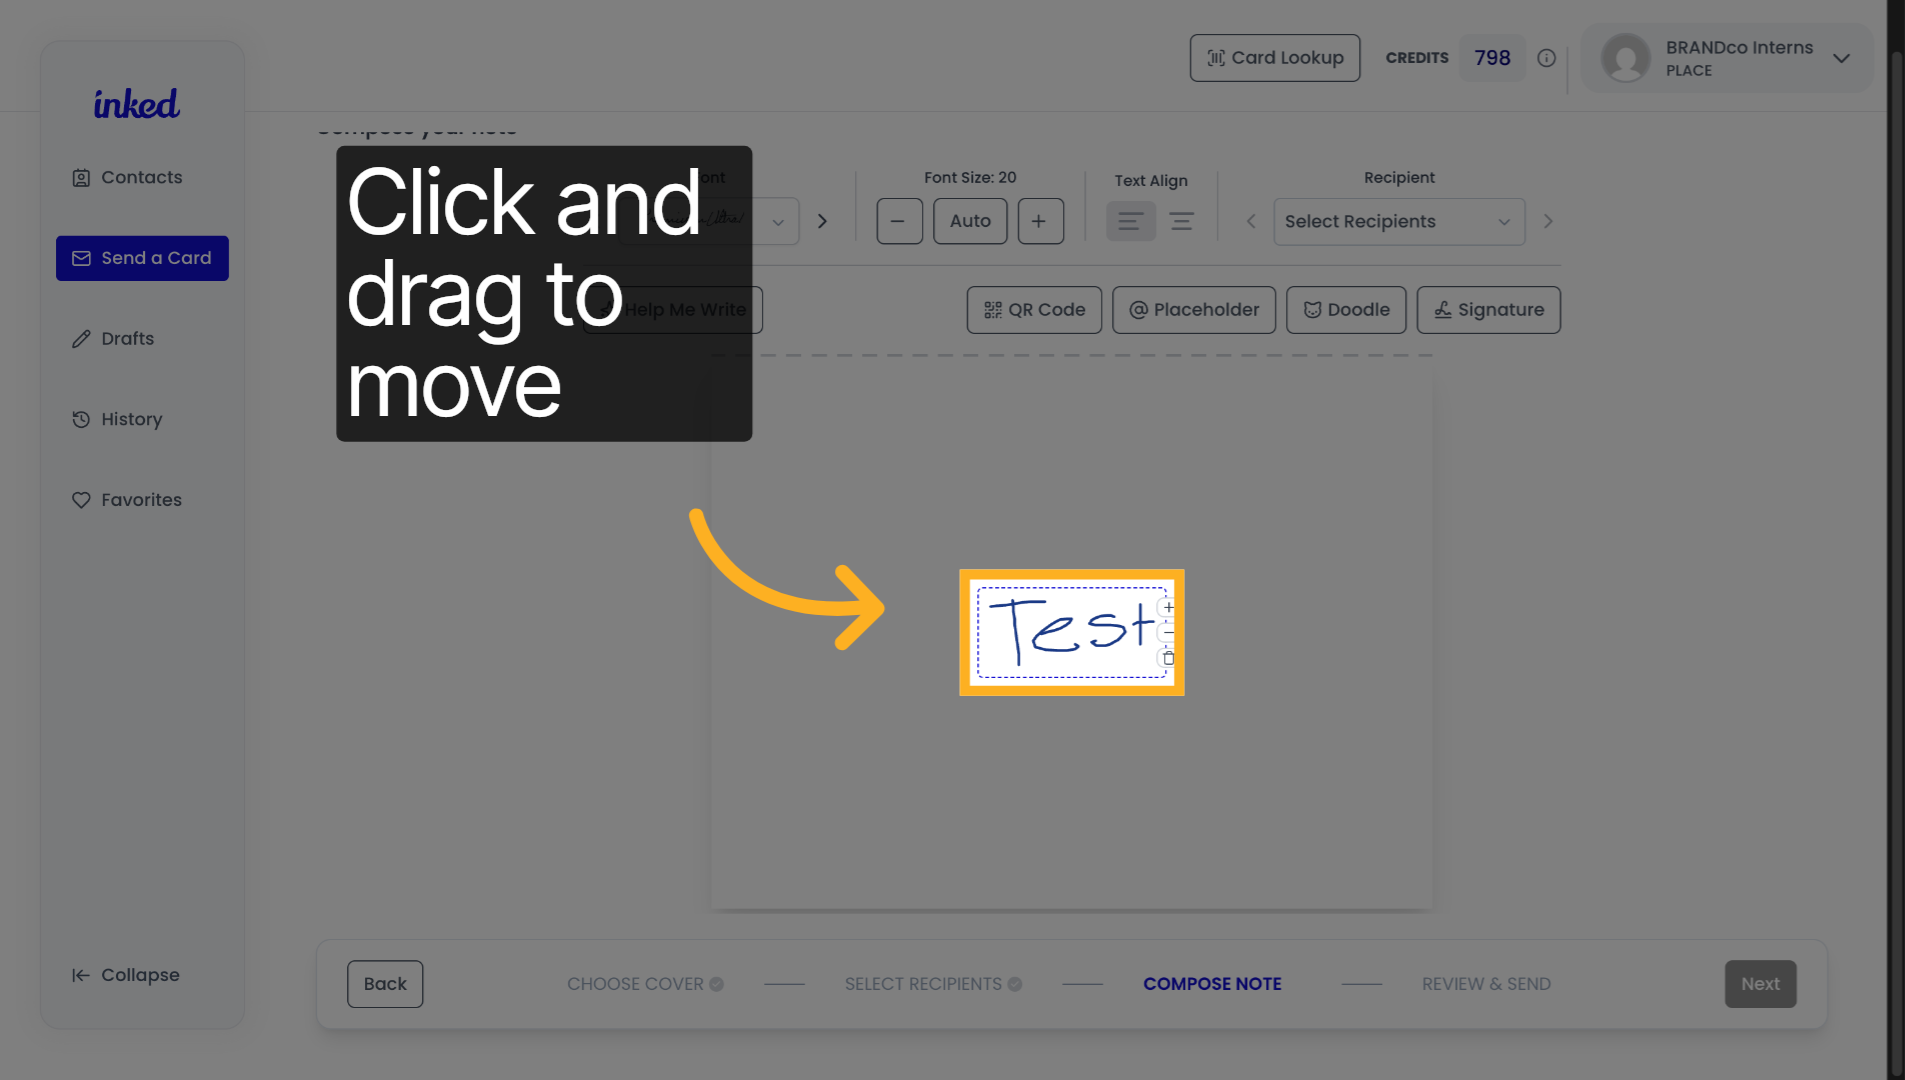
17. Open Final Settings
And finally to move your signature, click anywhere inside the dotted lines, and drag it to your desired location.
And that's it. You've successfully created and customized your signature and Inked.