How to use placeholders in Inked
What are placeholders?
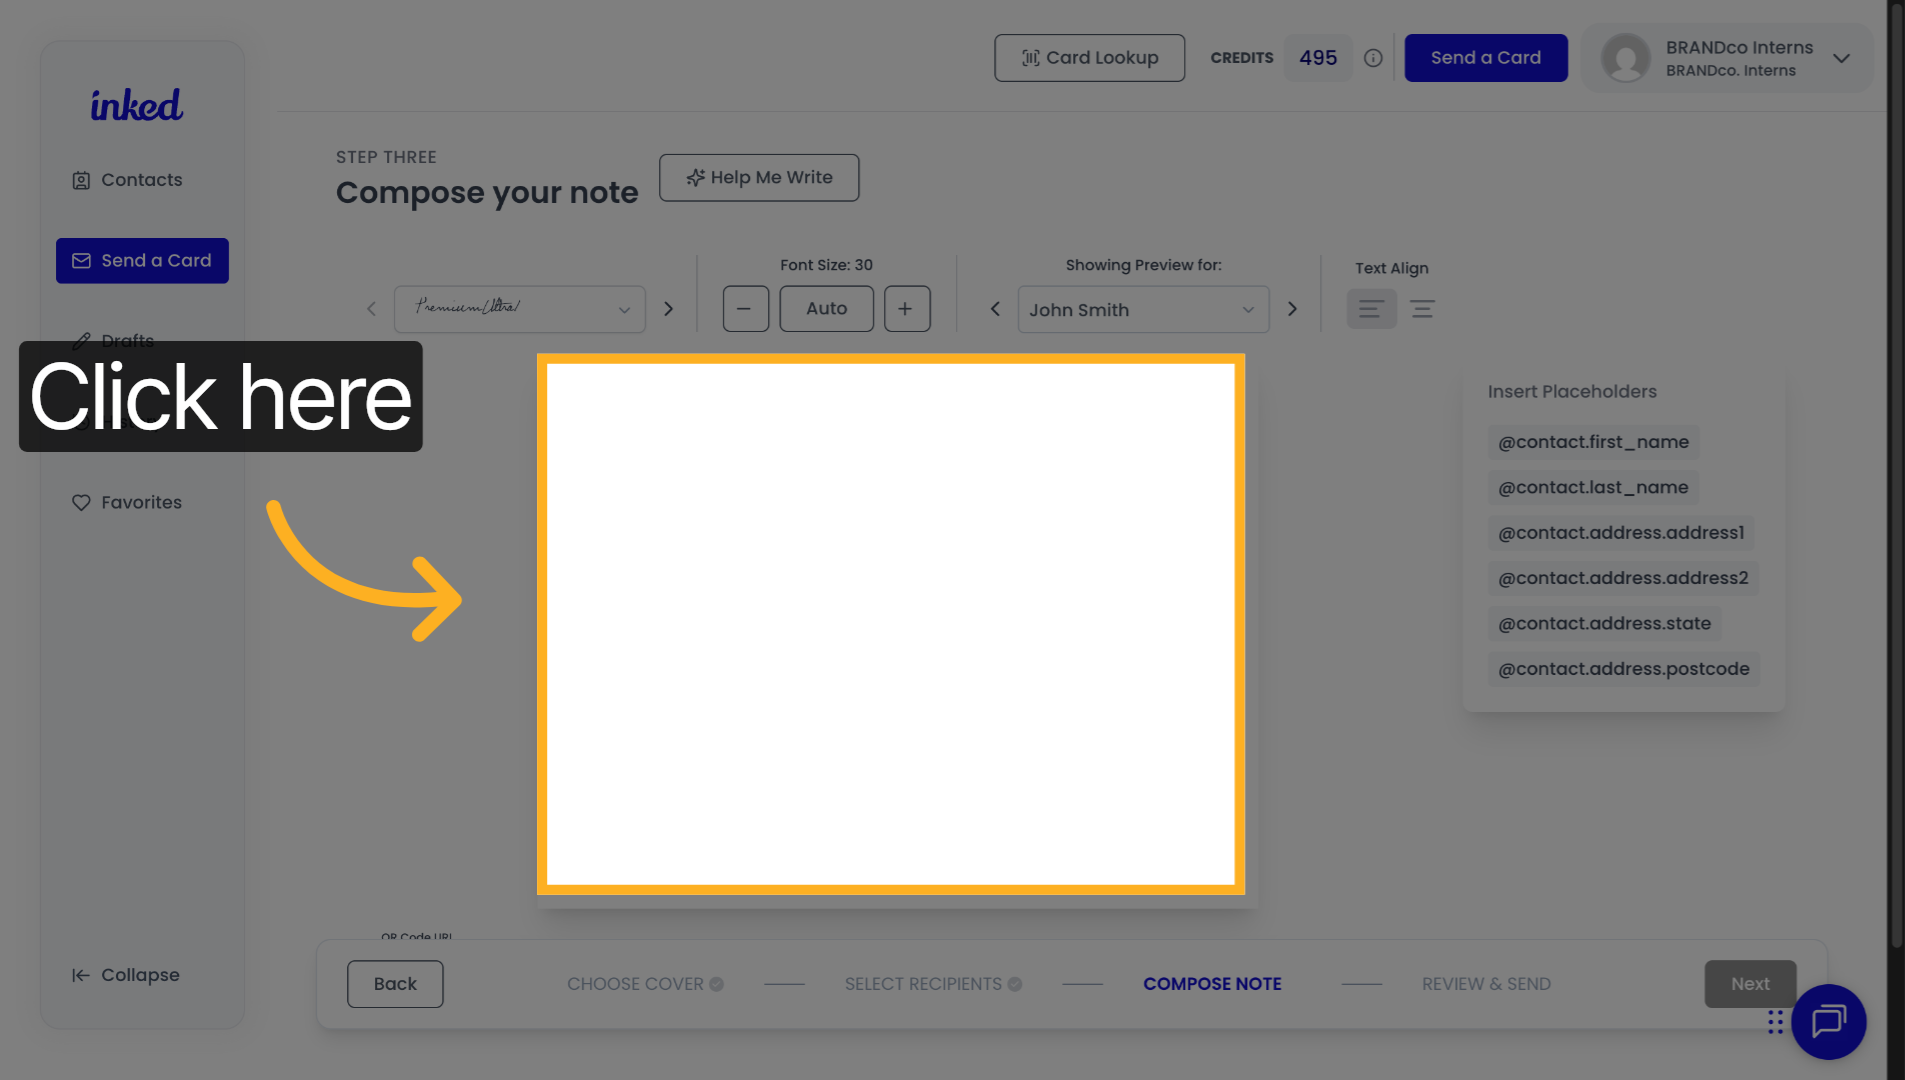
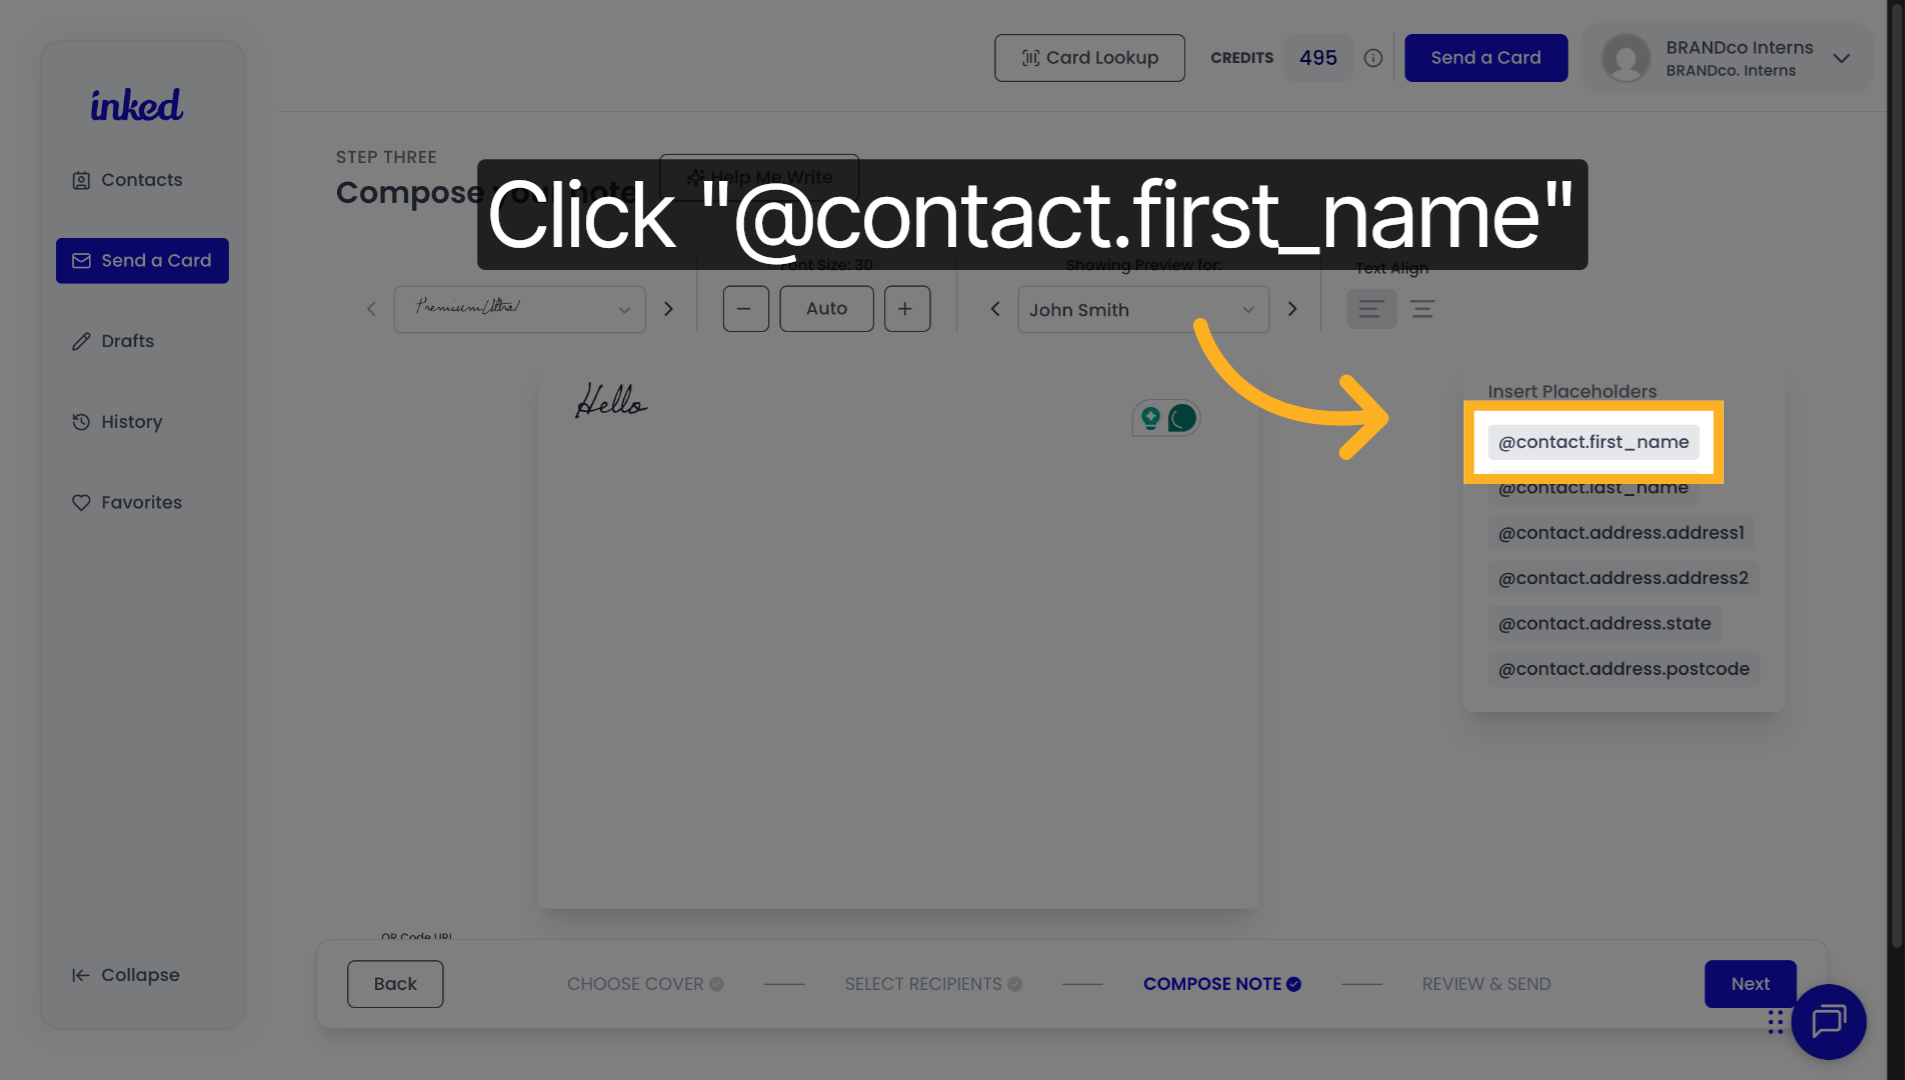
Placeholders are short codes that auto-fill real data (such as names, emails, dates, etc.) from your contact list into Inked. They let you write one message and send it to many people—each person sees their own details.
Why use them?
-
Personalization at scale: “Hi @Contact.first_name” translates to "Hi John" "Hi Sarah" etc. Each recipient sees their own details, which feels human without manual editing.
-
Accuracy: Pulls directly from your contact list = no copying errors.
-
Speed: Build once, reuse everywhere
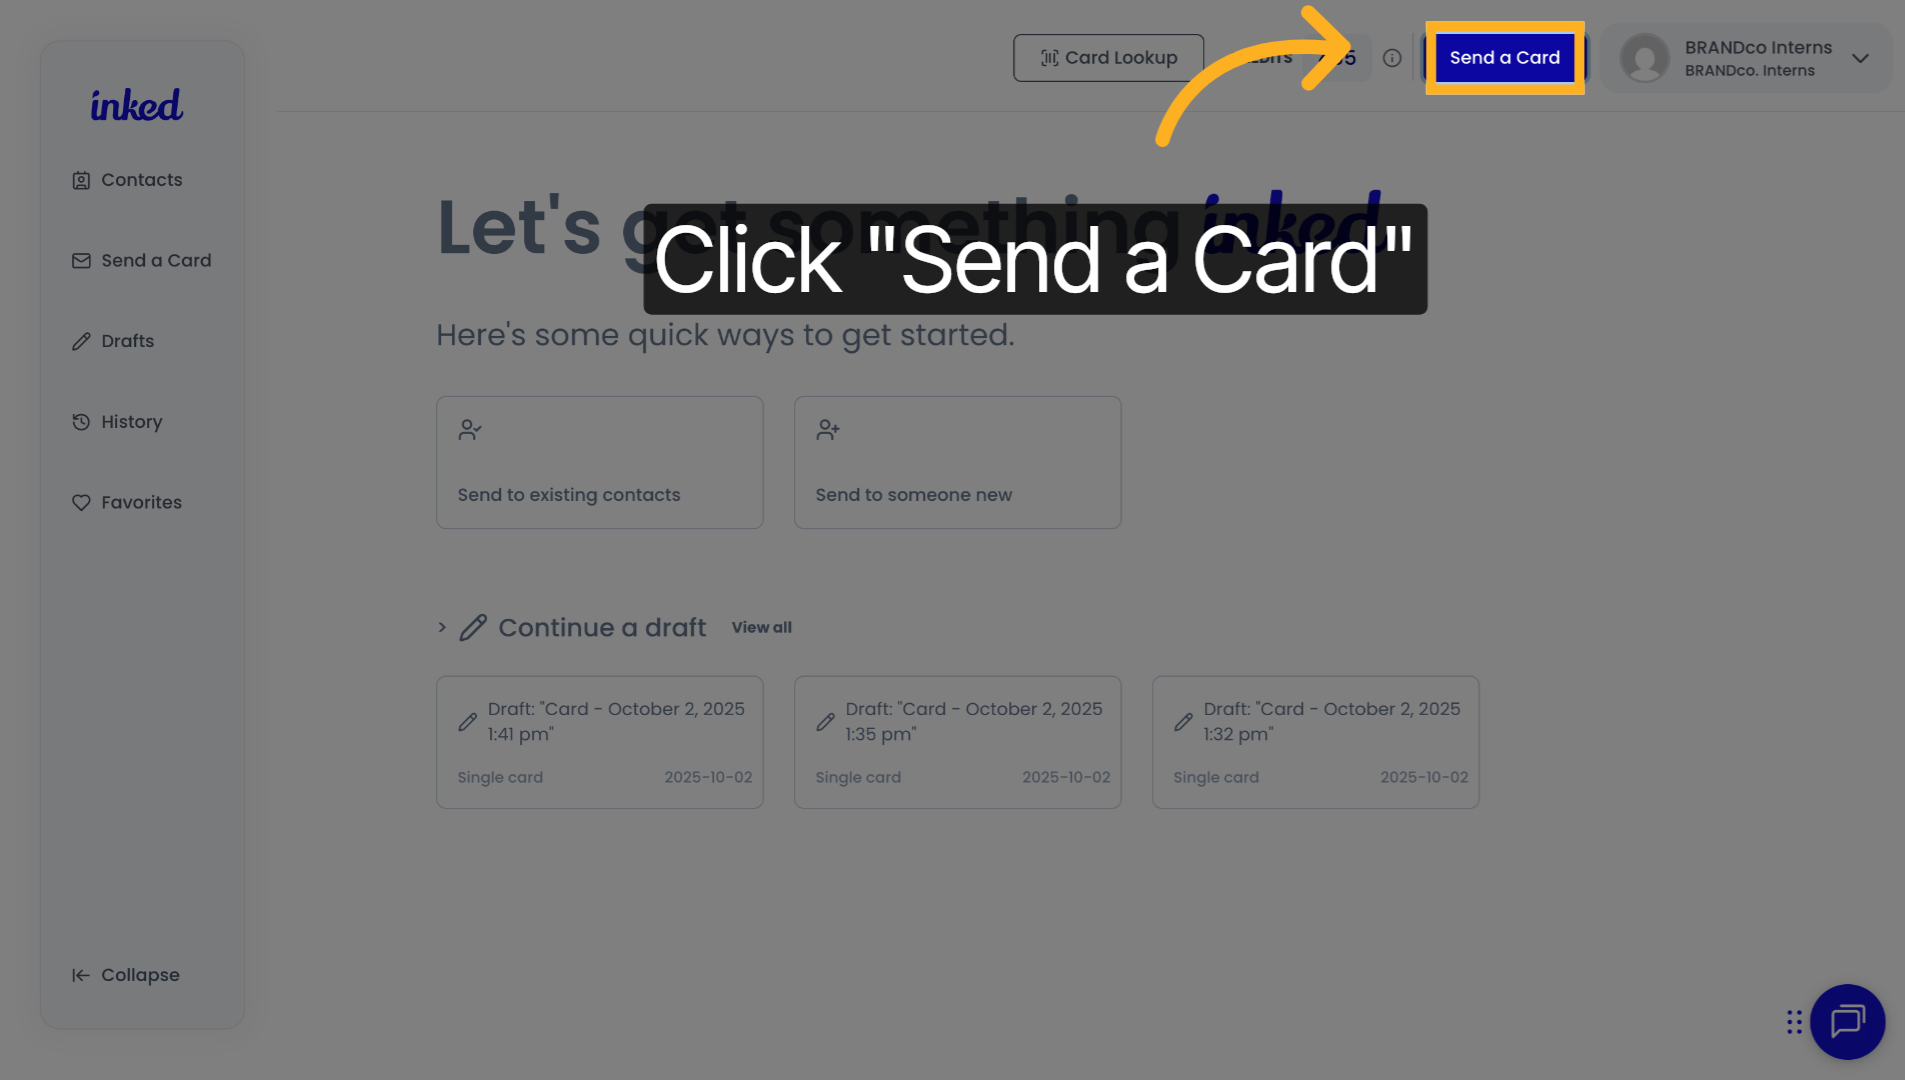
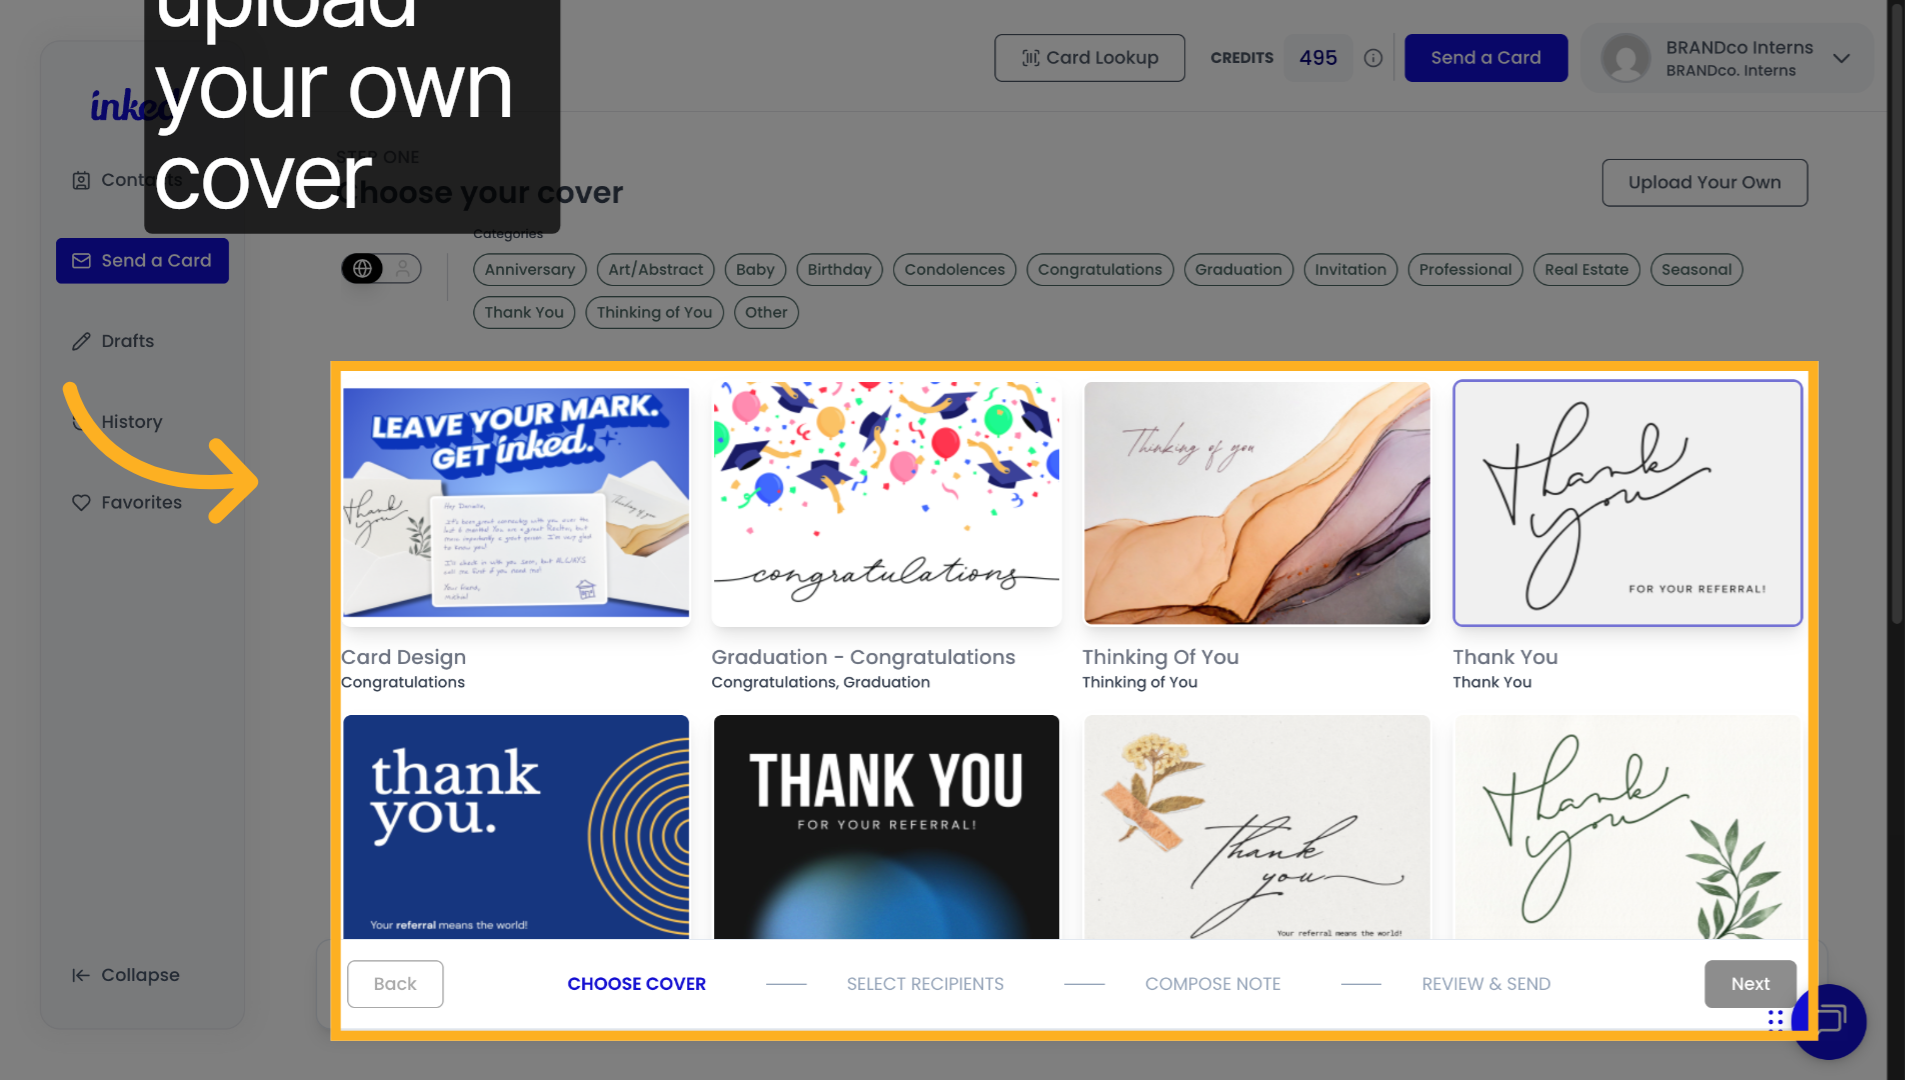
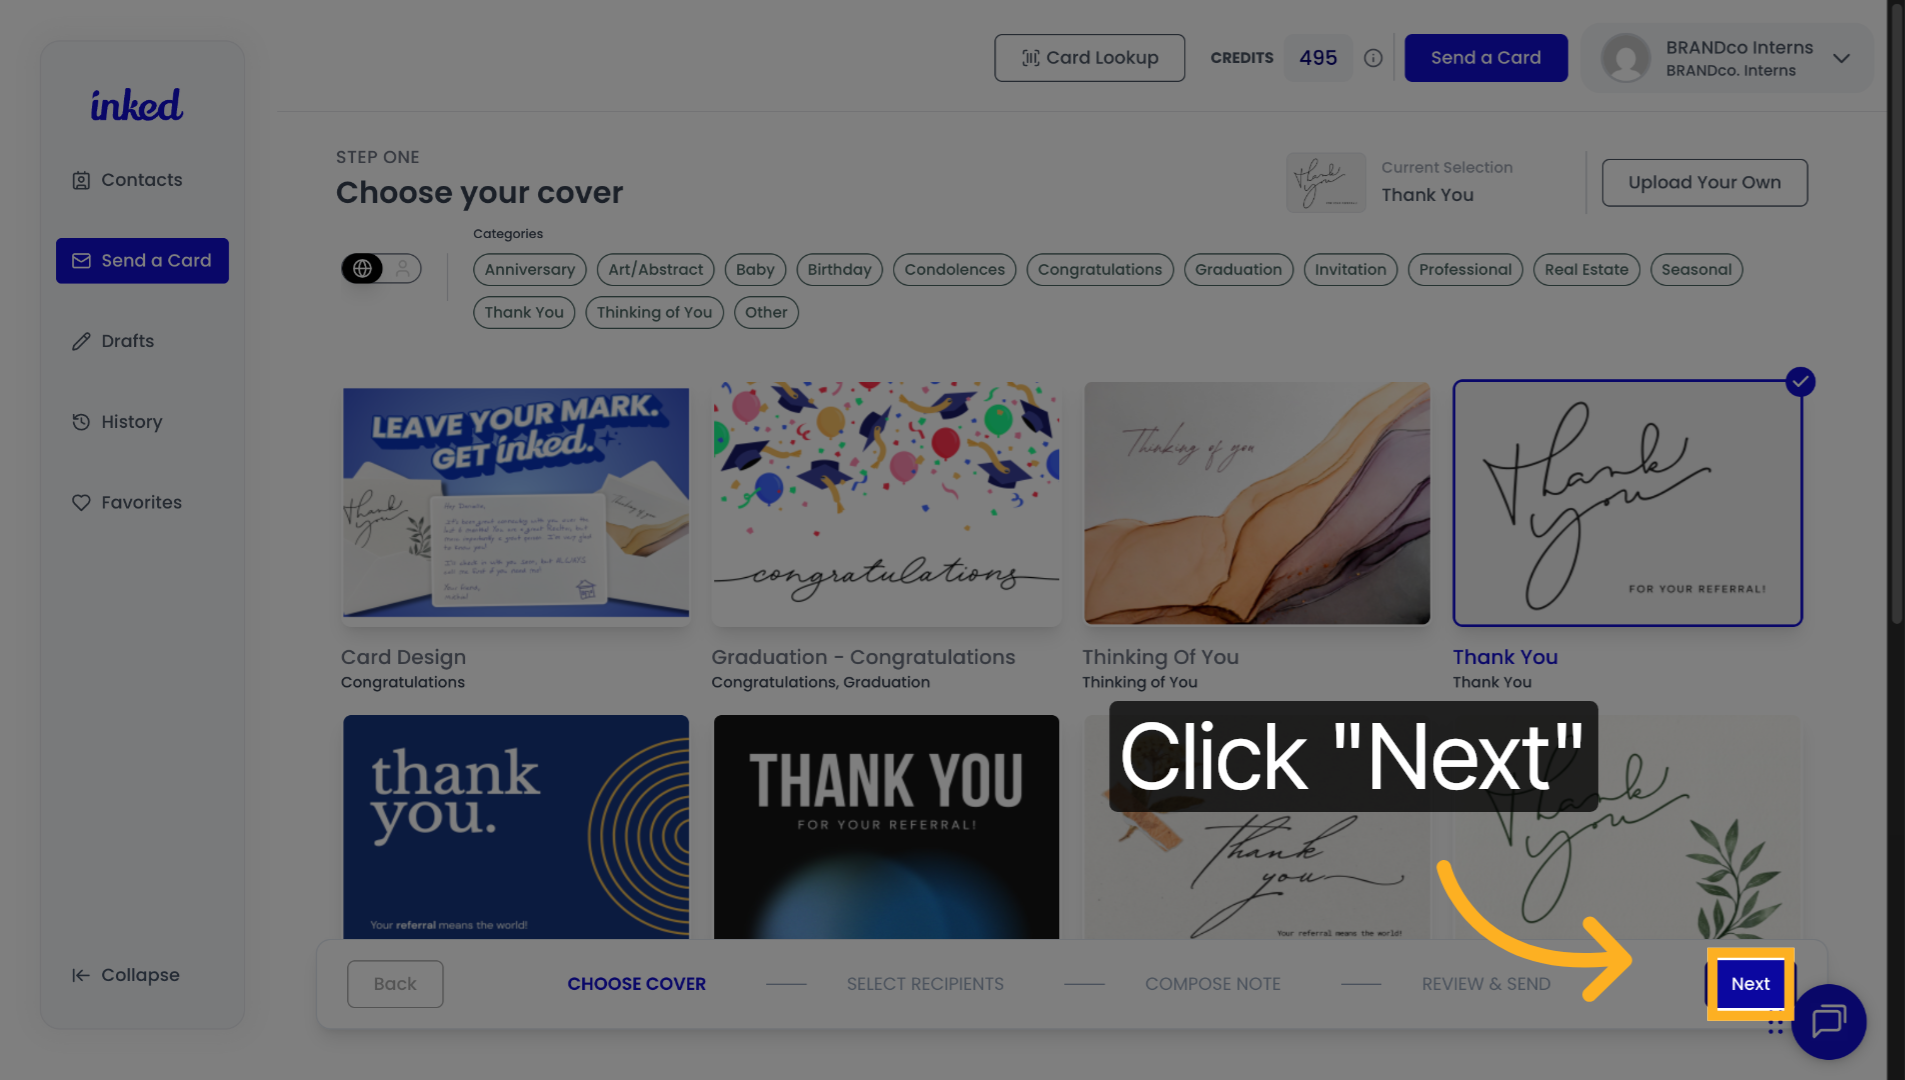
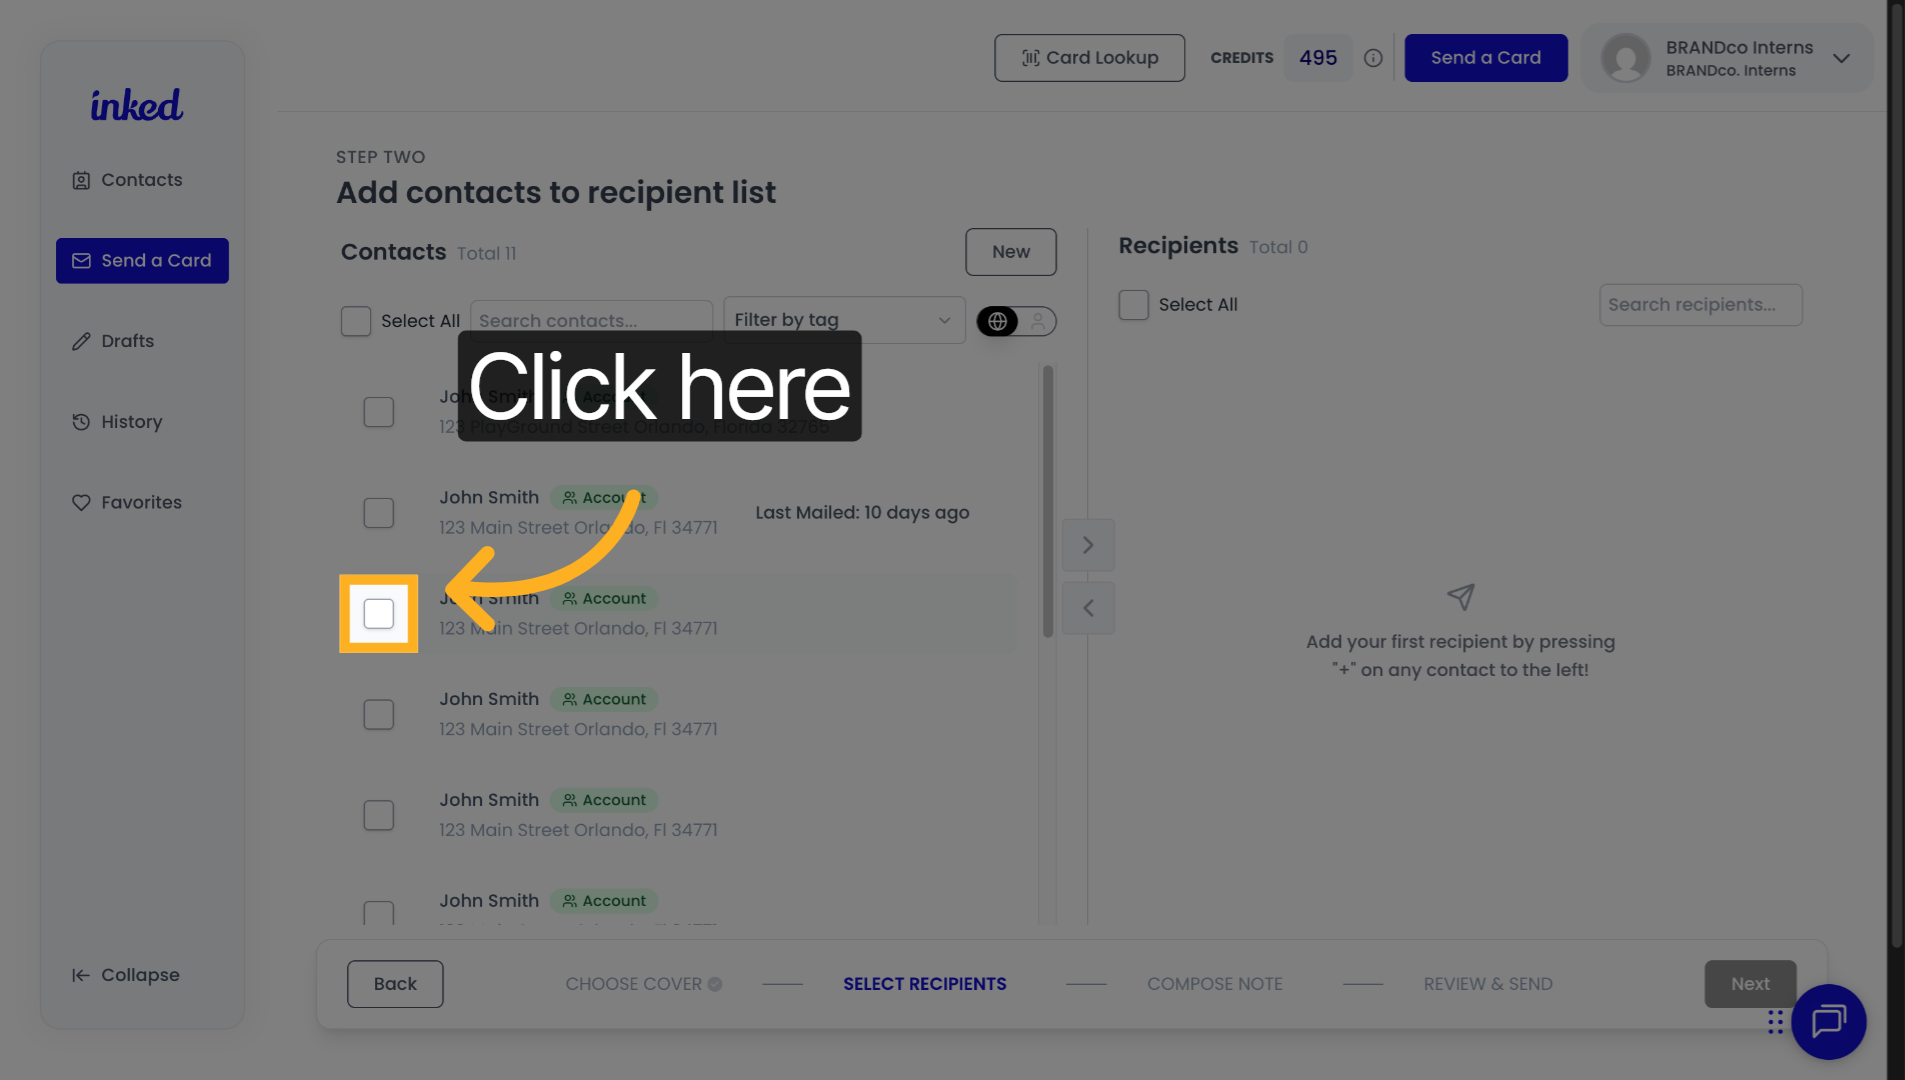
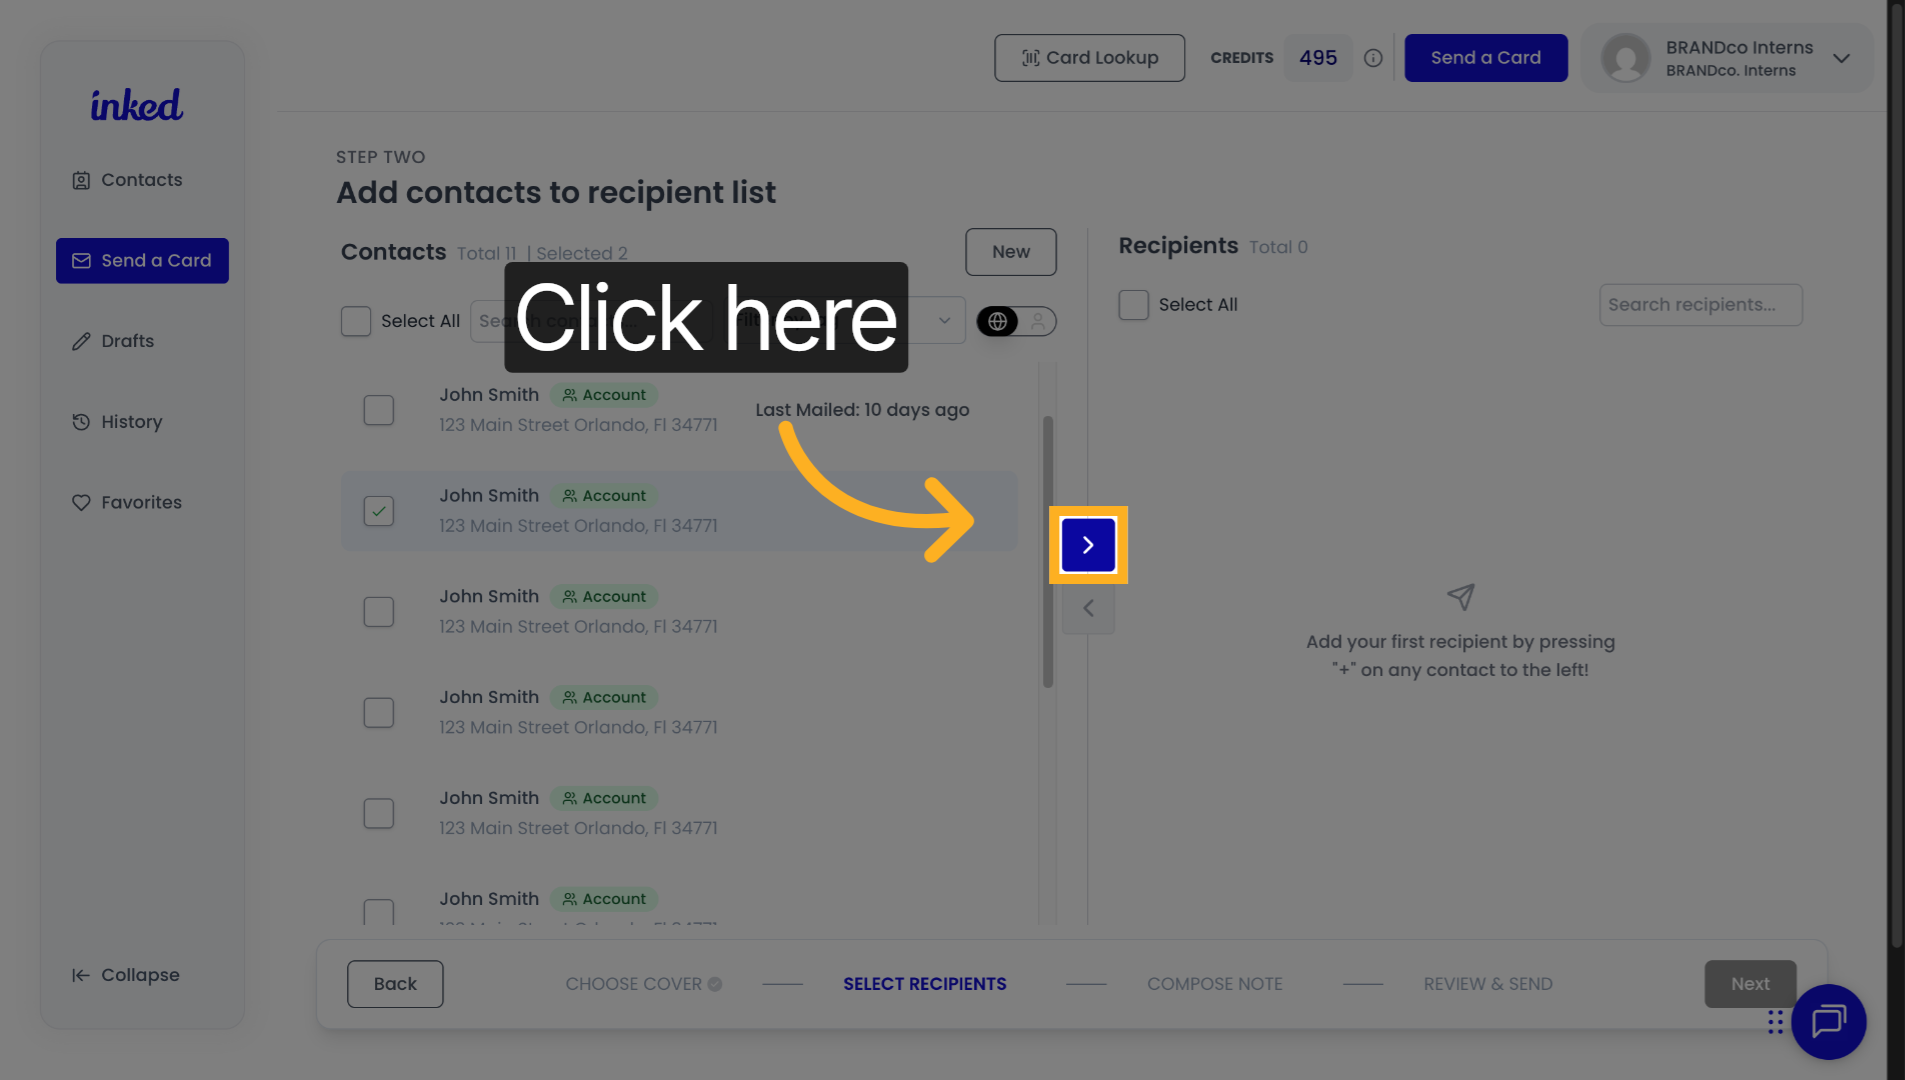
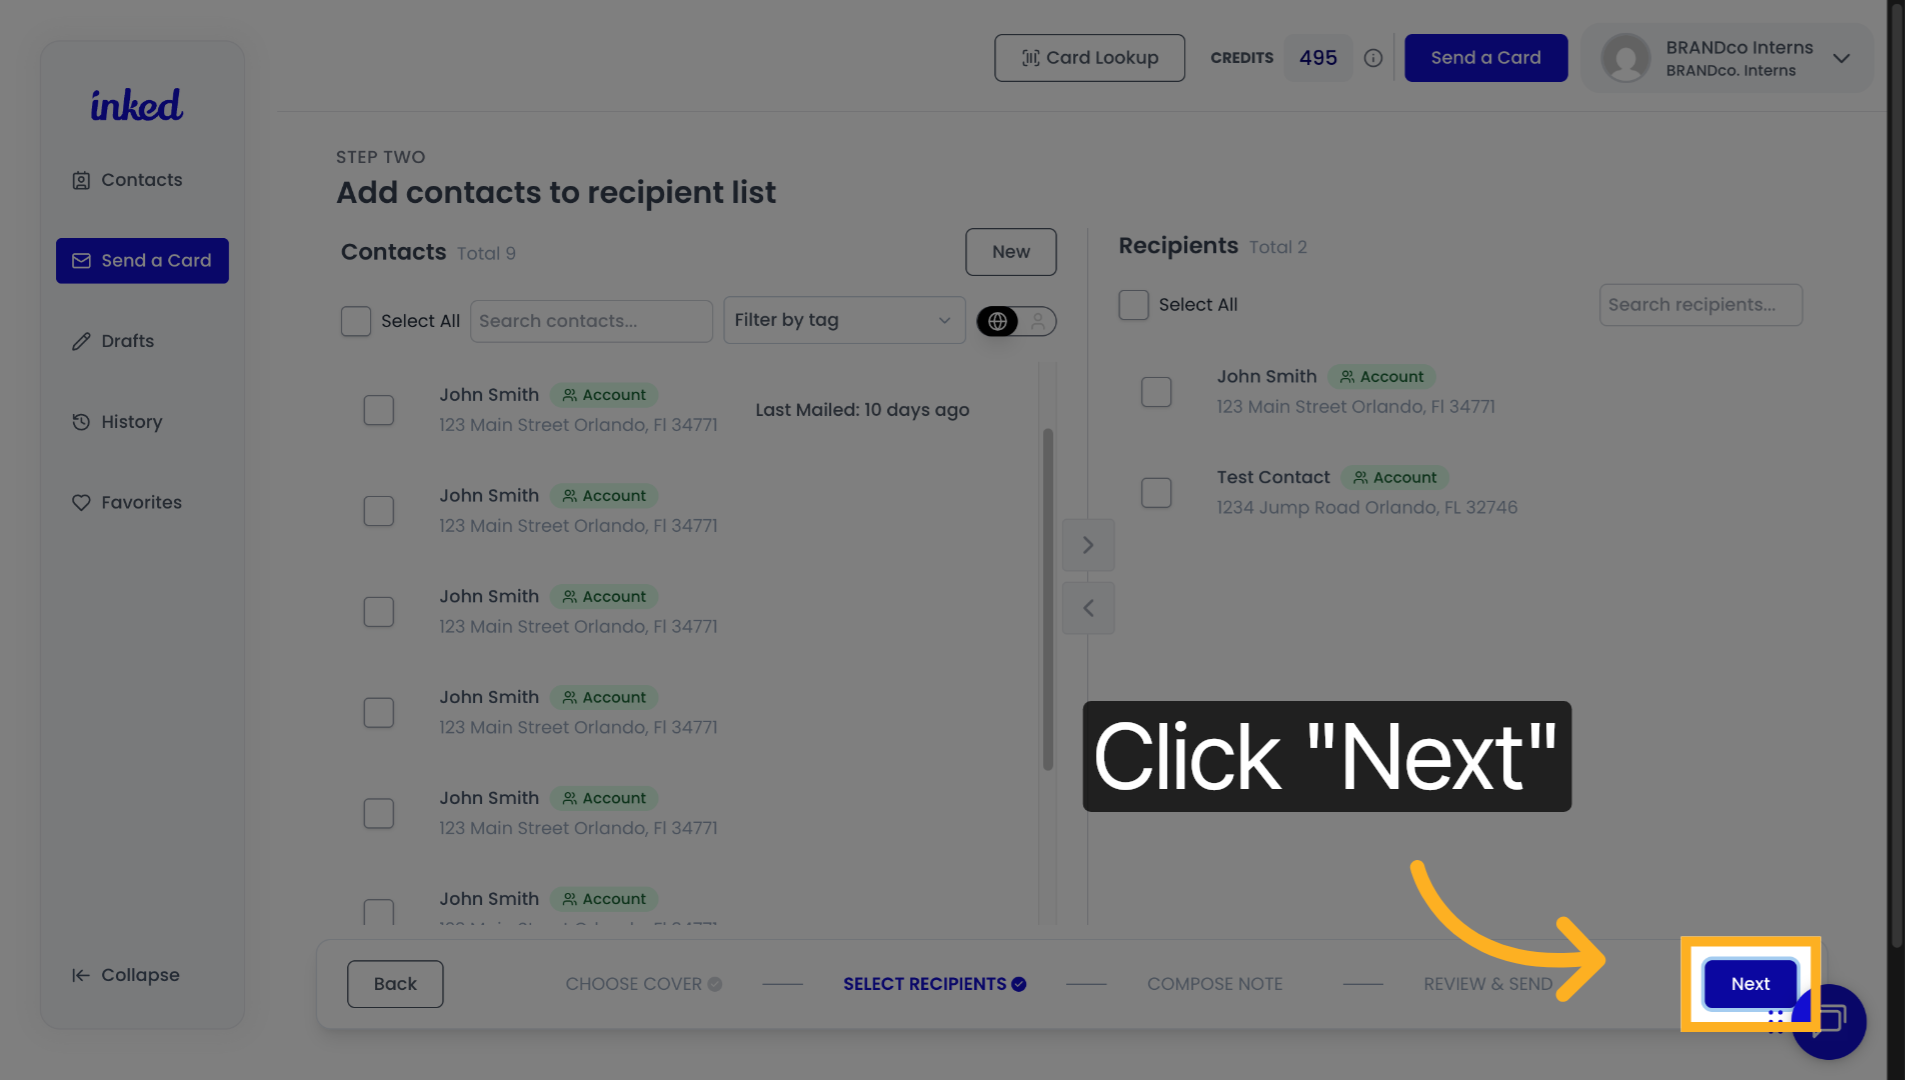
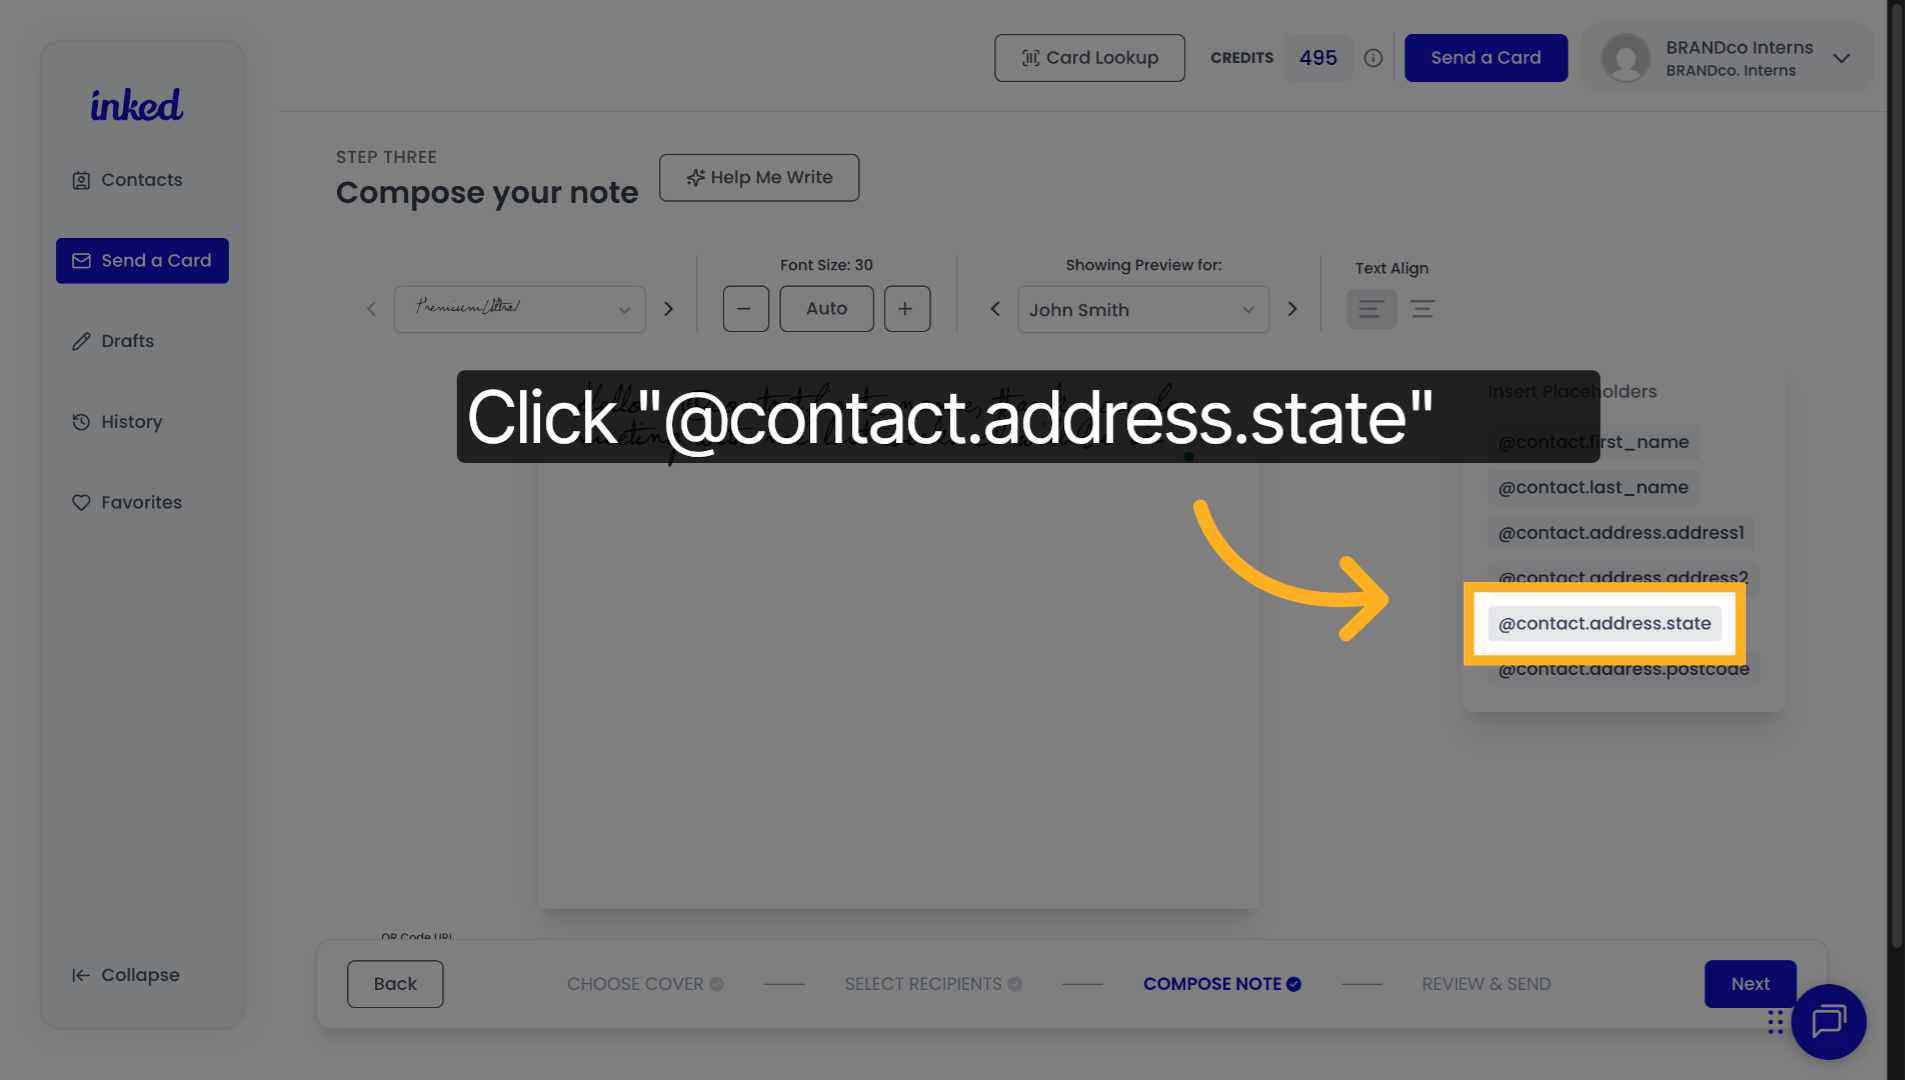
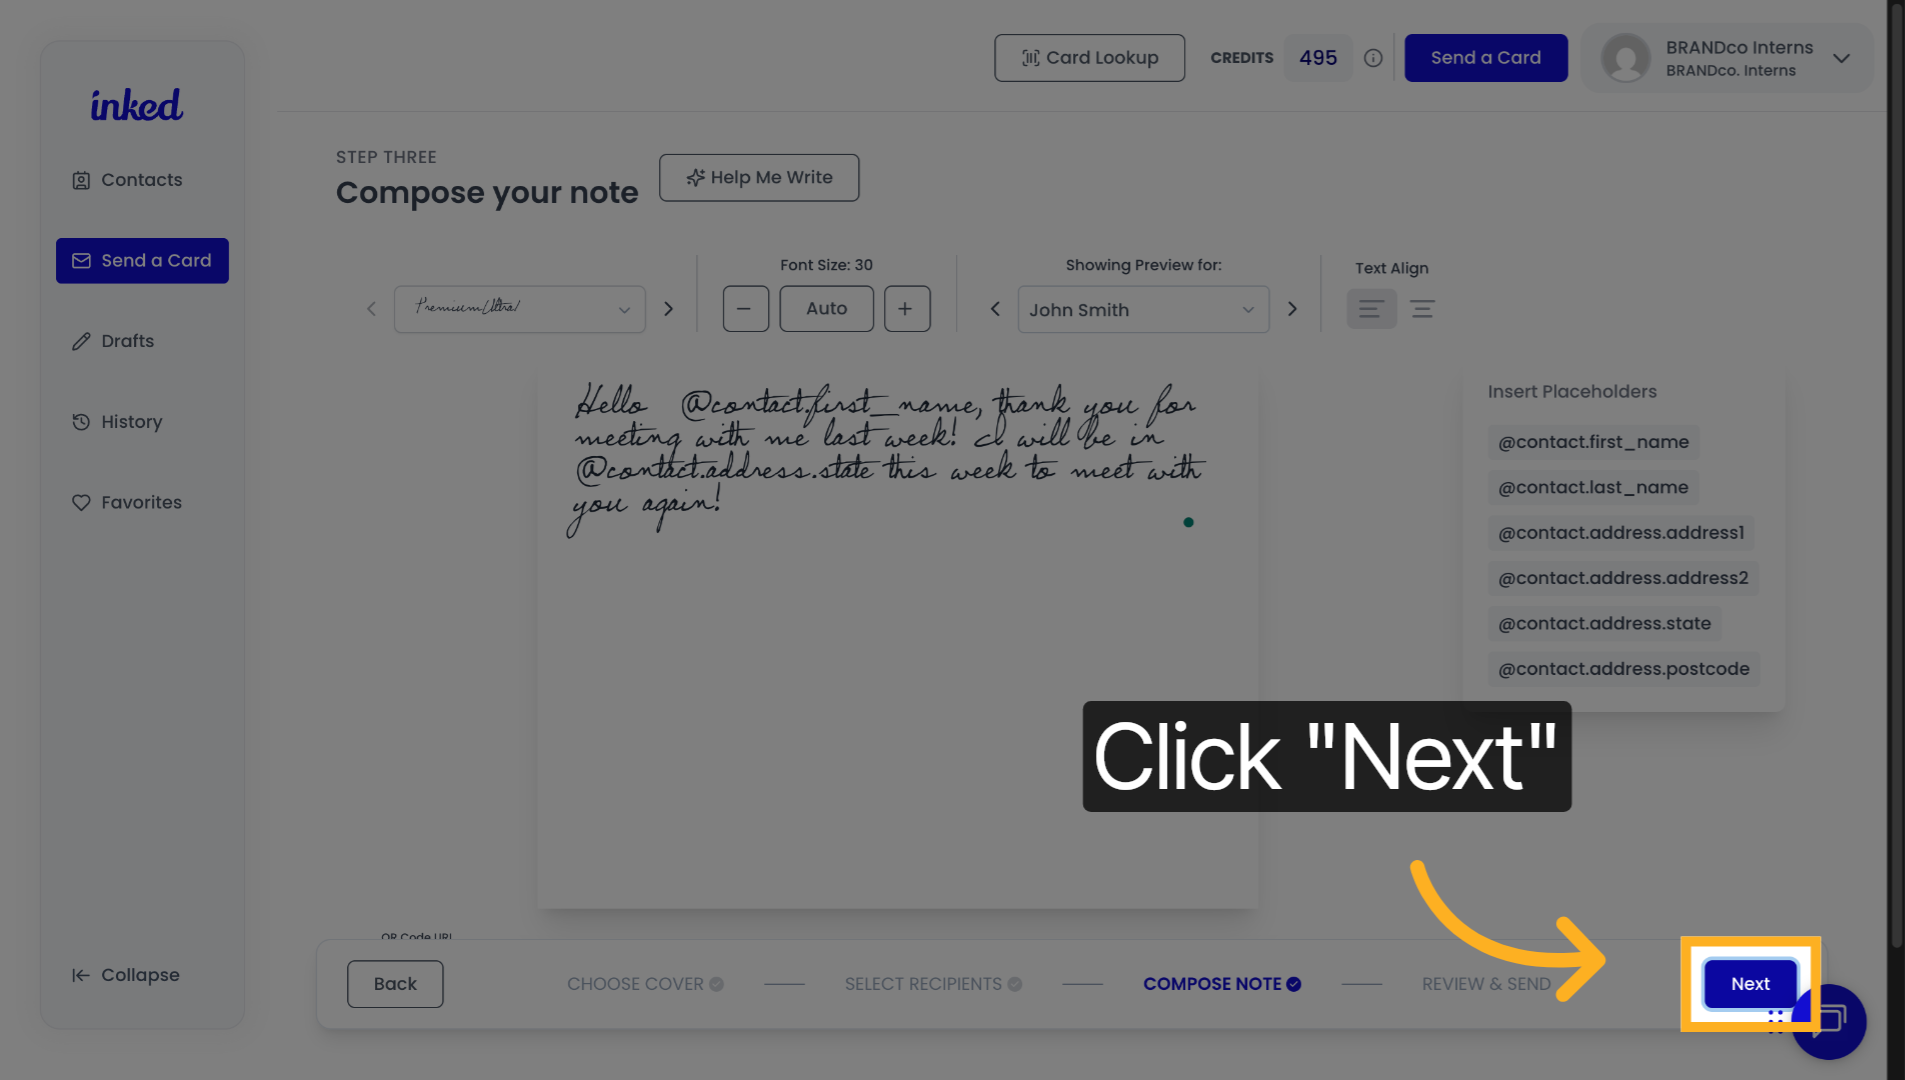
How to use them in Inked:
Create Personalized Cards Using Placeholders in Inked
Using placeholders is a great way to send a single card to multiple people. I'll show you how to do that in Inked right now.
Go to app.inked.com
1. Introduction
To begin, make sure you're in the dashboard. Your screen should look a little something like this.
2. Click "Send a Card"
To begin, click Send a Card on the top right-hand side of your screen.
3. Click here
Create your card as usual. Select a cover or upload your own—for this example, we'll use a Thank You cover.
4. Click "Next"
Once your cover is picked, click Next (bottom right).
5. Click here
Placeholders shine with two or more contacts. Select at least two recipients.
6. Click here
Click the blue arrow to add them to your list.
7. Click "Next"
With at least two contacts selected, click Next (bottom right).
8. Click here
Begin writing your message like usual.
9. Click "@contact.first_name"
Use the @contact.first_name placeholder to personalize greetings (e.g., "Hello, John").
10. Click "@contact.address.state"
Add @contact.address.state to reference each recipient's state automatically.
11. Click "Next"
When your message and placeholders look right, click Next to preview them.
12. Click "1234 Jump Road"
Use the Recipients tab (right side) to switch previews—each selection updates the card (e.g., "Hello, John").
When everything looks good, send your card. You've successfully used placeholders in Inked!